How to Start a Blog: Are you contemplating starting a blog? A food blog, lifestyle blog or a combination of both? You can blog about really any topic! Here's a step-by-step guide with 5 Steps to help you in this process. I share my thoughts and experience every step of the way 🙂
Estimated reading time: 7 minutes
Disclosure: Some links in this post are affiliate links which means I earn a commission if you purchase through them at no extra cost to you. I only recommend brands and products that I have used with a good experience and/or enjoy using. Thank you in advance for your support!
Table of contents
How to Start a Blog
I am going to walk you through How to Start a Blog.
I built this site, Life's Little Sweets, myself with the tools and using the steps outlined below and you can too!
Step #1 - Pick a Name & Register Your Domain
Picking a name can be the hardest part because you want it to represent your vision and it's important that it's also available on social media channels as well.
I thought about a name for the longest time and I took the time to do a lot of research before I finally jumped in and signed up for a free WordPress account.
That means my blog was originally called: www.sweetssara.wordpress.com
What's the difference between WordPress.com and WordPress.org?
WordPress.com is hosted on WordPress. WordPress.org is self-hosted.
If you want to make your blog your business and have more freedom to monetize, I would go with WordPress.org.
I tried blogging for a month under that URL to see how I liked blogging before switching to a self-hosted site.
I also knew I hadn't quite figured out my blog's name yet and I needed to think about what to call it.
Honestly, starting something new can sometimes be the hardest part!
Make sure to take your time coming up with the right name and it helps if it is a marketable name that makes sense with your branding and ethos.
Sometimes it's hard to know that at first because you have to project out into the future, so again, take your time with this step!
You can check to see what names you like are available here:
Once you have your name you need to register the domain so no one else can take it.
Step #2 - Pick a Host
What are the benefits of a self-hosted site? You can monetize it!
At the time of starting my blog, I wanted to have the option to someday turn my blog into a business, if I wished.
When I switched to my self-hosted site, re-branded as "Life's Little Sweets" and I migrated it myself.
I took a lot of time (and online search queries!) to teach myself how to do this.
I recommend hiring someone with expertise if you do not feel confident in doing this yourself.
When you have a self-hosted site, you need a host.
I firmly believe in operating a lean business as a good business practice, at every stage of business. Here are the hosts that I had and currently use:
Bluehost - Bluehost was my first host from April 2015 (a month after I started the blog) and up until the Summer of 2016.
Their pricing plans are so reasonably low, it seems like a no-brainer to go with them to start.
I was very happy with Bluehost when I started and they fulfilled my hosting needs for Life's Little Sweets until I started to get more traffic, a larger site, and needed more personalized assistance with my site as a business.

Wpopt - Wpopt is my current host and I LOVE them! Wpopt is owned and operated by Charles Smith and his team.
They give incredible personalized support, translation: you don't have to wait and you get to talk/communicate with a real human being.
I also have a tech support plan in addition to my hosting.
I host other blogs, like SaraManiez.com, in addition to Life's Little Sweets with WPopt.
They are very open with their communication if there are ever any issues or maintenance being performed.
You can also purchase and register domain names through Wpopt.
After you pick your host, install WordPress (free!).
Every host should have guides specific to them on how to do this.
Step #3 - Set up Your Theme & Tools
You need to set up your blog for success and this involves having the right tools!
- Theme - Choose the right theme! Make sure to have a clean, beautiful, well-designed theme to help represent your blog. Never underestimate design! I purchased my themes through Studiopress and Foodie Pro Theme was my first theme and now I use the Brunch Pro Theme (both the Foodie Pro & Brunch Pro are designed by Shay Bocks).
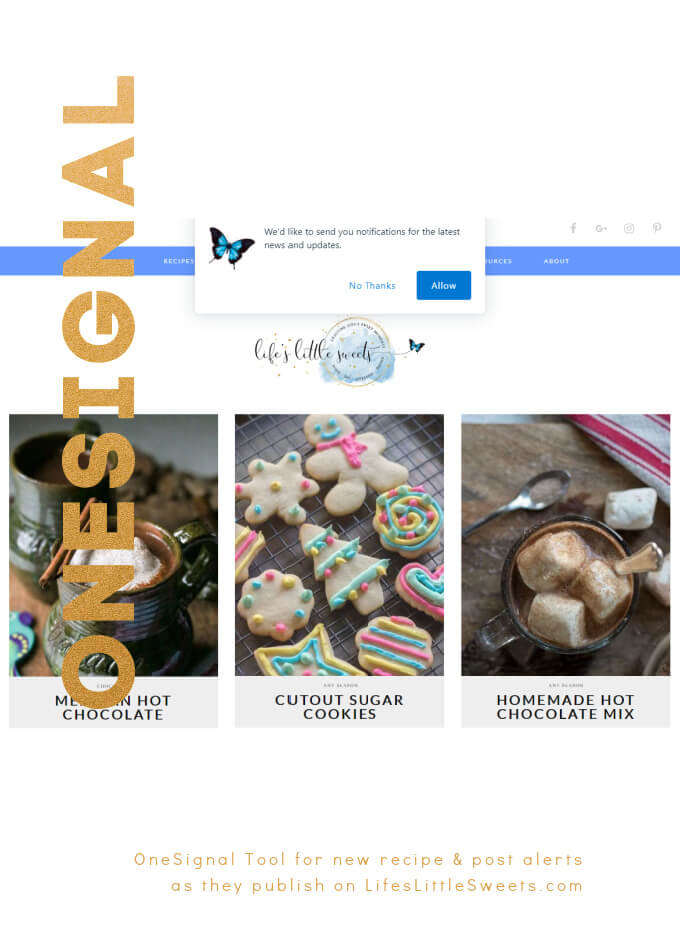
- Google Analytics - this is free and instrumental with blogging. Make sure to install Google Anaylitics as one of the first steps when setting up your blog
- Plugins - There are so many plugins to help your site run smooth and customize your site - these are the bells and whistles of your blog.
Step #4 - Create Content!
You need to populate your blog with content that is searchable (employ SEO best practices) and shareable (something that people will want to read).
It helps to share content that solves a problem, is informational in a niche topic, and makes people want to share it (beautiful photographs and good, clear writing).
Make sure that you post on a regular schedule, share to your social media channels, develop your own best practices and sustainable workflow, and repeat, repeat, repeat!
Success depends on showing up every day, consistency, and striving to improve your blog and skills every step of the way.
Step #5 - Find your Community
There are many places where I tap into community in blogging.
Finding community might mean just other blogs you follow, Facebook blogging groups, and Facebook or other recipe share groups.
You can join a recipe roundup group, attend a conference or take a class.
I recommend The Blog Village by Jennifer & Trevor Debth of the food blog Show Me The Yummy.
I joined TBV because I already followed their wonderful food blog, they have strength in the video (which is always very important!) and they are both very kind, open, and willing to share their knowledge.
There are other sites like Food Bloggers Central by Nagi from the food blog RecipeTin Eats.
FBC is a free resource for food bloggers and they also have several Facebook groups (FBC main, Photography & Social Sharing) where food bloggers can find community.
I have also found community among my ad publisher Mediavine.
Mediavine manages all the ads on Life's Little Sweets.
They have a holistic approach to ads which is refreshing and unlike any other ad publishing company that I have come across.
They are very open and transparent with their ad publishers.
I have been with them since early on in their company's creation and ever since.
Ask any blogger who has them as their ad publisher, they are really a gem of a company in my experience.
Conclusion
Those are the 5 main steps in my step-by-step tutorial on How to Start a Blog.
Please let me know if you have any questions or want me to elaborate further on any topic!
Do you have any questions for me about How to Start a Blog?
Latest Posts
- Dandelion Jelly - April 22, 2024
- Nordy Bars - April 14, 2024
- Hot Cross Buns - April 6, 2024





Lisa Hallioui says
Hi, when you create the blog, how did you create the pretty label Lifeslittle sweets with the butterfly?