


Estimated reading time: 13 minutes
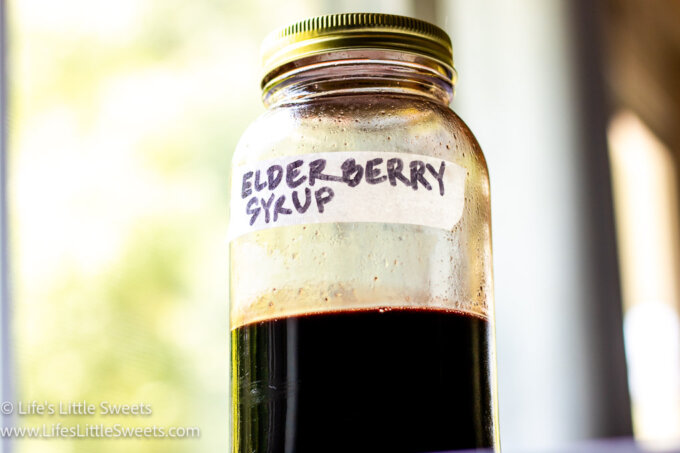
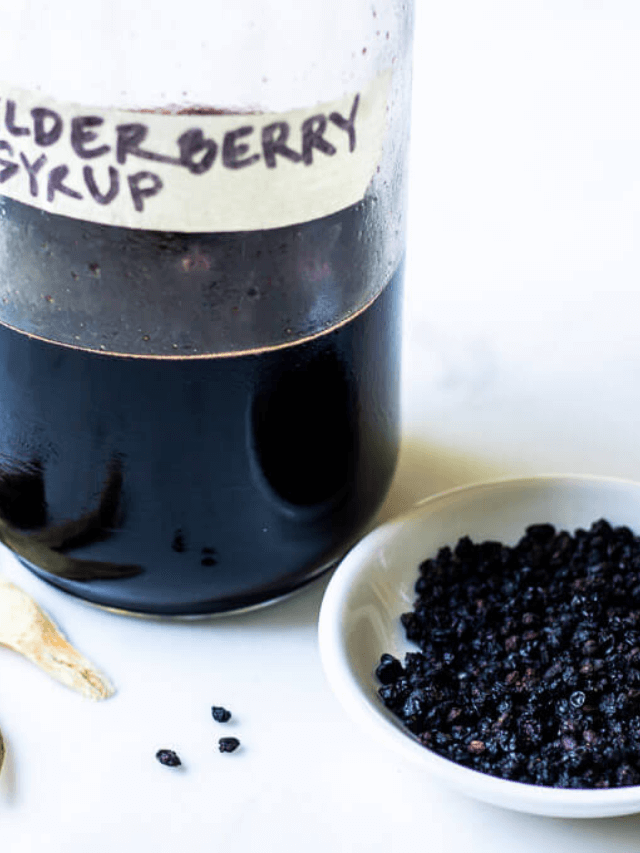
Elevate your wellness journey with our Homemade Elderberry Syrup – a delightful concoction that combines the natural goodness of elderberries, warming spices, and raw honey. This immune-boosting elixir is not only a treat for your taste buds but also a potential ally in supporting your health. Our fail-proof recipe ensures you capture the essence of elderberries with every sip. Crafted with love and packed with antioxidants, this syrup is a sweet addition to your culinary repertoire. Enjoy the magic of nature's bounty, one spoonful at a time.
Credit: Life's Little Sweets
Table of contents
- Disclaimer
- Harnessing Nature's Goodness: Crafting Your Own Elderberry Syrup
- The Wonders of Elderberry Syrup
- Homemade Elderberry Syrup Recipe
- How do you sterilize mason jars for this recipe?
- Customizing Your Elderberry Syrup: Infuse Creativity Into Nature's Elixir
- Can you add Astragulus Root to this Elderberry Syrup recipe?
- What is the best kind of jar to store for this elderberry syrup recipe?
- How long does this Elderberry Syrup last?
- Final Thoughts
Disclaimer
Disclaimer: The information provided in the article "Harnessing Nature's Goodness: Crafting Your Own Elderberry Syrup" on Life's Little Sweets is for general informational purposes and not a substitute for professional medical advice. Consult a healthcare provider before making any health decisions or using the remedies discussed. The author and website are not liable for any adverse effects or misuse of information. Individual responses vary, and health conditions differ; prioritize safety and consult a professional for personalized guidance.
Credit: Life's Little Sweets
Harnessing Nature's Goodness: Crafting Your Own Elderberry Syrup
Welcome back, everyone, to another delightful adventure in the world of homemade remedies and culinary creativity! We are diving into the magical world of Elderberry Syrup – a sweet elixir known for its potential immune-boosting properties and delightful flavor. Join me as we explore the benefits, share a fail-proof recipe, list essential kitchen tools, and uncover some tried-and-true tips for mastering this delicious concoction.
Credit: Life's Little Sweets
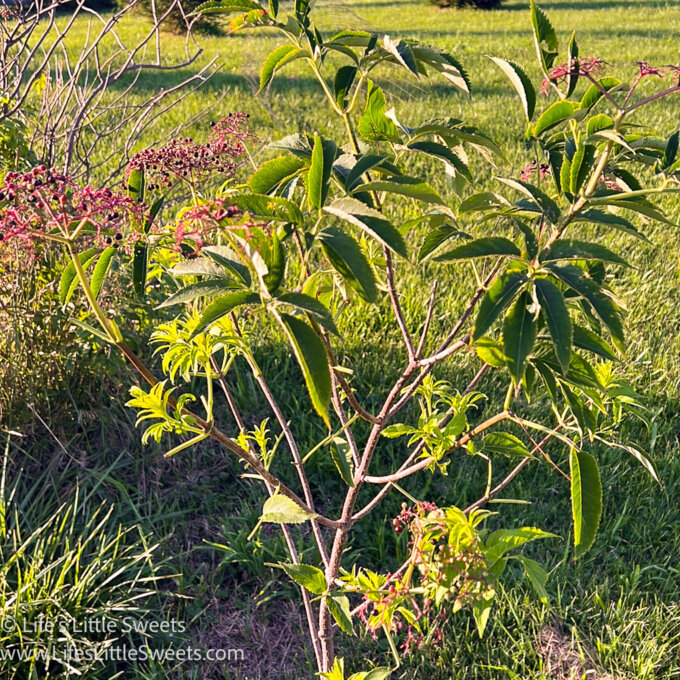
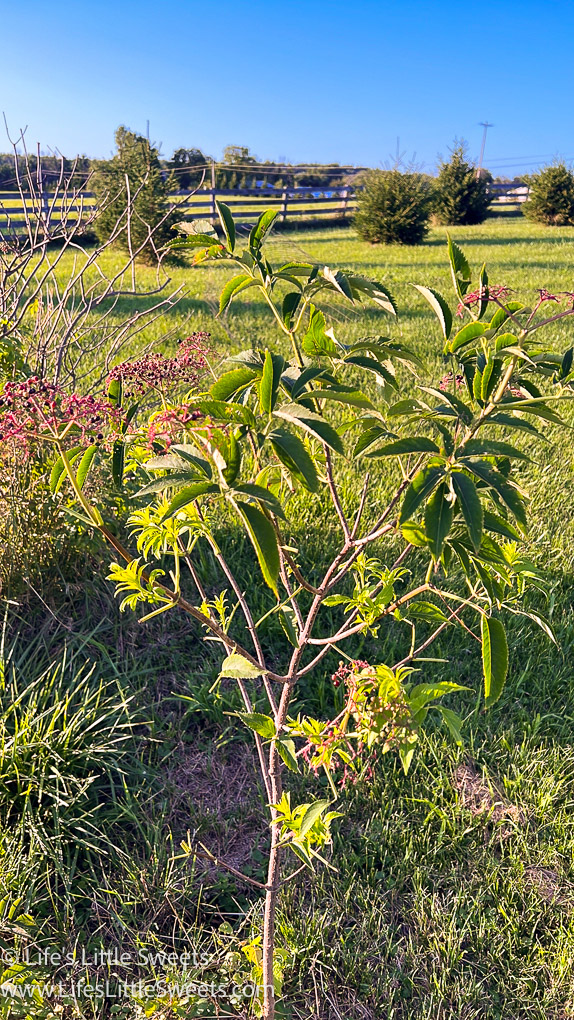
The Wonders of Elderberry Syrup
Elderberry syrup has been celebrated for centuries for its potential health benefits. Packed with antioxidants and vitamins, it's often touted as a natural way to support the immune system. Plus, its rich, sweet-tart flavor makes it a versatile addition to everything from pancakes to cocktails.
Credit: Life's Little Sweets
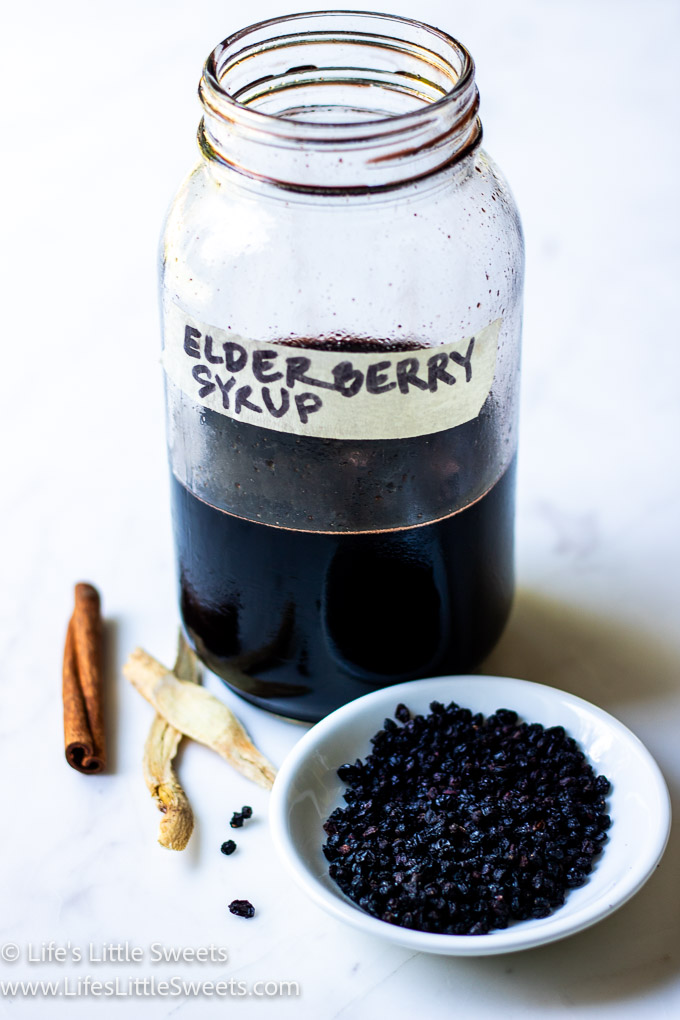
Homemade Elderberry Syrup Recipe
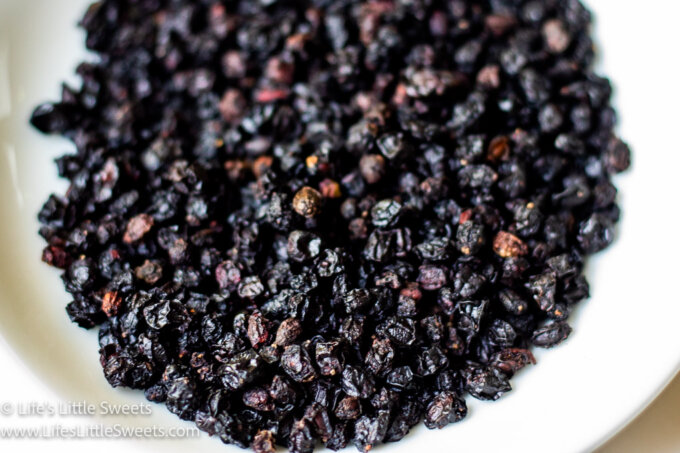
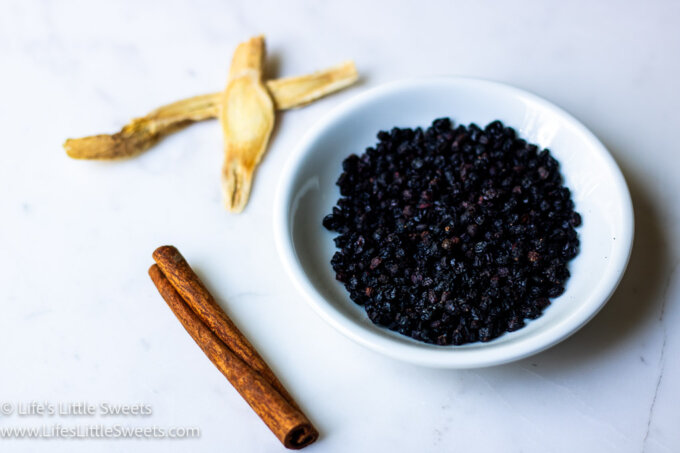
Ingredients:
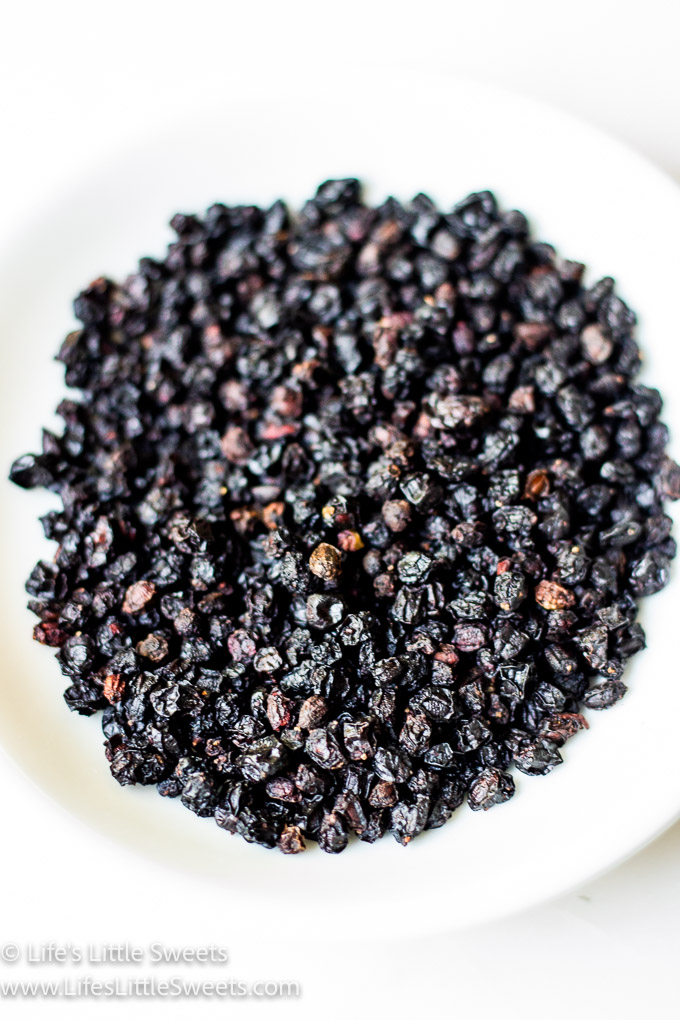
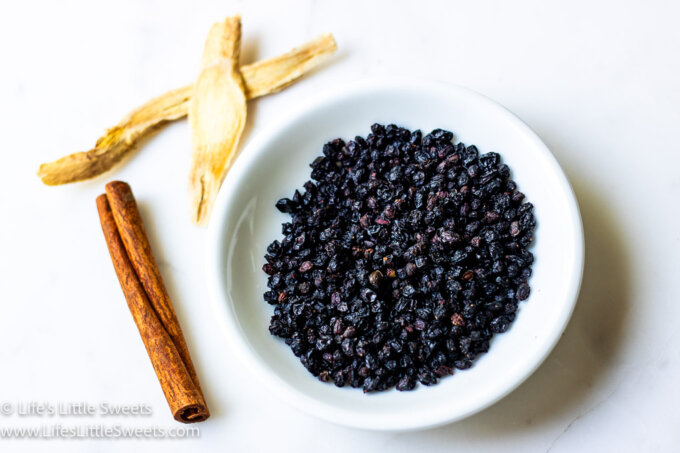
- 1 cup dried elderberries
- 4 cups water
- 1 cinnamon stick
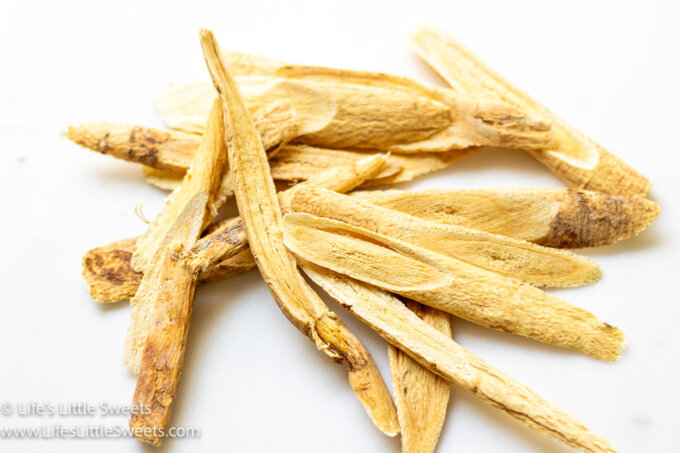
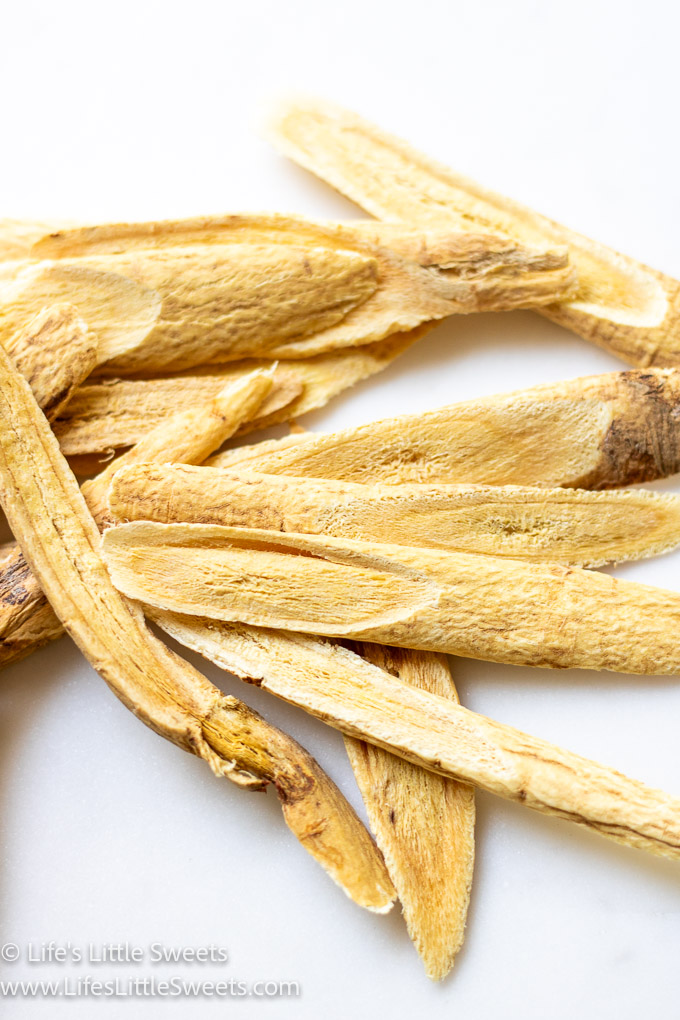
- 1-2 Astragalus root sticks, optional
- 1 tablespoon fresh ginger, grated
- 1 cup raw or regular Wildflower honey
Credit: Life's Little Sweets
Instructions:
- In a medium-sized saucepan, combine the elderberries, water, cinnamon stick, and grated ginger.
- Bring the mixture to a boil, then reduce the heat and let it simmer for about 45 minutes to an hour, or until the liquid has reduced by half.
- Remove the saucepan from the heat and let it cool slightly.
- Use a fine mesh strainer or cheesecloth to strain the liquid into a bowl, pressing gently on the berries to extract all the liquid.
- Once the liquid has cooled to a warm temperature, stir in the raw honey until well combined.
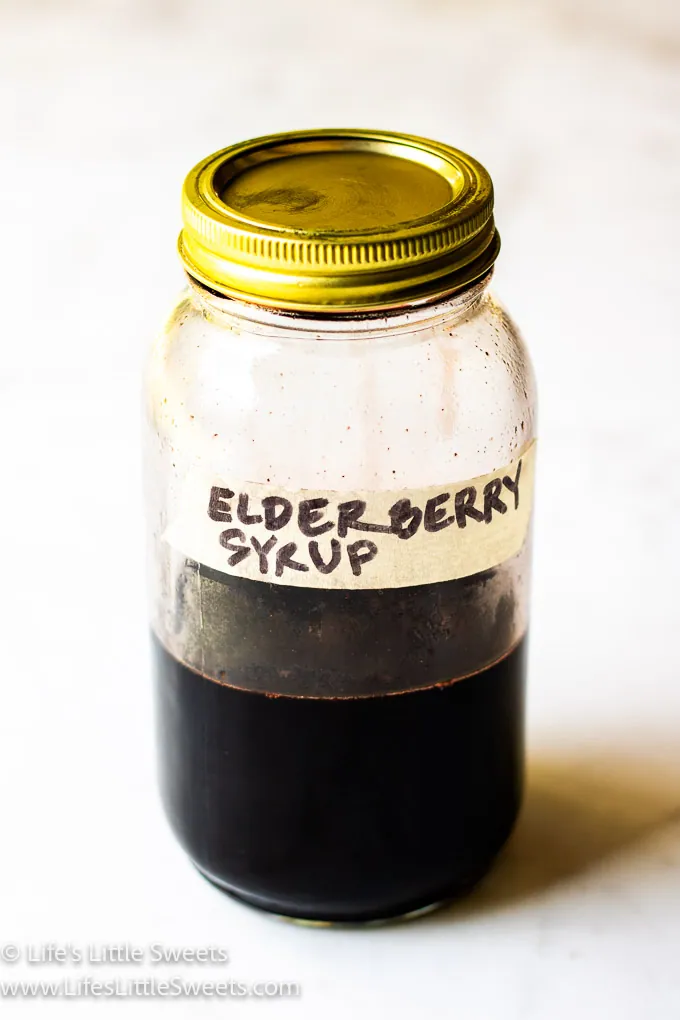
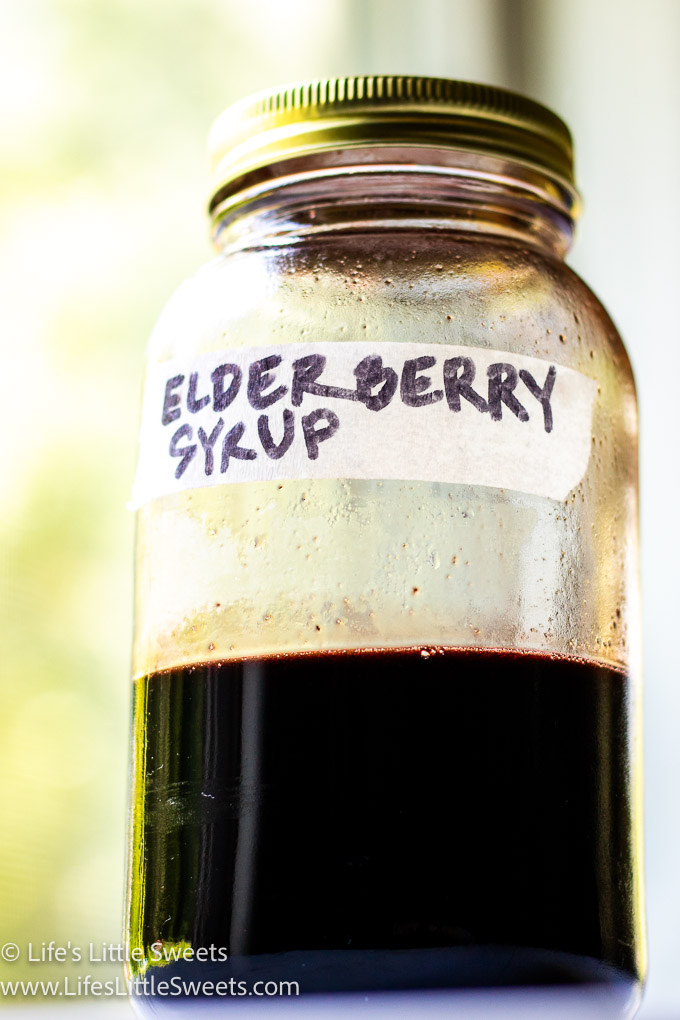
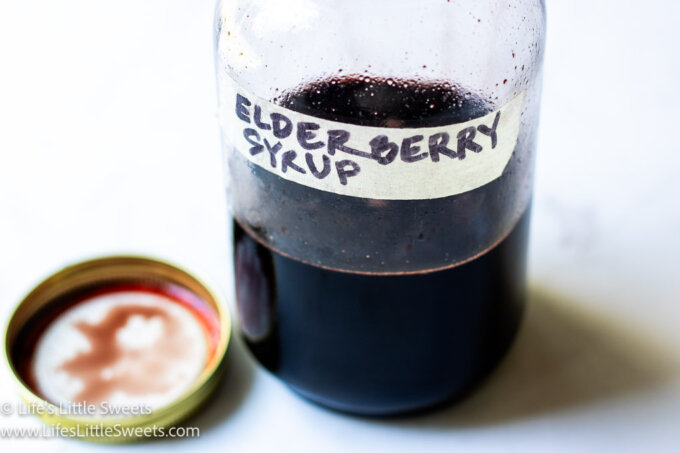
- Transfer your elderberry syrup to sterilized glass bottles or jars, and store it in the refrigerator.

Credit: Life's Little Sweets
Essential Kitchen Tools
- Medium-sized saucepan
- Fine mesh strainer or cheesecloth
- Mixing spoon
- Glass bottles or jars with lids
- Funnel (for easy pouring)
How do you sterilize mason jars for this recipe?
Sterilizing mason jars is crucial for ensuring the safety and longevity of your homemade Elderberry Syrup. Here's how you can effectively sterilize mason jars for this recipe:
Method 1: Boiling Water Bath
- Clean Jars: Start with clean mason jars, lids, and bands. Wash them thoroughly with hot, soapy water and rinse well.
- Boil Water: Fill a large pot with enough water to submerge the jars completely. Place the pot on the stove and bring the water to a rolling boil.
- Submerge Jars: Carefully place the cleaned jars, lids, and bands into the boiling water. Use tongs to ensure they are fully submerged.
- Boil Jars: Let the jars boil for about 10 minutes. This boiling process helps kill any bacteria or microorganisms present in the jars.
- Remove Jars: After boiling, use the tongs to carefully remove the jars from the boiling water and place them on a clean, dry surface. Be cautious, as the jars will be hot.
- Fill and Seal: While the jars are still warm, fill them with your prepared Elderberry Syrup. Wipe the jar rims to ensure they are clean and free from any residue.
- Attach Lids and Bands: Place the sterilized lids and bands on the jars. Make sure they are tightened without being overly forceful.
Method 2: Oven Sterilization
- Clean Jars: Wash the mason jars, lids, and bands thoroughly with hot, soapy water, and rinse well.
- Preheat Oven: Preheat your oven to 225°F (110°C).
- Arrange Jars: Place the cleaned jars, lids, and bands on a baking sheet, making sure they are not touching each other.
- Oven Sterilization: Put the baking sheet with the jars in the preheated oven for about 20 minutes. This heat will effectively sterilize the jars.
- Remove Jars: After sterilizing, carefully remove the baking sheet from the oven and place it on a heat-resistant surface.
- Fill and Seal: While the jars are still warm, fill them with your prepared Elderberry Syrup. Wipe the jar rims to ensure they are clean and free from any residue.
- Attach Lids and Bands: Place the sterilized lids and bands on the jars. Make sure they are tightened without being overly forceful.
By following these methods, you can ensure that your mason jars are properly sterilized and ready to hold your homemade Elderberry Syrup. This helps prevent contamination and extends the shelf life of your syrup.
Customizing Your Elderberry Syrup: Infuse Creativity Into Nature's Elixir
One of the joys of homemade creations is the ability to infuse your personal touch into every recipe. Just as nature's beauty is diverse, your Elderberry Syrup can be tailored to suit your tastes and preferences. Here are some delightful ways to customize this elixir while retaining its immune-boosting essence:
- Herbal Twists: Enhance the flavor and potential benefits by adding complementary herbs like rosehips, echinacea, or astragalus. Each herb brings its unique qualities to the mix, creating a personalized blend of wellness.
- Citrus Zest: Brighten up your syrup with a burst of citrus zest. Add orange, lemon, or even a dash of lime for a refreshing twist that adds layers of flavor.
- Spice It Up: Experiment with spices like cloves, star anise, or cardamom to infuse warm undertones. These spices can add depth and complexity to the syrup's taste profile.
- Sweet Alternatives: While raw honey is traditional, you can explore sweeteners like maple syrup, agave nectar, or even a blend of both. Keep in mind that the sweetness level may differ, so adjust to taste.
- Berry Medley: Don't hesitate to combine elderberries with other berries like blueberries or raspberries for a unique flavor profile and an extra boost of antioxidants.
- Texture Play: Consider leaving a handful of elderberries unstrained in the syrup for added texture. This can introduce an appealing visual element and an extra burst of berry goodness.
- Functional Additions: Incorporate functional ingredients like turmeric, black pepper, or elderflower for added wellness benefits and a distinctive character.
- Syrup Applications: Beyond using it as a daily supplement, get creative with how you use your syrup. Mix it into yogurt, drizzle over pancakes, or craft flavorful cocktails/mocktails.
Can you add Astragulus Root to this Elderberry Syrup recipe?
Yes, you can certainly add Astragalus root to your Elderberry Syrup recipe to enhance its potential immune-boosting properties. Astragalus root is known for its adaptogenic and immune-supporting qualities, and combining it with elderberries can create a powerful synergy of benefits.
Adding Astragalus root can add an earthy and slightly sweet undertone to your syrup. Keep in mind that the flavor of Astragalus root is mild, so you might not notice a significant change in taste. However, you can adjust the quantity of Astragalus root to your taste preferences and desired level of immune support.
As always, if you have any underlying health conditions, or allergies, or are taking medications, it's a good idea to consult with a healthcare professional before adding new herbs or supplements to your diet.
Remember, as you experiment with these ideas, document your creations to find the perfect blend that resonates with your taste buds and well-being goals.
Tips for Success
- Quality Ingredients: Choose high-quality dried elderberries to ensure a robust flavor and potential health benefits.
- Raw Honey: Opt for raw honey as it retains more of its natural enzymes and antioxidants compared to processed honey.
- Simmering Time: Allow the mixture to simmer until it has reduced by half; this will concentrate the flavors and beneficial compounds.
- Gentle Pressing: When straining the mixture, press the berries gently to extract all the liquid without pushing too hard to avoid bitterness.
- Cool Before Adding Honey: Make sure the liquid has cooled to a warm temperature before adding honey to preserve its raw qualities.
- Storage: Store your elderberry syrup in the refrigerator to extend its shelf life. It should last for several months.
- Enjoy in Moderation: While elderberry syrup is delicious and potentially beneficial, remember that moderation is key. Consult with a healthcare professional, especially if you have underlying health conditions or are taking medications.
What is the best kind of jar to store for this elderberry syrup recipe?
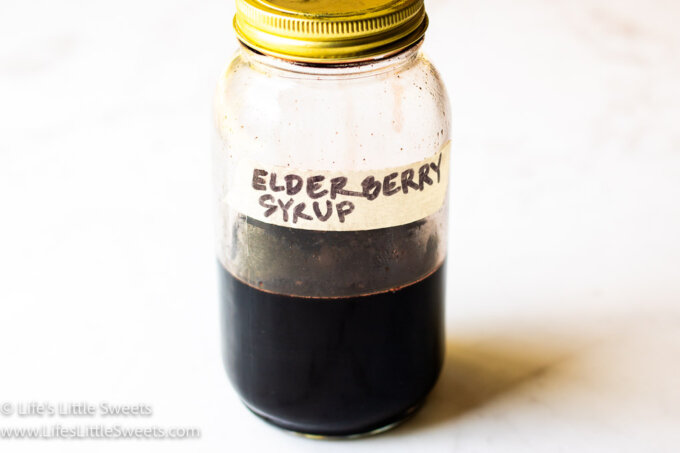
The best kind of jars to store your homemade Elderberry Syrup are glass jars with airtight seals. Glass jars are ideal because they are non-reactive, meaning they won't interact with the syrup's ingredients and alter its flavor. Airtight seals help prevent air and moisture from entering the jars, which helps maintain the freshness and shelf life of the syrup. Here are a few options:
- Mason Jars: Mason jars are a popular choice for storing homemade syrups. They come in various sizes, have airtight lids, and are widely available. You can choose from regular-mouth or wide-mouth jars depending on your preference.
- Weck Jars: Weck jars have a distinctive shape with a glass lid and a rubber gasket that creates an airtight seal. They come in various sizes and are known for their durability and classic look.
- Swing-Top Bottles: These bottles have a flip-top lid with a rubber gasket, creating an airtight seal when closed. They are easy to pour from and are great for portion control.
- Glass Syrup Bottles: Specialty glass syrup bottles often come with a spout or a pourer for easy dispensing. They are designed specifically for liquids like syrups and sauces.
- Recycled Glass Jars: If you have empty glass jars from store-bought products (like jams or sauces), you can clean and sterilize them for reuse. Just make sure the lids are airtight.
When selecting jars, consider the size that suits your needs. Smaller jars might be convenient for daily use, while larger jars are great for storing larger batches. Transparent jars also allow you to see the beautiful color of the Elderberry Syrup.
Remember to sterilize the jars before using them to store your syrup to ensure cleanliness and safety. Properly sealed and stored, your Elderberry Syrup can stay fresh and delicious for several months.
Credit: Life's Little Sweets
How long does this Elderberry Syrup last?
When stored properly, homemade Elderberry Syrup can typically last for several months. Here are some guidelines to help you determine its shelf life:
- Refrigeration: Storing your Elderberry Syrup in the refrigerator is essential to prolong its freshness. The cold temperature helps prevent the growth of bacteria and mold.
- Glass Containers: Ensure you store the syrup in clean, sterilized glass bottles or jars with airtight lids. Glass helps maintain the quality and flavor of the syrup while minimizing exposure to air.
- Check for Spoilage: Over time, natural ingredients like honey can crystallize or change in texture. While the syrup might still be safe to consume, check for any signs of mold, off-putting odors, or significant changes in appearance before using.
- Color and Flavor Changes: As time passes, the color and flavor of the syrup might subtly change. This is a natural process and doesn't necessarily indicate spoilage. However, if the changes are extreme or accompanied by an unusual odor, it's best to discard the syrup.
- Use-By Date: To err on the side of caution, it's a good practice to label your syrup with a "made-on" date. As a general guideline, consider using the syrup within 6 months from the preparation date.
Remember that these recommendations are general guidelines, and the actual shelf life can vary based on factors such as the freshness of ingredients, hygiene during preparation, storage conditions, and the effectiveness of sealing the containers. If you have any doubts about the freshness or safety of the syrup, it's always best to err on the side of caution and prepare a fresh batch.
Credit: Life's Little Sweets
Credit: Life's Little Sweets
Final Thoughts
Crafting your own elderberry syrup is not only a rewarding culinary project but also a step towards harnessing the goodness of nature to support your well-being. With our fail-proof recipe, essential kitchen tools, and tips for success, you're well-equipped to create this delightful concoction that's sure to become a household favorite. Embrace the joy of creating, the magic of elderberries, and the comfort of a warm, homemade remedy – your taste buds and immune system will thank you!

Elderberry Syrup
Elevate your wellness journey with our Homemade Elderberry Syrup – a delightful concoction that combines the natural goodness of elderberries, warming spices, and raw honey. This immune-boosting elixir is not only a treat for your taste buds but also a potential ally in supporting your health. Our fail-proof recipe ensures you capture the essence of elderberries with every sip. Crafted with love and packed with antioxidants, this syrup is a sweet addition to your culinary repertoire. Enjoy the magic of nature’s bounty, one spoonful at a time.
Ingredients
Instructions
- In a medium-sized saucepan, combine the elderberries, water, cinnamon stick, and grated ginger (or ground ginger).
- Bring the mixture to a boil, then reduce the heat and let it simmer for about 45 minutes to an hour, or until the liquid has reduced by half.
- Remove the saucepan from the heat and let it cool slightly.
- Use a fine mesh strainer or cheesecloth to strain the liquid into a bowl, pressing gently on the berries to extract all the liquid.
- Once the liquid has cooled to a warm temperature, stir in the raw honey until well combined.
- Transfer your elderberry syrup to sterilized glass bottles or jars, and store it in the refrigerator.
Notes
- Preparation Time: The estimated prep time for this Homemade Elderberry Syrup recipe is around 10 to 15 minutes. This includes measuring the ingredients, preparing the elderberries, ginger, and other components, and getting them ready to be simmered in the saucepan. Keep in mind that the simmering time of 45 minutes to an hour is in addition to the prep time.
- Cook Time: The cook time for this Homemade Elderberry Syrup recipe is approximately 45 minutes to 1 hour. This is the time it takes for the elderberries, water, cinnamon stick, and grated ginger to simmer in the saucepan, allowing the flavors to meld and the liquid to reduce by half. After this simmering time, the mixture is then strained, cooled, and combined with honey before being transferred to glass bottles or jars for storage.
- Recipe Yield: The yield for this Homemade Elderberry Syrup recipe is approximately 1.5 to 2 cups of syrup, depending on the simmering and straining process.
- Serving Size: The recommended serving size for this Homemade Elderberry Syrup is typically 1 to 2 teaspoons per day for adults, taken as a supplement. However, serving sizes can vary based on individual preferences and needs. It's always a good idea to consult with a healthcare professional before incorporating any new supplement into your routine, especially if you have underlying health conditions or are taking medications.
- How many servings does this recipe make?:
- The number of servings this Homemade Elderberry Syrup recipe makes depends on the serving size you choose to use.
- If we consider a typical serving size of 1 to 2 teaspoons per day, and if we use a conservative estimate of 1 teaspoon per serving, the recipe would yield approximately 48 to 96 servings.
- Of course, this is just an estimate, and the actual number of servings can vary based on how much syrup you use each day and your preferred serving size. It's important to adjust the serving size according to your needs and consult with a healthcare professional if you're unsure about the appropriate amount for you.
- Ground cinnamon substitution: 1 cinnamon stick is roughly equivalent to about ½ teaspoon of ground cinnamon. With this substitution, you'll still be able to infuse the syrup with the warming, comforting flavor of cinnamon. Keep in mind that ground cinnamon might disperse more evenly in the syrup compared to a cinnamon stick, but the overall flavor should be quite similar. Adjust the amount of ground cinnamon to your taste preference if you want a stronger or milder cinnamon flavor.
- Ground Ginger Substitution: Use ½ teaspoon of ground ginger in place of fresh ginger. Please note:
- Ground ginger is more concentrated than fresh ginger, so using ½ teaspoon should provide a similar level of flavor. You can adjust the amount to your taste preferences.
- Keep in mind that the texture of the syrup might be smoother when using ground ginger, as you won't have the grated ginger bits.
- Ground ginger lacks the fresh, vibrant quality of fresh ginger, so the final flavor profile might be slightly different.
While using ground ginger is convenient, fresh ginger offers a vibrant and aromatic dimension to the syrup. If possible, using fresh ginger in the original recipe is recommended to achieve the best flavor and potential health benefits. However, if you need to use ground ginger due to availability or preference, the modified recipe provided above will still result in a delicious Elderberry Syrup.
- Cooling Time: The cooling time for the Elderberry Syrup after simmering and before adding the honey is typically around 10 to 15 minutes. This allows the liquid to cool down from a hot temperature to a warm temperature, making it suitable for mixing in raw honey without compromising its natural qualities. It's important to avoid adding honey when the liquid is too hot to preserve its enzymes and potential health benefits. After mixing in the honey, you can let the syrup cool completely before transferring it to glass bottles or jars for storage in the refrigerator.
Recommended Products
As an Amazon Associate and member of other affiliate programs, I earn from qualifying purchases. #CommissionsEarned #ad
-
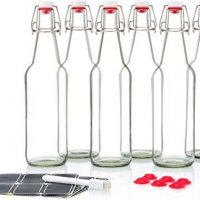
 Swing Top Glass Bottles - Flip Top Brewing Bottles For Kombucha, Kefir, Beer - Clear Color - 16oz Size - Set of 6 - Leak Proof Easy Caps, Bonus Gaskets, Chalkboard Labels and Pen - Fast Clean Design
 -
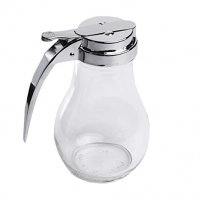
eHomeA2Z Syrup Dispenser Honey Pot Glass Jar Commercial Quality With Cast Zink Top (1, 14 Oz)
-
Weck Mold Jar Combo Packs (Standard)
-
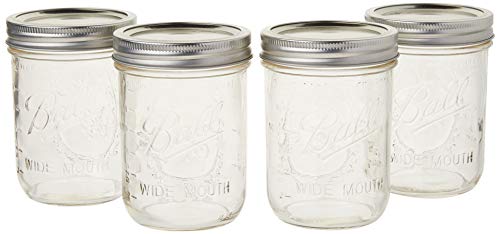
Ball Mason Jar Pint Wide Mouth Clear Glass W/Lids and Bands, 16-Ounces (Set of 4)
-
2 Mason Jar Wide Mouth 32 oz. (Quart) with Lid and Band - Clear
-
Cold Brew Coffee Bag 1 Pack | Hemp Nut Milk Bag Reusable | Coffee Sock, Cold Brew Filter Strainer Bag - Reusable Coffee Filter Fits 64 Oz. Mason Jar
-
Bellamei Nut Milk Bag Reusable 3 Pack Food Strainer Nut Bags For Almond/Soy Milk Greek Yogurt Professional for Cold Brew Coffee Tea Beer Juice Fine Italian Nylon Mesh (3 pack-8"x12"/10"x12"/13"x13")
-
Olicity Cheese Cloths, Grade 100, 20x20Inch Hemmed Cheesecloth for Straining Reusable, 100% Unbleached Precut Cheese Cloth Strainer Muslin Cloth for Cooking, Baking, Juicing, Cheese Making - 6 Pieces
-
Norpro Canning Wide Mouth Plastic Funnel, Green, 4.75in/12cm
-
Northeast Foraging: 120 Wild and Flavorful Edibles from Beach Plums to Wineberries (Regional Foraging Series)
-
Homestia Gold Measuring Cups and Spoons Set Stainless Steel 8 PIECE for Dry and Liquid Ingredients Engraved Measurement Heavy Duty Baking & Cooking Utensils
-
Pyrex Glass Measuring Cup Set (3-Piece, Microwave and Oven Safe),Clear
-
Creative Co-Op Floral Hand Stamped Stoneware Measuring Cups (Set of 4 Sizes/Designs)


Nutrition Information:
Yield: 48 Serving Size: 1Amount Per Serving: Calories: 24Total Fat: 0gSaturated Fat: 0gTrans Fat: 0gUnsaturated Fat: 0gCholesterol: 0mgSodium: 1mgCarbohydrates: 6gFiber: 0gSugar: 6gProtein: 0g
Please note that the Calculated Nutrition is an estimate at best. If you make this recipe and love it, remember to stop back and give it a 5-star rating – it helps others find the recipe!
- First published: 8/15/2023, 8/20/2023

- Hot Cross Buns - May 6, 2024
- Nordy Bars - May 6, 2024
- Dandelion Jelly - April 22, 2024
Leave a Reply