Kitchen Renovation Update Electrical and Ceiling - Check out what's going on in the Life's Little Sweets home kitchen renovation!
Estimated reading time: 13 minutes
Table of contents
Kitchen Renovation Update Electrical and Ceiling
Hi Everyone, I have been mentioning our ongoing kitchen renovation a lot recently on social media (especially Snapchat & Instagram), on the LLS e-mail list, and in posts.
I think it's time that I give you an update on our latest progress with actual pictures!
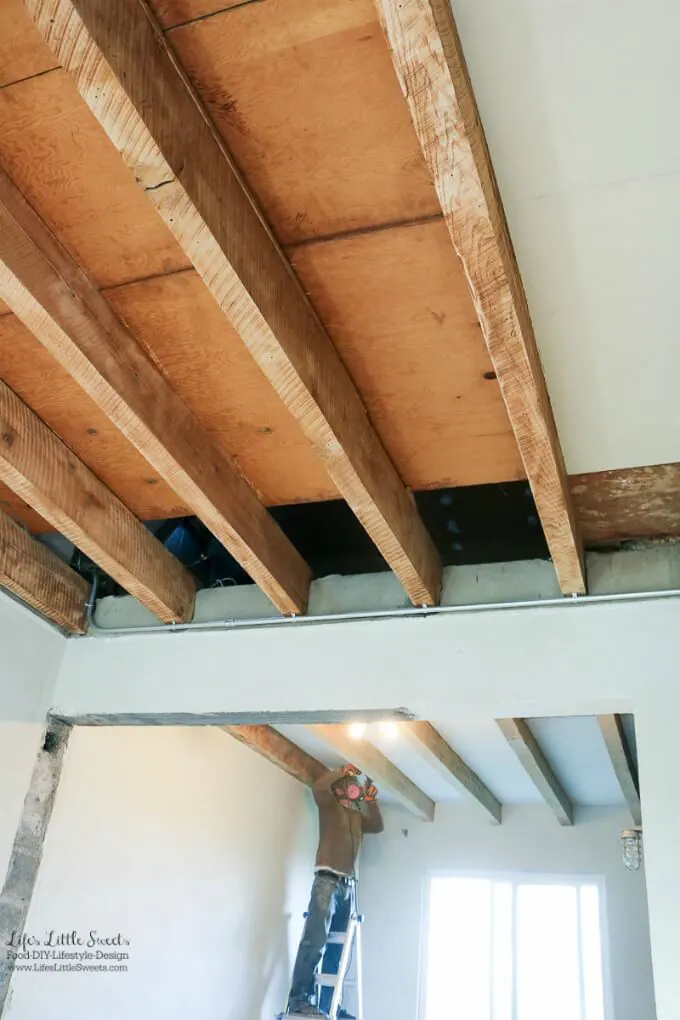
Last week and early this week, we had our awesome electrician, Jason (thank you Jason!), start on rewiring the electrical which included re-routing a lot of conduit that was sticking out in our kitchen space.
The conduit that was removed was previously hidden in the old kitchen cabinets that Eric removed.
I hope to do a post soon sharing all the before photos from before we moved in to the present. Already, the before and after is dramatic.
For this post though, I will share just the latest but I hope that documenting the process on the blog will provide encouragement for others going through or thinking about attempting their kitchen renovation.
Honestly, this will also be "kitchen renovation therapy" for me because though I am adapted to our new situation (it took about a week of slightly freaking out) of having our kitchen ripped out, it was hard to adjust to.
So, thank you in advance to listen to the potential whining on my part that may occasionally ensue, I'll try to keep that to a minimum 😉
We haven't ordered the cabinets yet because we have a plumbing issue to resolve first which will impact the design/placement of some of the cabinets but we hope to get that resolved soon so that there will be an end date in sight.
Our goal is to get the kitchen usable by June (and I hope it's before then!) because our French cousin, Lucille, is coming to stay for the Summer and we want to have it all nice and ready.
Not to mention, I need a usable kitchen for food blogging, LOL! Small detail... ?
A DIY Kitchen Renovation Project
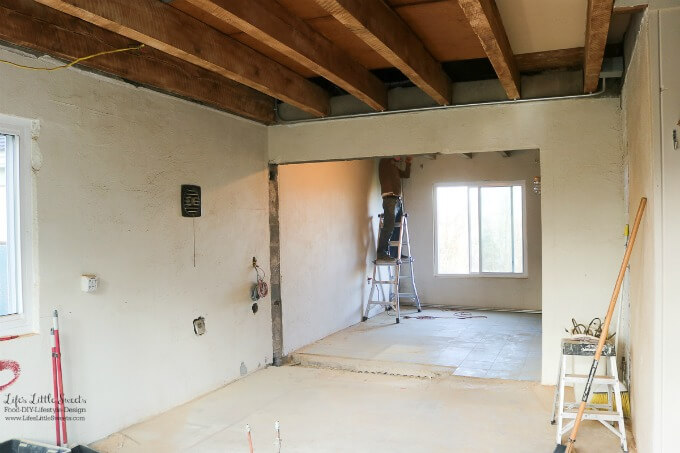
I took several overall room photos so you can really see what's going on.
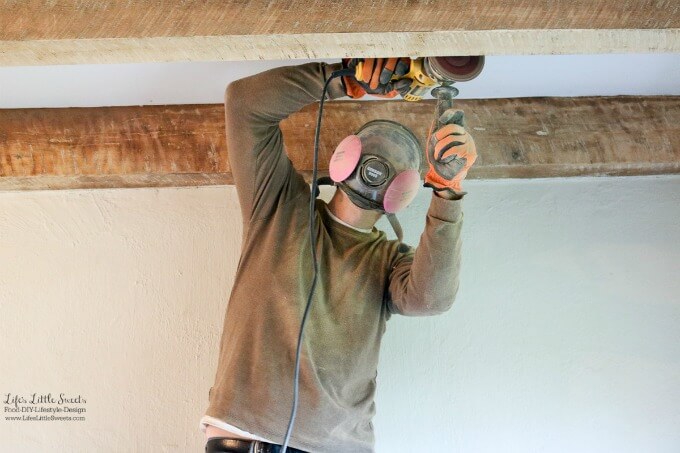
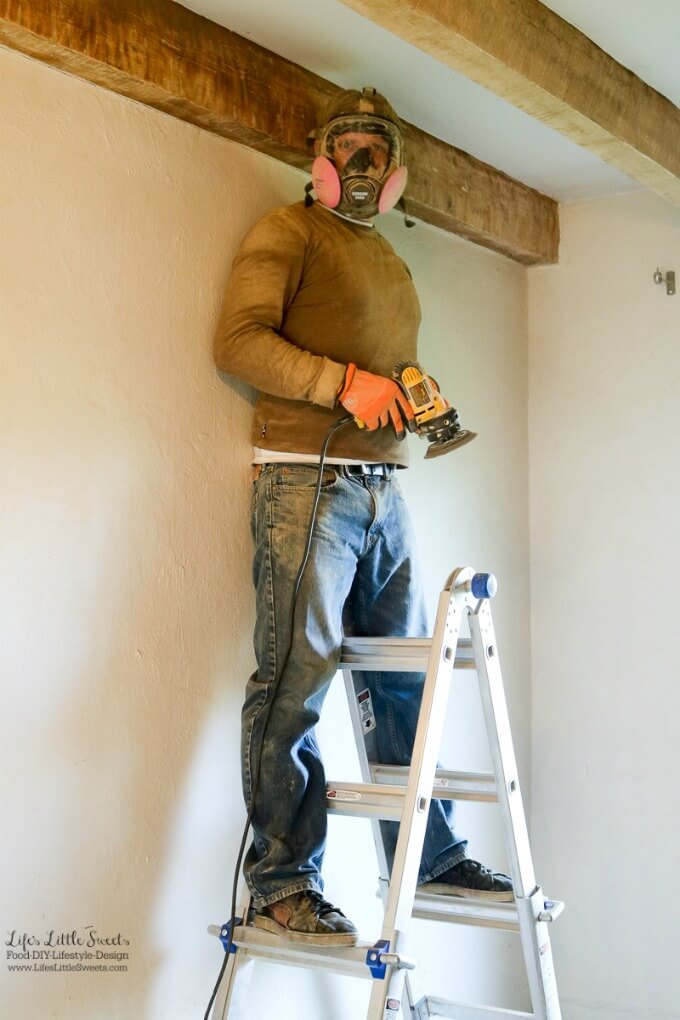
In the above photo, Eric is doing sanding on the far side of the room.
We are trying to DIY as much we can.
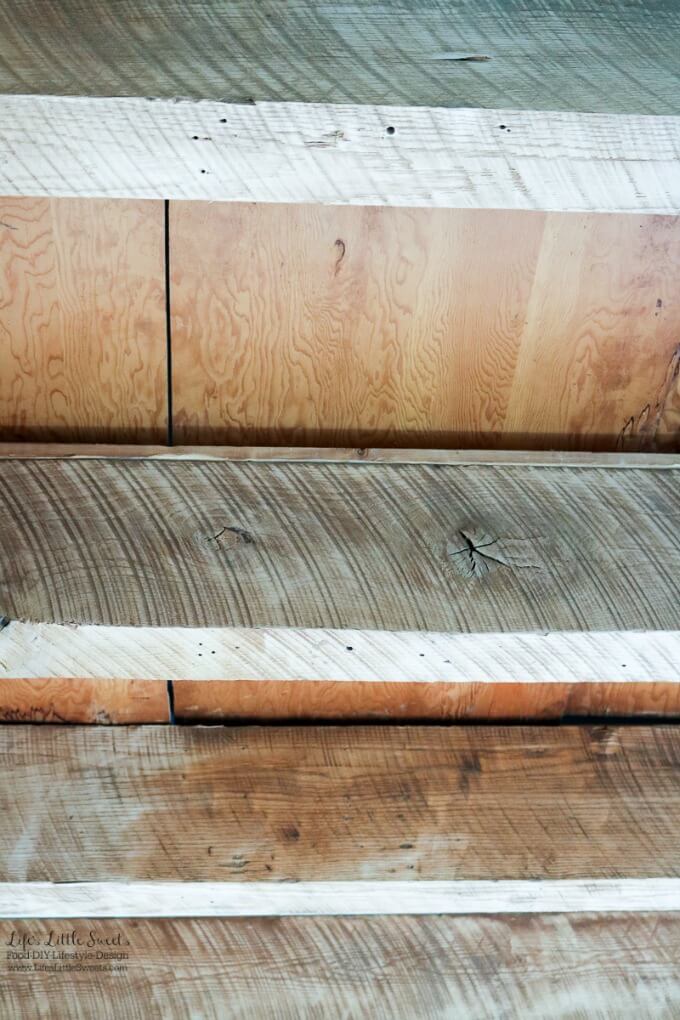
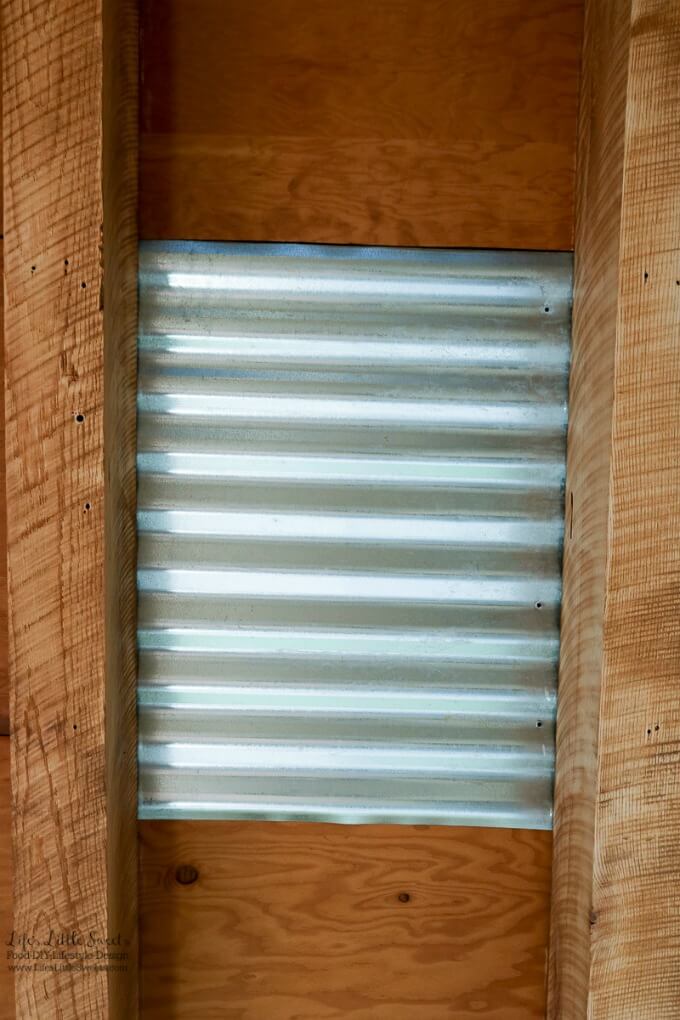
Eric is very handy, so he is doing whatever he can like the sanding and installing the corrugated metal ceiling (mockup shown below).
I want to give tons of kudos to my dear, sweet husband for doing a lot of the labor for this behemoth of a kitchen project.
Well, I say it's a huge renovation project but we have been biting off little bits here and there over the years to make it more gradual for us.
This method saves us a lot of money in the long run and while it requires tons of patience and being okay with things not being *perfect*, I will say it's totally worth it because it has really taken that amount of time to realize what exactly we need in a kitchen, how we use it, etc.
This is the "slow" kitchen movement!
I am leveraging my background as an architectural designer and designing the layout of the cabinets which will be all along this long wall on the left side in the above picture.
We are not doing any upper cabinets but are looking at open shelves for that upper area.
The kitchen gets fantastic light and we want to keep it as open and airy as possible.
We have now lived in this house for a little over 3 years and all the while have made several changes to the kitchen area, slowly removing cabinets here and there and now finally in this past month, and up to our June deadline, we are going to make a big push to get it done!
The Look and Feel of Our Design that is Uniquely Ours
We are going for an industrial/modern/studio look to go with our Mid-Century Modern home which was built in 1955 by an engineer for his family with 5 children (!).
This kitchen space will really be my studio space for the blog, I will be developing recipes here, shooting videos and our family will be using it every single day.
I also cook 99% of our meals so it has to work for me - literally!
Eric and I both went to art schools, he has a BFA from Arcadia University and I have my Bachelor's of Architecture from Pratt Institute so we are heavily influenced by modern-industrial design and the studio open spaces that we spent our college years in (and thank goodness have similar aesthetic styles, though his slants more to "Brutalist", ultra-minimal design, in my opinion;)
But hey, the NY times says Brutalism is back so he is on to something!
I lived in Brooklyn in renovated, factory studio spaces as my apartments over the course of the 5 years I was lived in NYC and that had a tremendous influence on me and the kind of space I feel comfortable in, i.e. minimalist, functional, open.
We hope and know for sure that this will be a kitchen like no other that we have personally seen - that is our goal.
We know that a lot of people we know do not really understand what we are doing with the look and feel of this kitchen and are wondering things like, "Where's the trim/crown molding?" or "Where's the color/accent wall?" or any number of questions and puzzled looks we get from friends and family members.
I know there are people out there that "get" our vision and ideas and I know this from the architecture profession that it's nearly impossible for most people to VISUALIZE what you are talking about sometimes even when they are looking at renderings.
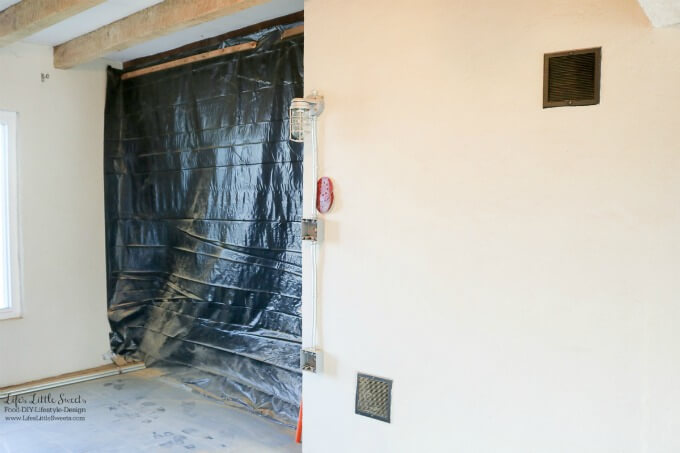
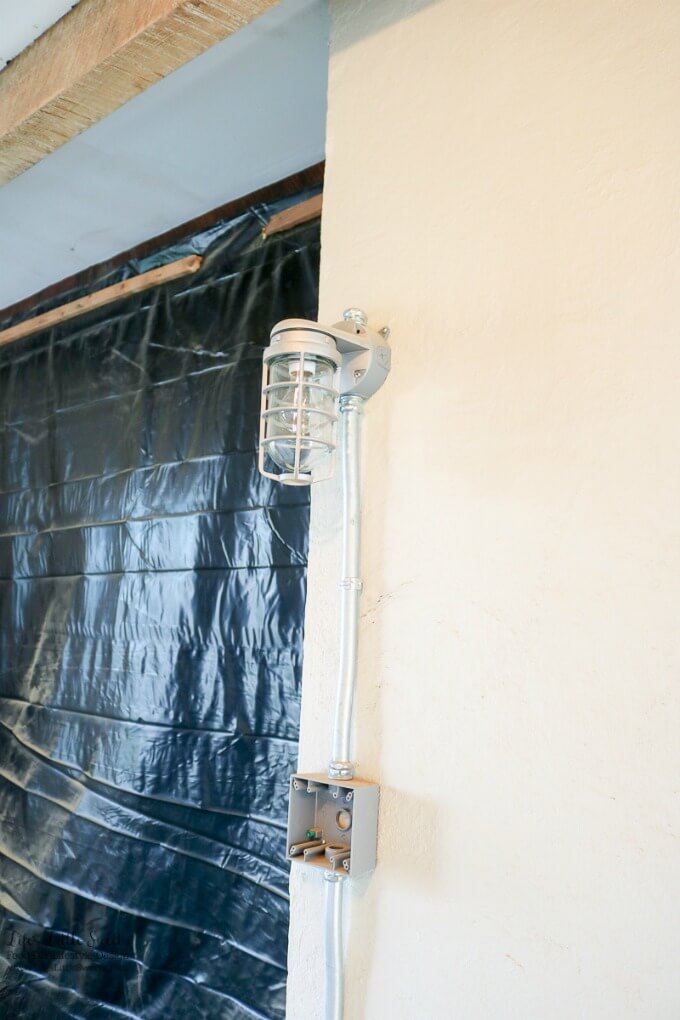
There's so much needed in the way of electrical and overall room lighting in this house and this kitchen renovation will finally address that.
Having proper lighting is so important; I actually learned the psychological effects of color and light in architecture when I was getting my degree.
Hint: It is very important.
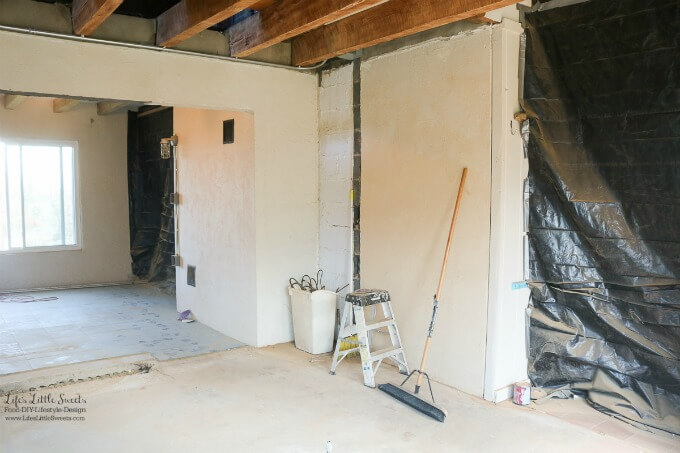
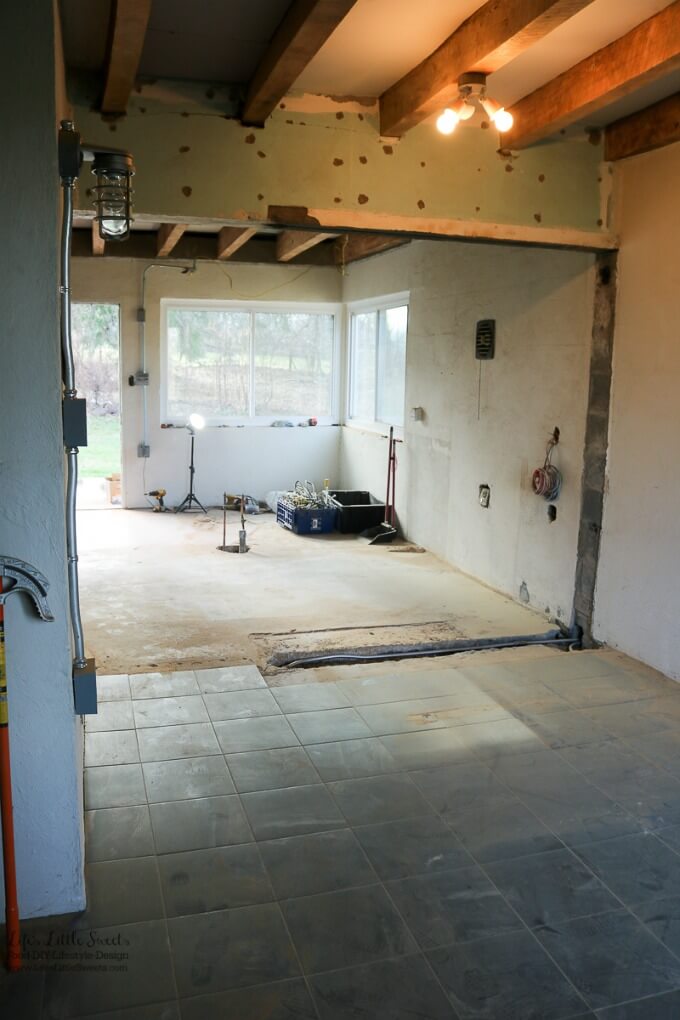
Backing up a little further, the above photo was taken from the West side of the room, looking towards the East side.
All of this will make more sense when I share the plans of the room in later posts.
This photo shows both areas that are blocked off with plastic.
The area on the right side of the photo leads into our "family room" which is actually more of a large mudroom that has the laundry closet, a coat & shoe closet, it now holds our open shelving pantry and we have often dined in there when entertaining over the past 3+ years. So really, it's a hard-working, vital extension of the kitchen area.
For this area, in terms of electrical, we have planned ceiling lighting to be installed and repair work to non-working/dead outlets.
I also want to add that's where my temporary "kitchen" is located while this renovation is going on.
Where the wall jogs in, in the photos it's right where that trash can is, we will have our refrigerator.
We haven't picked it out as I am still researching and it might be something that will come later too since our current one (which came with the house) still works and we are frugal people.
I would love to do something industrial (duh) and have it be more of a commercial look and we would both love a counter-depth refrigerator.
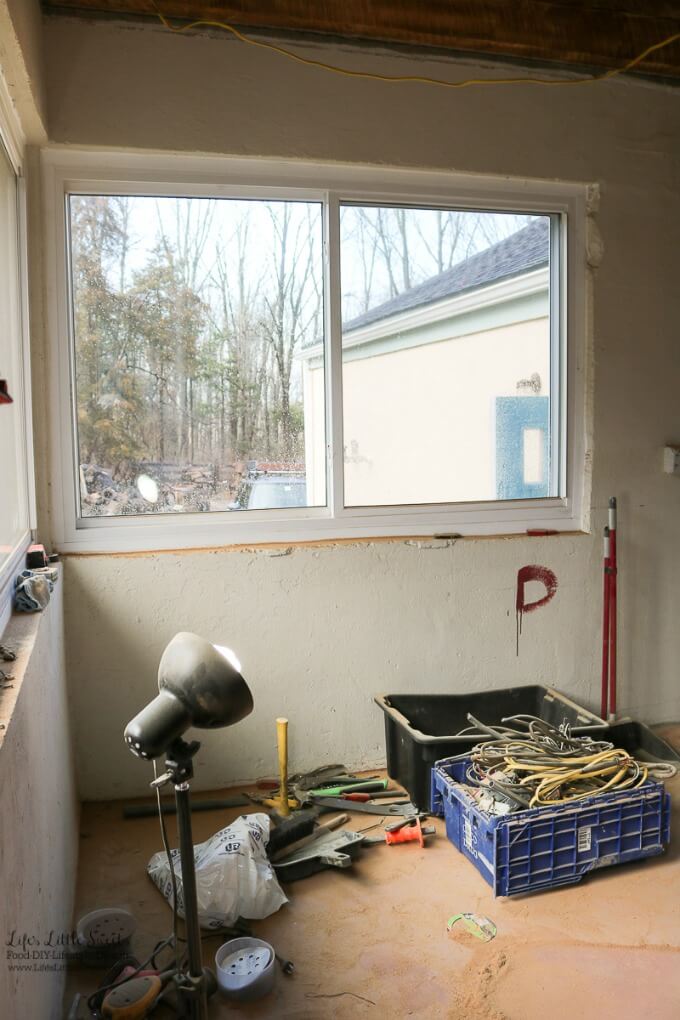
I took this picture from the West side of the room looking right at the window where my future kitchen sink will be centered under.
Just think, I'll be washing my pots and pans while most of my dishes will be washing in the future dishwasher right next to me.
Did I mention that we haven't had a dishwasher since we moved into this house?
No wait, I'm the dishwasher!
And being a food blogger, oh man, let me tell you...no, you don't want to know.
Actually, I have gotten used to it but it can take a while to clean up after an involved dinner so I will really appreciate the extra time I get to spend with my family or doing anything else except dishes when the kitchen is done 🙂
We will have a light directly over the kitchen sink which will help visually anchor this side of the room.
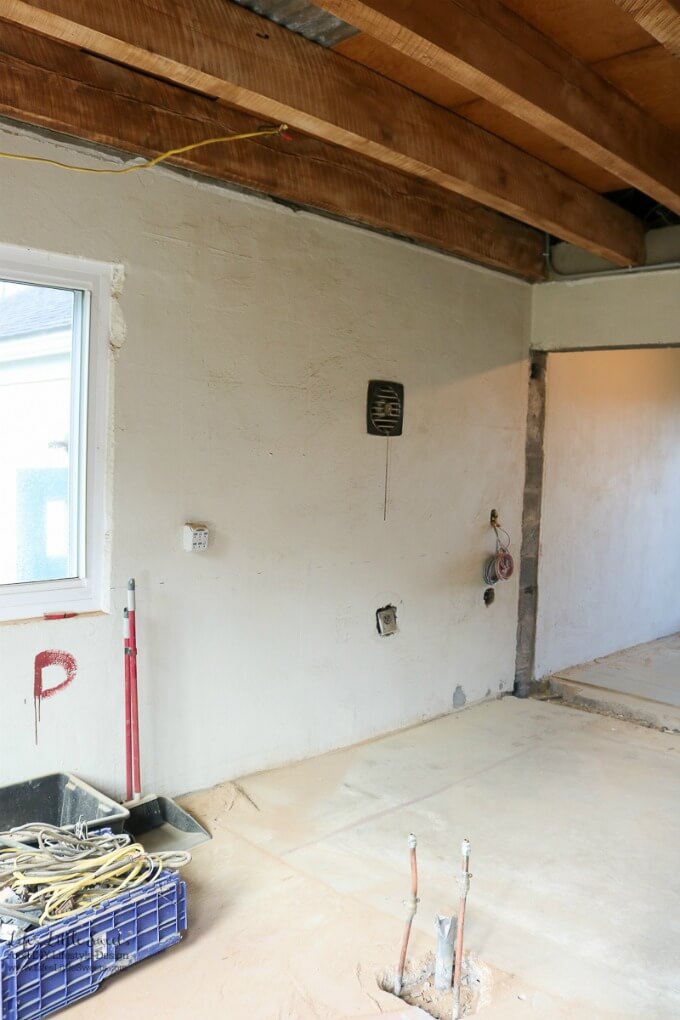
See that "D" painted on the wall? I painted that "D" for dishwasher in blood. No, just kidding for dramatic effect, it's only red paint!
There will be up-to-code, above counter height outlets in the locations shown above where those existing ones are. The oven range will be directly below that original black exhaust vent on the wall.
Eric may or may not weld a new hood since he can weld and we may just work with that existing exhaust vent or we may put in a new one which would be harder because we would have to drill into the wall at a higher height.
In both cases, we will have to put in proper ducting on the other side to vent it because right now it's venting into the garage which was added on after the house was built.
To the right of the stove (which may be a slide-in range or now we are considering an integrated cooktop with a built-in wall oven directly below) will be an under-counter microwave which will be integrated into the cabinet system.
Can't wait to show you all the plans, elevations, renderings, and different schemes we've been through - we are almost there with the final design.
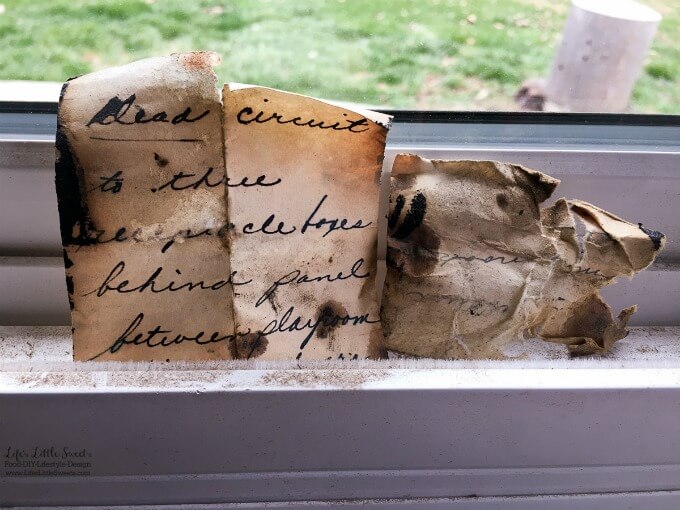
Old House Charm
Last but not least, one of the fun things about doing a renovation is what you find.
We have found mice nests in the old cabinets when removing them (ick! we were able to plug up the holes where we thought they were getting in from the foundation/garage) but here Eric found an old note with directions from the original owner.
Eric also discovered a map on the wall of the house too, I can share that when I share the plans.
Special thanks to Eric who didn't plan on ripping out the ceiling but did because I thought it would look better exposing the beams ❤
And special thanks to my dear, sweet daughter for going to bed early so I could put this post together!
I hope you enjoyed this peek into our Kitchen Renovation Project, thanks for letting me share this with you and I can't wait to share more and there's oh, so much more!
Latest Posts
- Dandelion Jelly - April 22, 2024
- Nordy Bars - April 14, 2024
- Hot Cross Buns - April 6, 2024


Leave a Reply