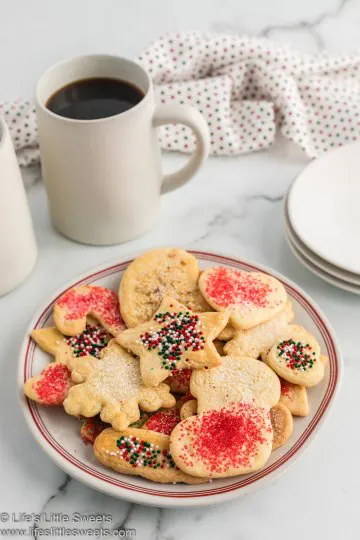


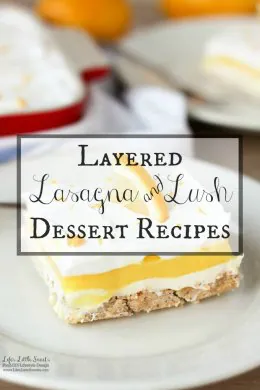
Maple Cinnamon Butter is a sweet and delicious butter recipe that is perfect for having on muffins, toast, popovers, bread, or just about anything you imagine. It only takes a few minutes and 4 simple ingredients to make this maple-cinnamon scented butter.
Any Season April August dairy free December Fall February Food Gluten-Free Holidays January July June March May New Year's November October Paleo Recipes Recipes by Diet Lifestyle Recipes By Month Recipes By Season Savory September Spring Summer Vegan Vegetarian Recipes Veggies and Sides Winter


Diane says
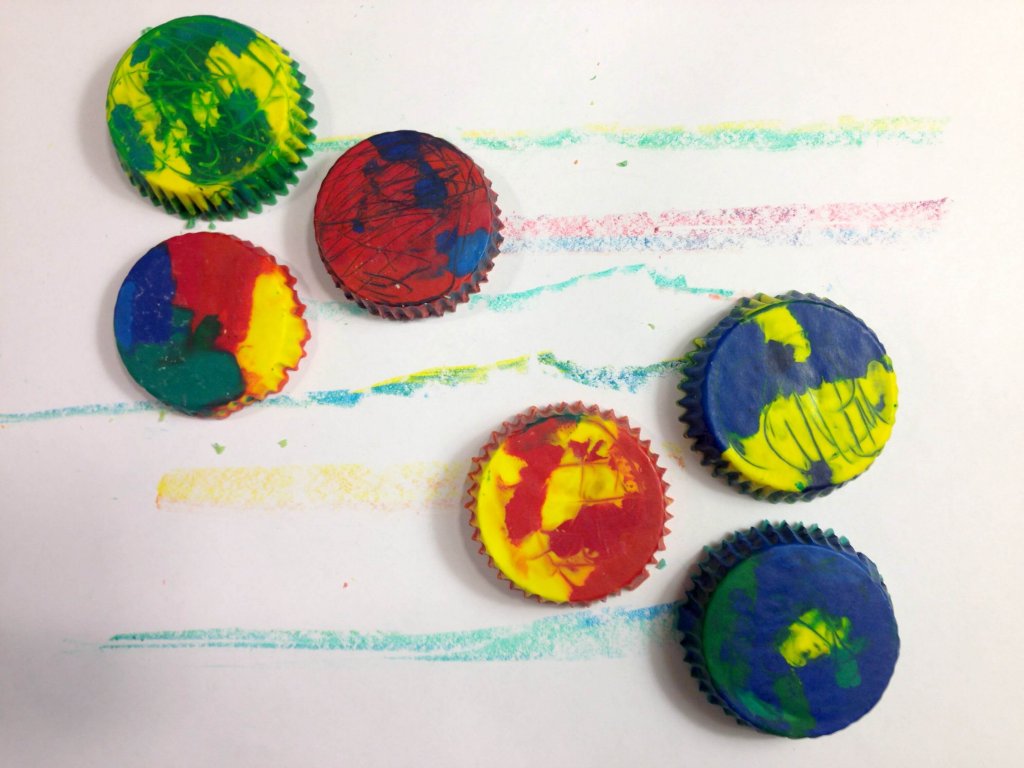
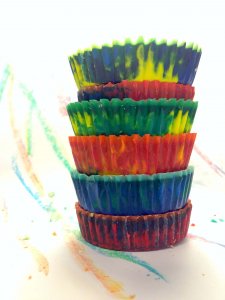
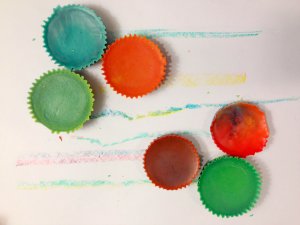
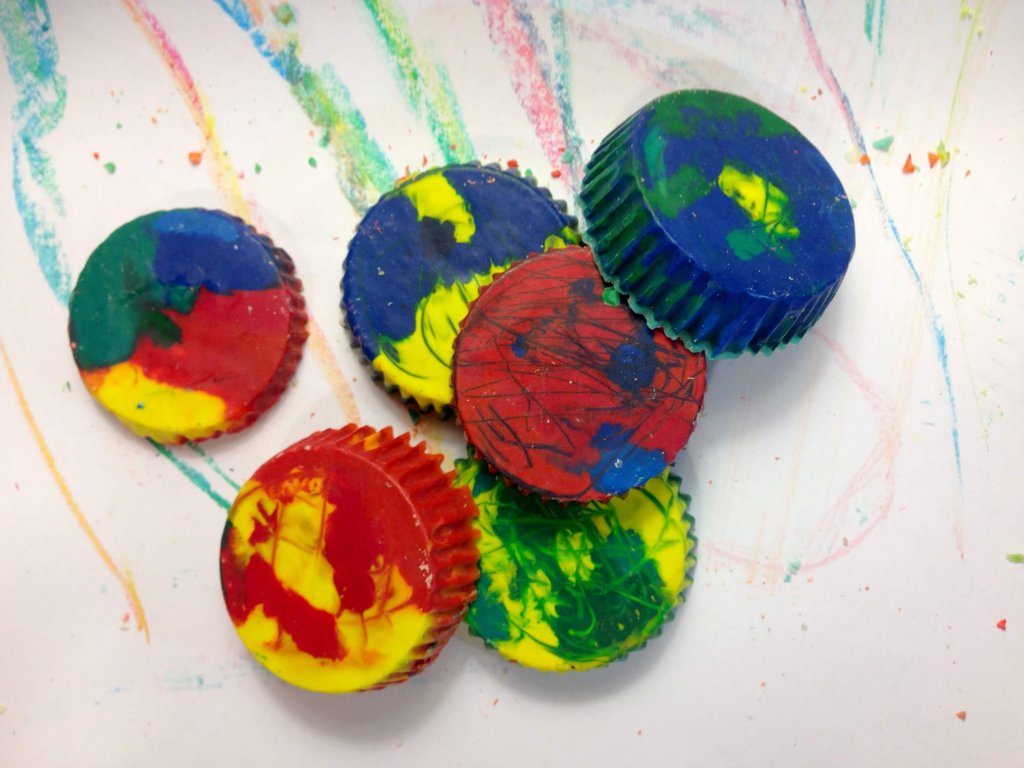
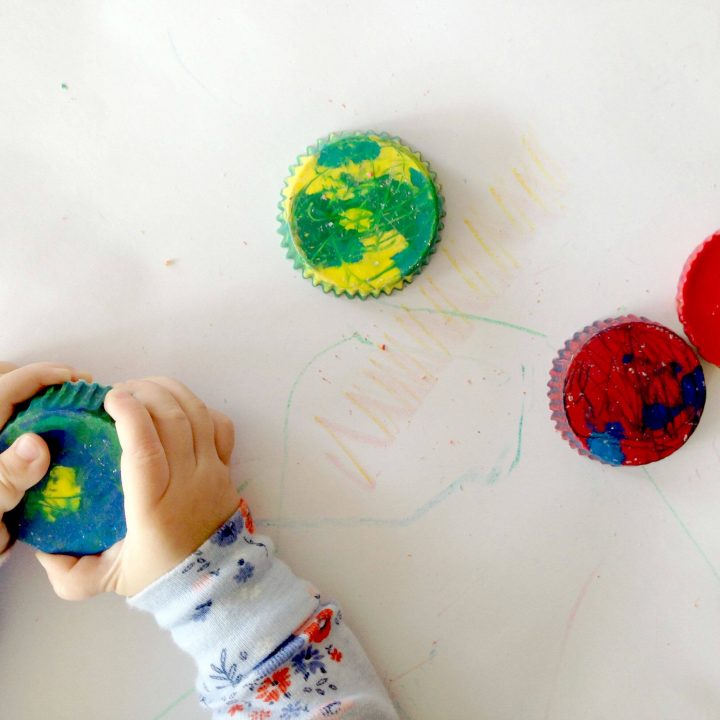
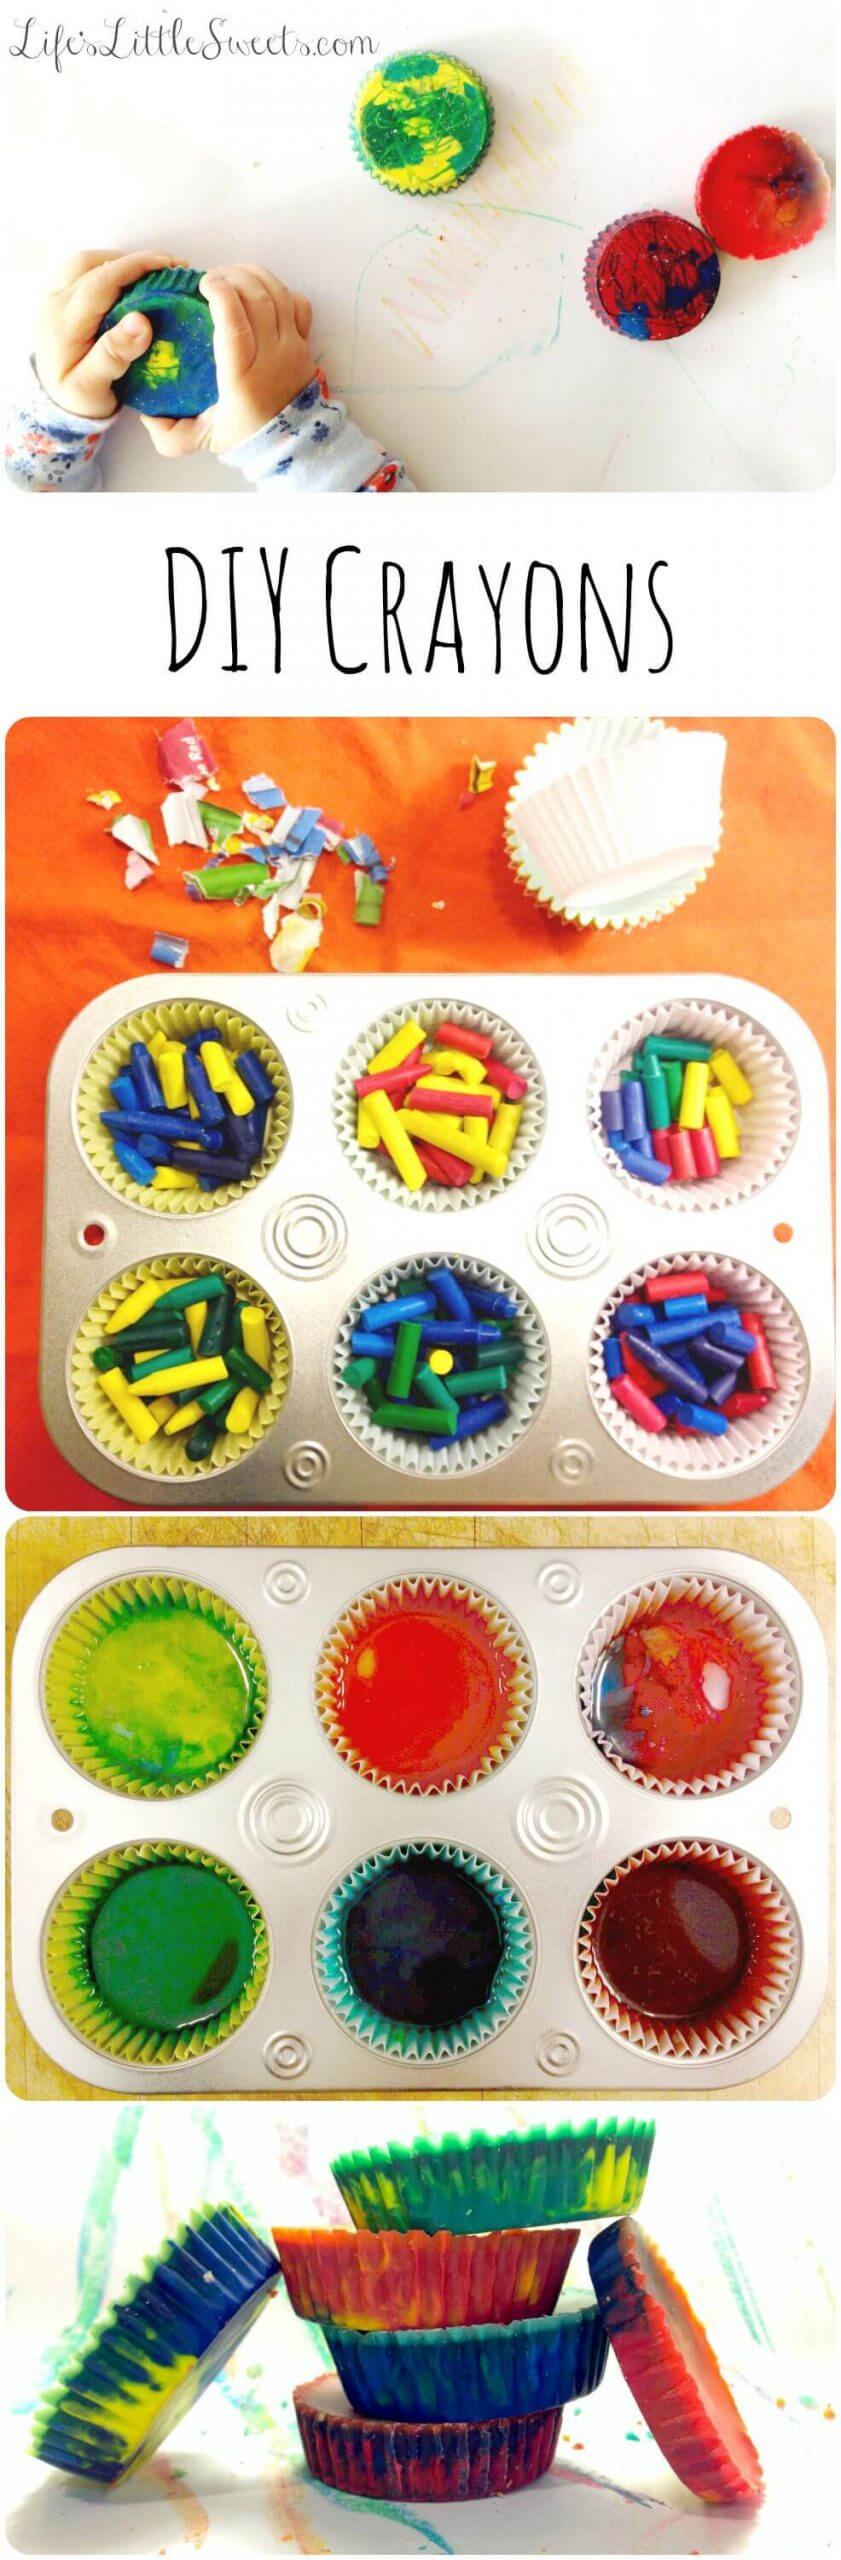
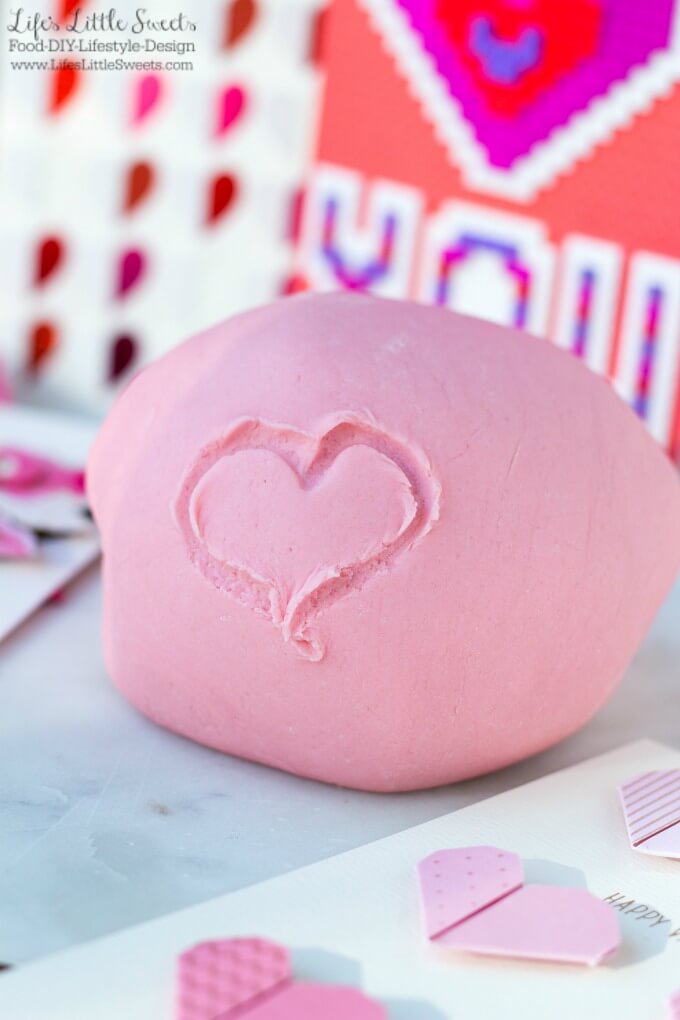
This is a clever idea for recycling broken crayons. There is always a never ending supply of broken crayons when kids craft! I can see these really useful for the preschool set where the large easy grip and sturdy crayons would be a big help! My grandkids wil love helping make these. They will be collecting broken crayons for this project soon!
Sara says
Hi Diane, aww, that warms my heart to hear this comment:) I really had a nice time doing this simple activity with my daughter and nieces and my daughter has been playing with them all week since we made them! I think it's also good because it teaches reusing and recycling to young ones - plus the crayons are just really cool!
Katalina @ Peas & Peonies says
These look good enough to it lol No, but seriously why they don't make chocolate cups as colorful and cute, I would surely buy some 🙂 maybe thats a recipe idea for me! These crayons are so creative and perfect for little hands!
Sara says
Hi Katalina, I think you are onto something! Yeah, these are a great size for first crayons. Thank you for stopping by!
Claire | Sprinkles and Sprouts says
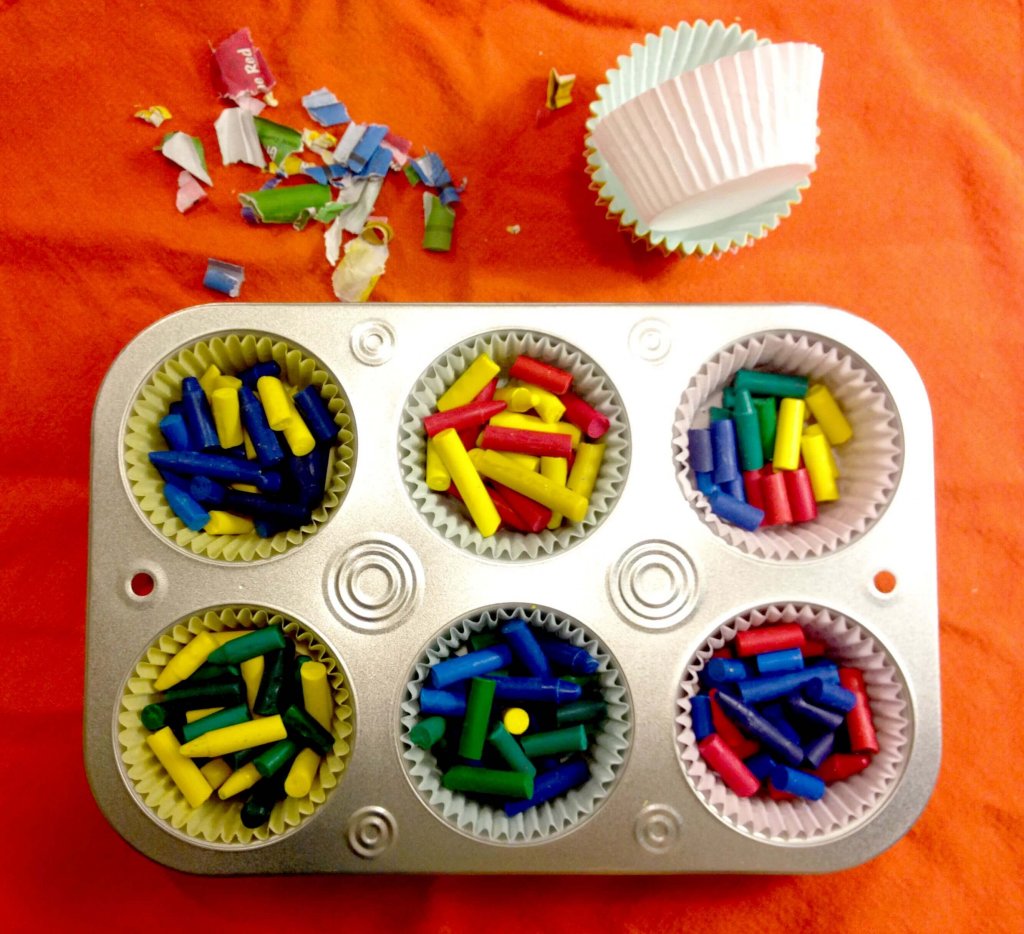
I saw an article recently that someone has set up a charity that collects the broken crayons from cafes and restaurants, melts them down and creates jumbo crayons for children in hospital to use. I thought it was such a wonderful idea and it made me think about all the crayons I throw away at playgroup because they are too small for our young children to hold,
I never thought of making my own melted down crayons!!! Thank you for this post, now we can use homemade crayons and not waste our resources.
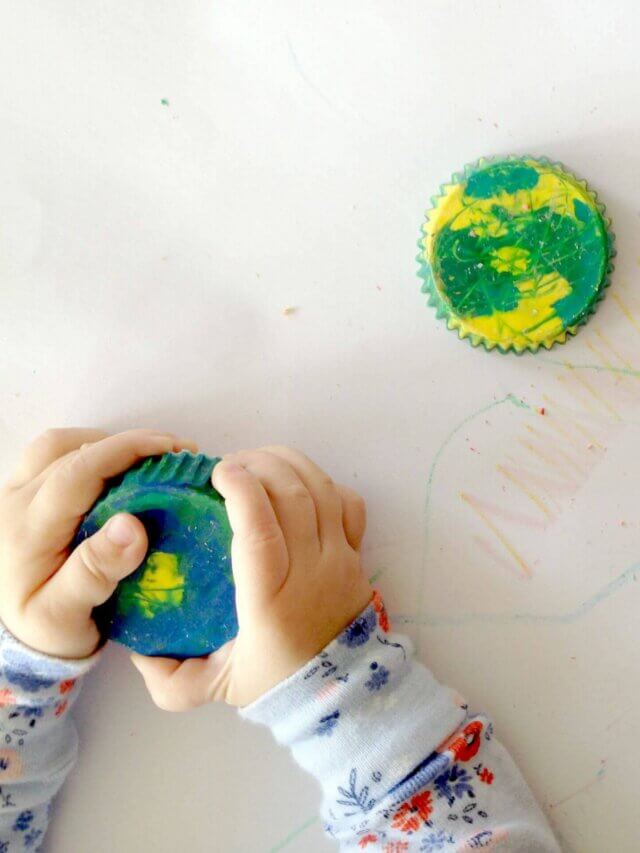
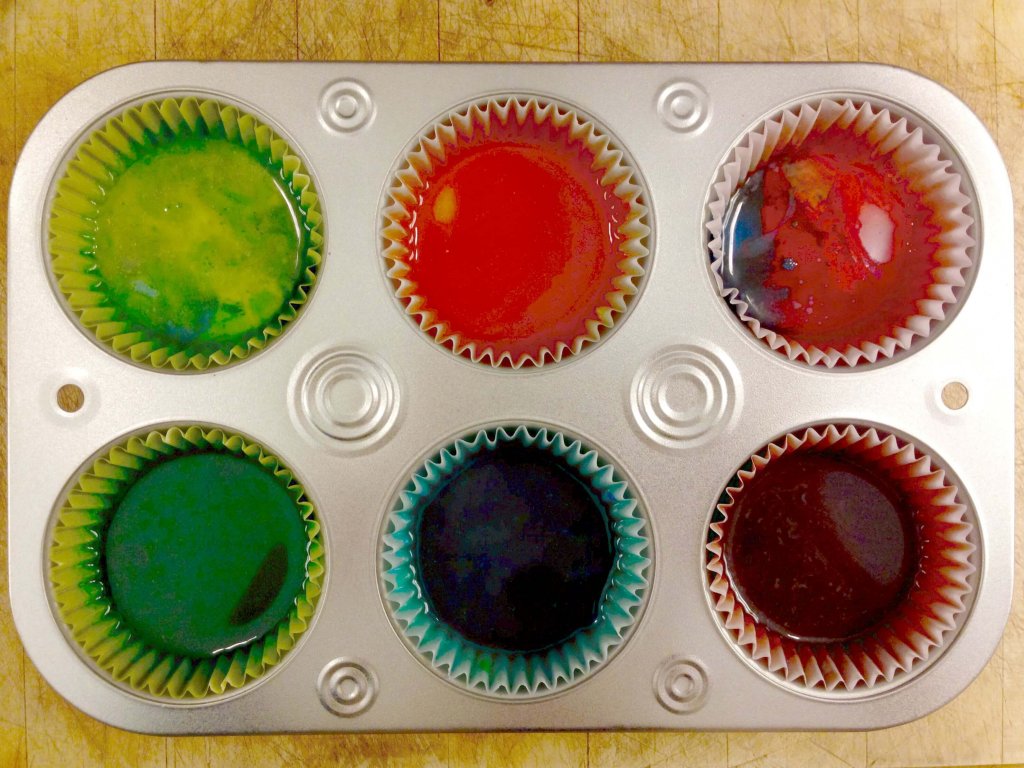
Once it is melted do you think you could pour it? I have some silicone ice cube trays (from IKEA) that are long and thin. They would make a great shaped crayon.
Sara says
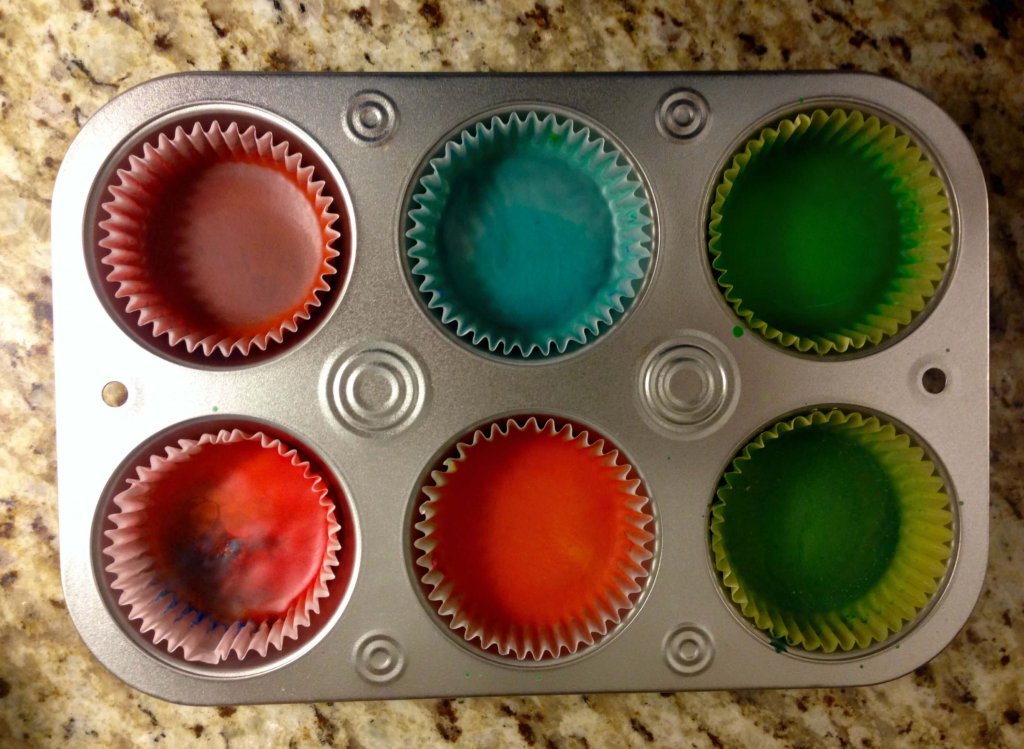
Hello Claire, Thank you for your information and stopping my by blog! I am always in favor of reusing anything that can be reused, it is a teachable lesson to young ones too about being kind to the earth by not wasting and being resourceful:) I would be vary of pouring the hot wax if doing this with children. Perhaps best to avoid that scenario all together. I think it would be good to just put the broken crayons in the molds and there are so many shapes of molds available, yes, the silicone ones would work great! If it's long and thin (like the IKEA ones you are describing) and wouldn't fit the broken crayons as easily as say the muffin tin, perhaps chopping up the crayons (having an adult do this part of course!) and putting in the small, chopped pieces might work better to get in that kind of shaped mold. This could produce some interesting, multicolored crayons, if you are mixing the colors or I guess you could sort the broken crayons by color too, to get more of a uniform color. Thank you for your comment and information!
Sarah says
Hi Sarah- I just wanted to let you know that I nominated you for the Liebster Award! I love your blog and I just wanted to share. If you want to know more about the nomination I made a post here with the info on it. http://www.asaucykitchen.com/2015/09/liebster-award.html
Don’t feel like you need to continue the chain if you don’t want to, but at any rate I still wanted to let you know that I think your blog is so much fun and I love all the recipes/crafts!
Sara says
Hi Sarah, Thank you so much, I am so honored!
Caitlin says
This brings back so many memories for me! My mom has run a daycare for 30+ years and she always had tons of broken crayons she turned into "crayon cakes" as she liked to call them. Such a great way to reuse suppliers and create new tools for little artists. Thanks for sharing!
Sara says
Hi Caitlin, thank you for visiting my website and sharing your memory! I love that. Crayon Cakes is a good name for them 🙂 I want to include more DIY and Kid-Friendly DIY on my blog because this post was so much fun. I will be checking out your site!