


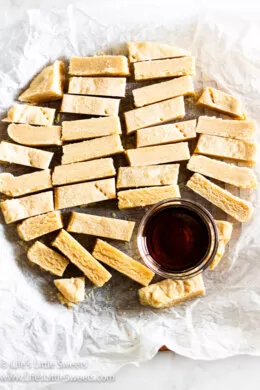
Maple Cinnamon Butter is a sweet and delicious butter recipe that is perfect for having on muffins, toast, popovers, bread, or just about anything you imagine. It only takes a few minutes and 4 simple ingredients to make this maple-cinnamon scented butter.
Any Season April August dairy free December Fall February Food Gluten-Free Holidays January July June March May New Year's November October Paleo Recipes Recipes by Diet Lifestyle Recipes By Month Recipes By Season Savory September Spring Summer Vegan Vegetarian Recipes Veggies and Sides Winter


Sarah @ Champagne Tastes says
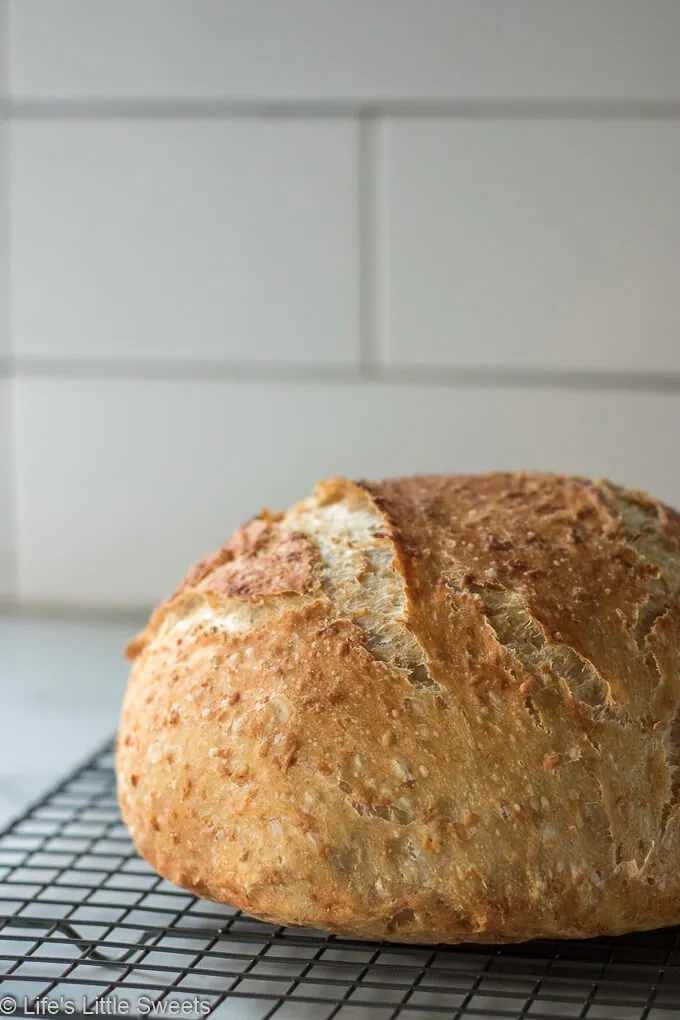
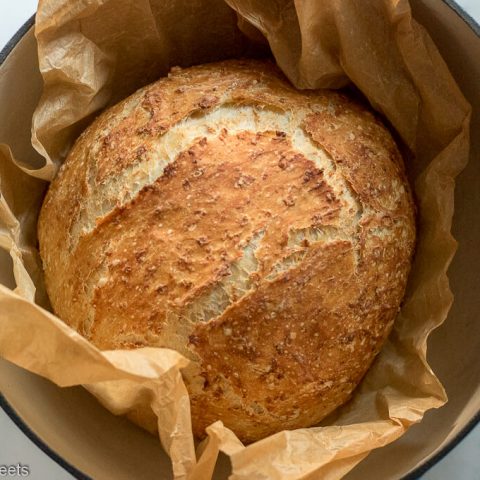
Yum! There's a snow storm headed our way, so I'm stocking up on recipes I haven't tried. Oatmeal bread sounds so wholesome.
Mark says
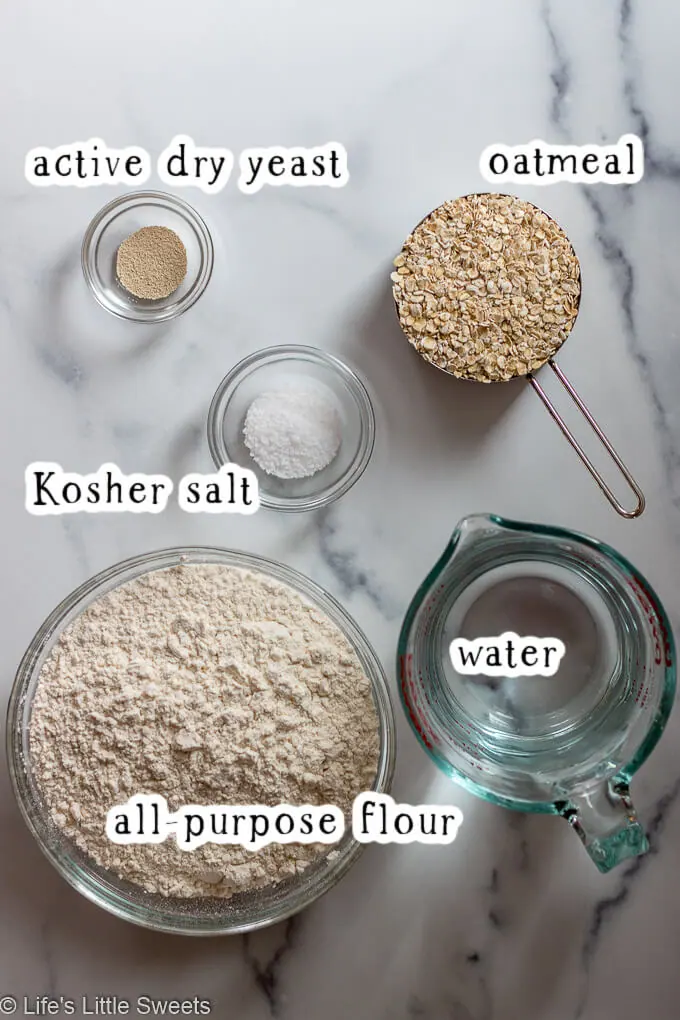
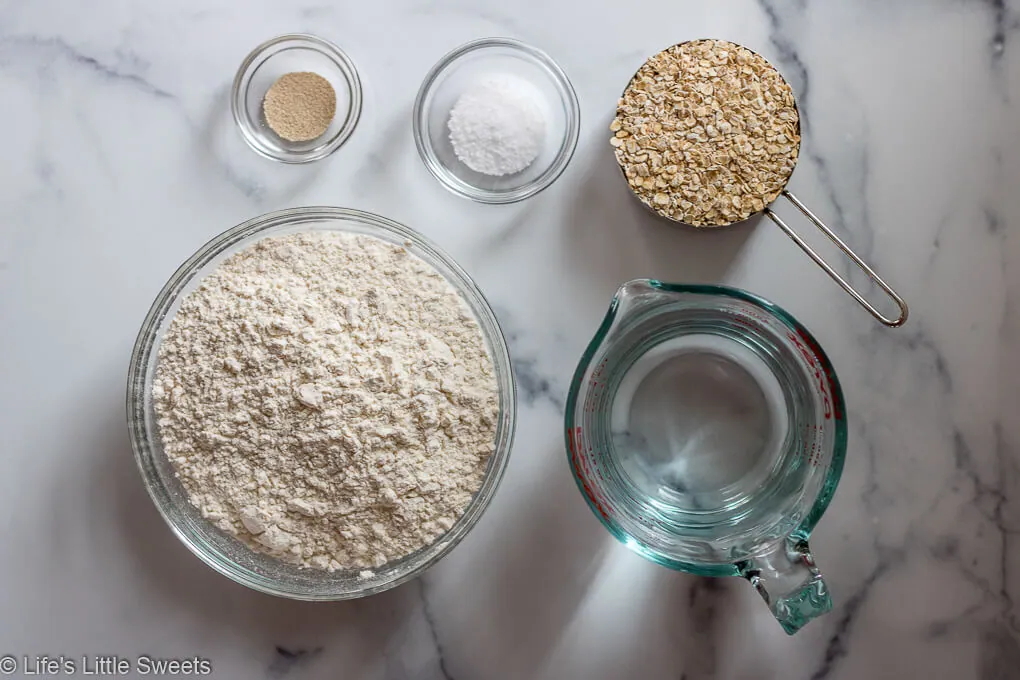
You have said "whole grain oats" and also "oatmeal". By this do you mean rolled oats? Whole grain oat flour? Or actual oat berries?
Thanks
Sara says
Hello Mark, thank you for your question to clarify. I mean whole grain oats, not oat flour, not oat berries, not steel cut. I have used quick oats and that has worked as well. Thank you!
Mary says
You still did not answer the question. The phrase "whole grain oats" could refer to many things.
https://wholegrainscouncil.org/whole-grains-101/easy-ways-enjoy-whole-grains/grain-month-calendar/oats-–-january-grain-month/types
Sara says
Hi Mary, from the link you provided, the "Rolled Oats – regular (old fashioned)" would be best. Thank you for commenting!
Carmyn says
I thought that if whole grain oats were used, they would have to be cooked. I have whole grain oats and Im so glad I figured out that rolled oats was the ingredient. Thanks!!!
Carmen says
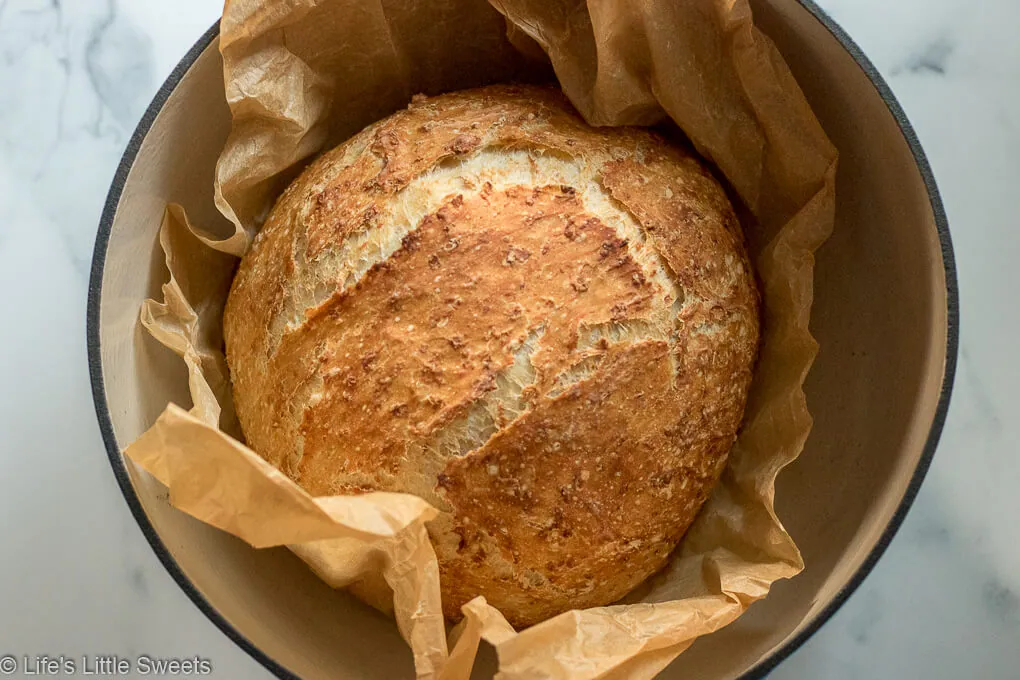
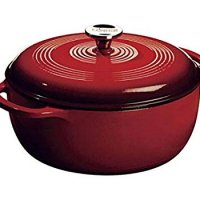
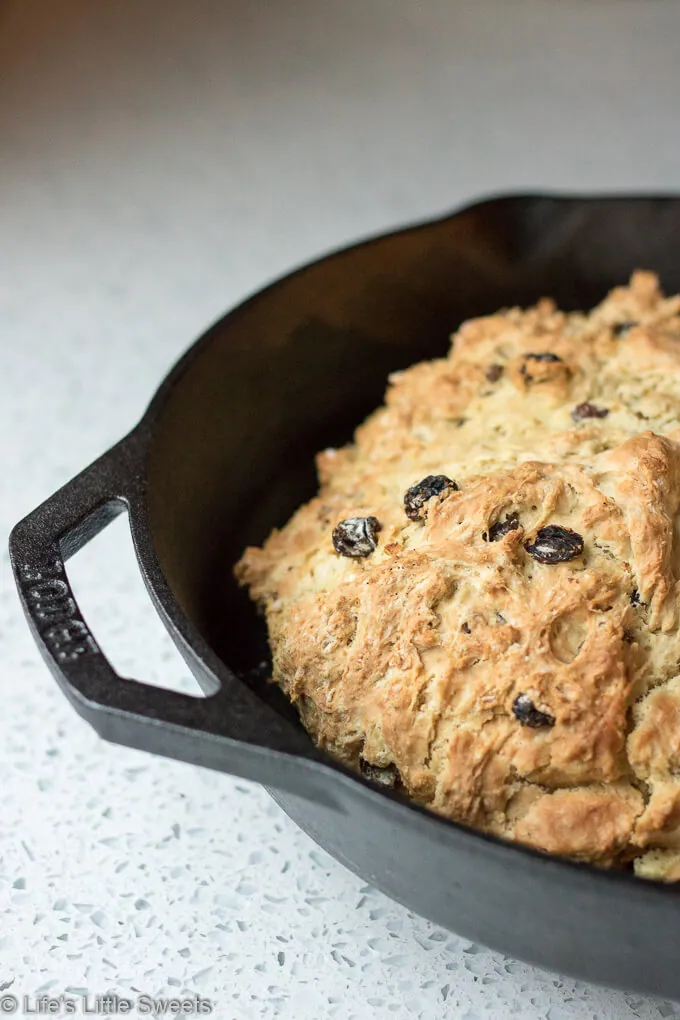
What size Dutch oven is used? Also, what do you mean by 'prepared parchment paper'? Thanks!
Sara Maniez says
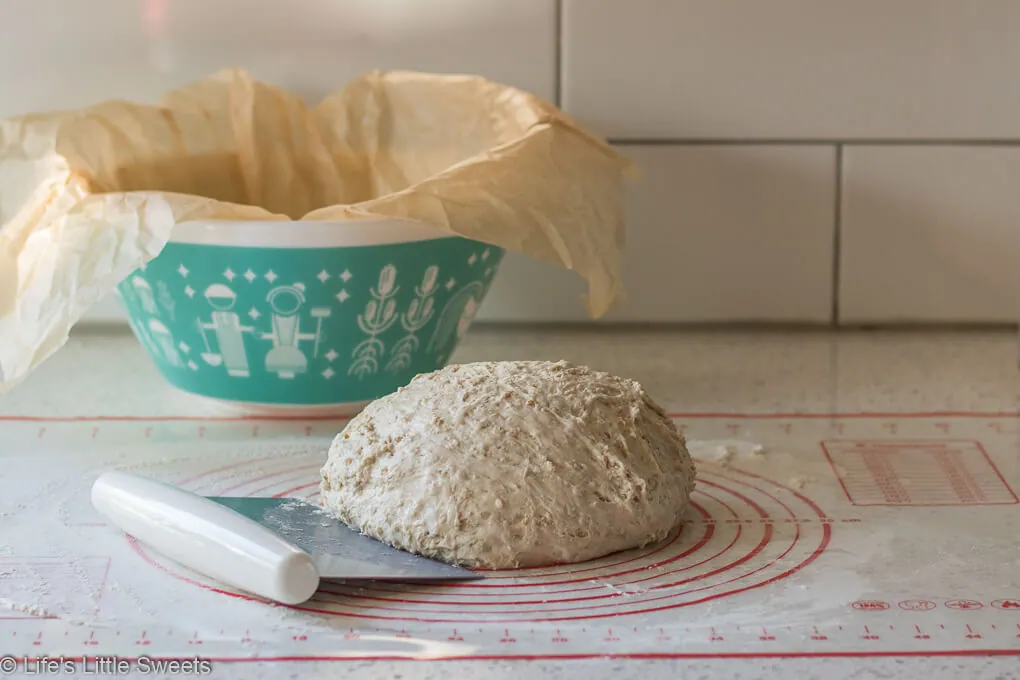
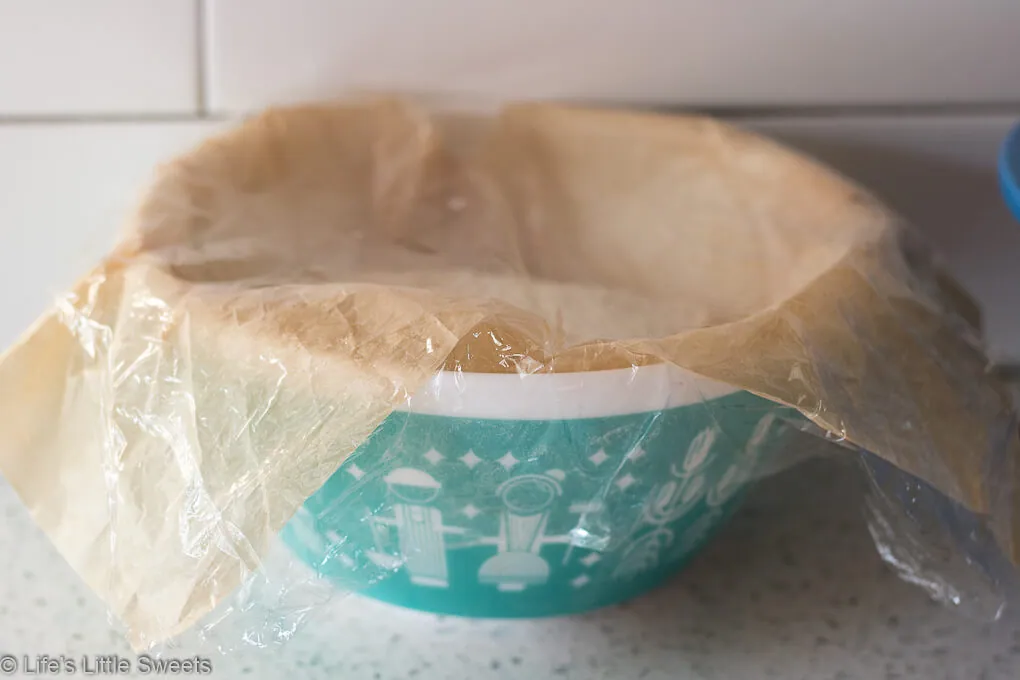
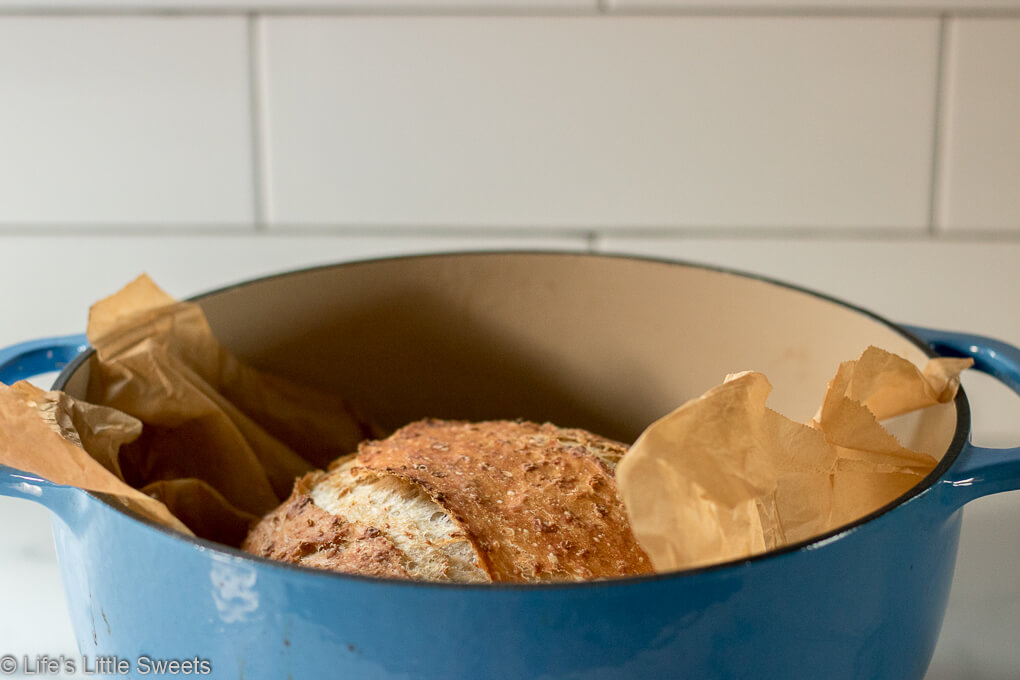
It’s 11 1/2 inches in diameter and 8 quarts. For the parchment paper, that just means to tear off a piece of parchment paper to place the dough in so it bakes in the parchment for the first 30 minutes, the remove the parchment for the last 10 or so minutes. Let me know if you need any further clarification. Thank you for your questions!
Lynda says
Made this to go with stew. Was chilly here so proofed in oven for the 3 hours. A little concerned as not many bubbles but continued. After foulding, put in a proofing basket then dumped into cast iron pot. It rose nicely and turned out great! Was definitely worth it and will make again. I did use infant yeast,all I had, and used 1/2 cup of buckwheat flour...just because!!
Sara Maniez says
I’m so glad that you liked it! Thank you for coming back to share your experience!
Lynne says
Can this be made with Whole wheat instead of all purpose,and what do I have to add?
Sara Maniez says
You may need to add a little bit more water for whole wheat flour because whole wheat absorbs more water. Let us know how it works out if you try it! Thank you!
Sis says
I've made the oatmeal bread and the flaxseed bread. Both are delicious!! My latest bread making included the oatmeal bread recipe plus I added a tablespoon of flaxseed, tablespoon of poppyseed, tablespoon of sesame seeds and a tablespoon of chia seeds. I love it!!
Sara Maniez says
Thank you for coming back to comment! I am so glad you like it and thank you for sharing your ideas too! Have a wonderful rest of your weekend!
Jennie Pryor says
I do not own a Dutch oven. What should I use instead? A square baking pan or glass square baking dish? Would either of those work or a loaf pan? Thanks!
Sara Maniez says
Thank you for your question! An large pot and lid (and the knob) that’s heat safe to 500 degrees in the oven will do. Good luck!
Wendy says
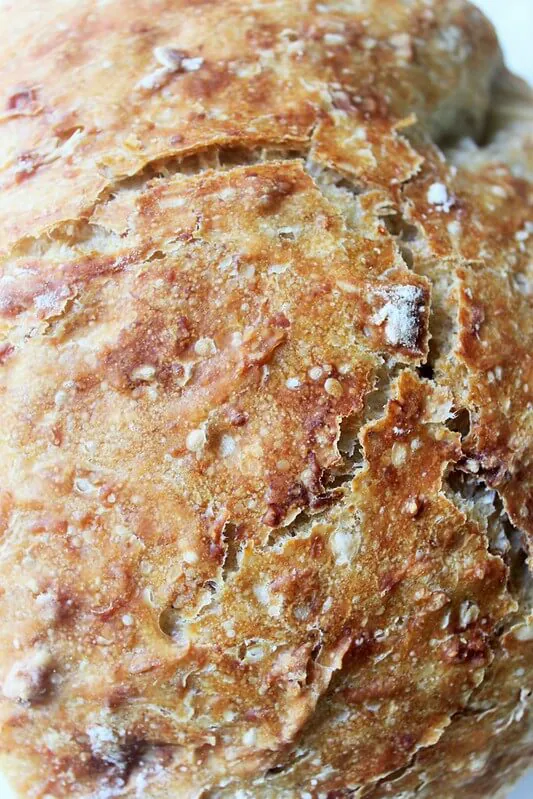
Great recipe. Dough was easy to work with. I liked that it did not take 12-18 hours like most other dutch oven breads. It was a beautiful loaf and delicious!
Sara Maniez says
Thank you for coming back to comment! It makes my day! I’m so glad you liked it!
Jerri says
I have started making this bread at least once a week and absolutely love it. Easy and so delicious!
Sara Maniez says
Thank you so much! I’m glad you love it!
Susan says
Can I use bread flour for this instead of all purpose for a chewier bread?
Sara Maniez says
Yes! Absolutely! just substitute the same amount. Thank you for your question.
Rachana Patel says
Can I use wholewheat flour instead of all purpose floor??
Sara Maniez says
In my experience, whole wheat absorbs more water than all-purpose, so you may want to adjust the amount of water slightly. If you try it, let us know how it comes out.
Zoe says
I would love to try this with whole wheat flour as well. How much extra water would you recommend? Many thanks!
Sara Maniez says
Hey there, I found this online when researching the subject, “The “ideal” flour/water ratio is 2.8:1 (by volume) for white flour and (based on some calculations) about 2.5:1 for whole wheat flour. So, if you have 1 cup of white flour and you replace it with 1 cup of wheat flour, you need to add about 2 tsp more water.” Hope that helps!
Deanna says
Good question! I substituted 1 cup of white flour with whole wheat flour and the dough turned out very dry.
Susan says
One more question is there really only a quarter teaspoon of yeast in this bread? Doesn’t seem like enough compared to other recipes which takes a whole tablespoon. I’m assuming it is not the rapid rise yeast but the regular yeast. Thanks love your website and recipes.
Sara Maniez says
Yes, you are correct, this recipe uses regular active dry yeast and time. Thank you!
Susan says
I made the bread yesterday, the crust was very tough on top and hard on the bottom, the inside was nice and soft but almost gummy, what did I do wrong? The flavor was great, I managed to slice it and put it on a cookie sheet and put it in the oven to dry out. The loaf disappeared. I want to try again but want to make sure I don’t have the same results. Thanks
Cindy Hyder says
I saw that you did this in 2020, but as you know ovens vary, so I hope you tried changing the bake time by 5-10 minutes, lengthening the baking time in parchment (to further cook the inside) & shortening the time out of parchment (to lessen the firmness of the crust). Continue to adjust the time more or less each time you make it till it comes out the way you like it.
Marcy says
Just made this for the second time. Love this recipe!! I might get adventurous and add some cheese and jalapenos next time!
Sara Maniez says
Cheese and jalapeños sounds delightful! let us know how it works out and thank you for coming back and commenting!
Chris says
I'm making my second loaf- with extra oatmeal-- It is absolutely delicious!!!! I don't have a dutch oven, so used a covered pre-heated casserole dish-- worked a charm.. adding seeds for the next batch!
Sara Maniez says
I am glad that it worked for you, thank you for sharing your experience!
debby newpol says
I have taken up baking bread during Covid and this is by far the best one I have tried yet! Making it again for the second time this week. I was wondering if I divided in half to make 2 smaller loaves if the baking time would remain the same.
Sara Maniez says
You could try half the time and just check it. If you try it, let us know how it works out!
Pat says
Made this today using half white and half whole wheat flour. Did not need to adjust the water. Loaf tuned ou beautifully!
Sara Maniez says
Thank you for coming back to comment! I am glad everything worked out, makes my day!
Joyce says
I don't have any of the pans ypu suggested...I wouldn't use them that much just to purchase for this recipe. Can a loaf pan be used? I have many of those.
Sara Maniez says
I haven't tested it with a loaf pan but if I do I will add a note in the recipe. It should work but the baking time may be different. I would recommend keeping an eye on it as it bakes in case you need to pull it out sooner or later than the baking time for the Dutch oven method. Let us know how it works out! Good luck!
Sandia Sonmor says
I have tried it on a parchment lined cookie sheet. Made 2 loaves. 425 for 10 minutes then lower temperature to 350. For 30 minutes. I also let it raise overnight and then give the loaves 1h30 before cooking.
I would try bread pans too.
John says
Thank you for this recipe! I had given up baking yeasted bread since I had to go gluten free. This recipe inspired me to try again and it came out great using GF flour.
I believe I will let it rise longer the first time and probably let it rest a bit longer as well, as it came out a little dense. Good texture and flavor. Way cheaper and much better tasting than buying GF bread that tastes like styrofoam.
John
Sara Maniez says
This is good to know your experience with GF flour, thank you for coming back to share with the community! I am so glad that you like the recipe.
Helen says
This was not a success for me. It was too dense and gummy and I did not get a good rise. I will not be making this again.
Sara Maniez says
Hi Helen, thanks for letting us know about your experience, I would like to know if the bread was able to rise adequately? Did you try to proof the dough in the oven? If the dough is not warm enough, it might not be able to rise fast enough in a certain time frame, how the dough looks and feels is more important than the exact rise time.
Jill says
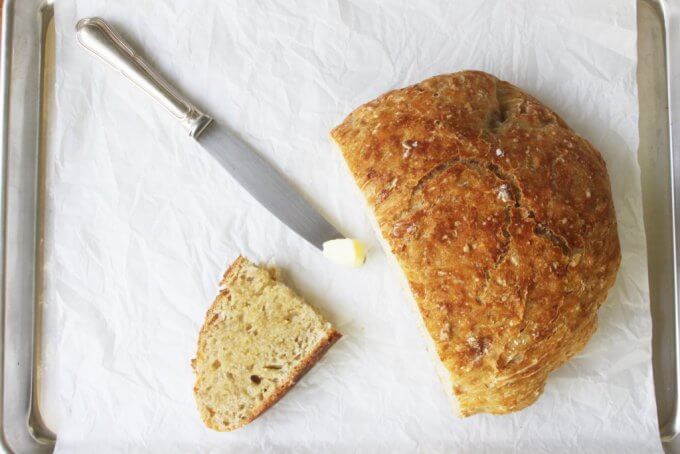
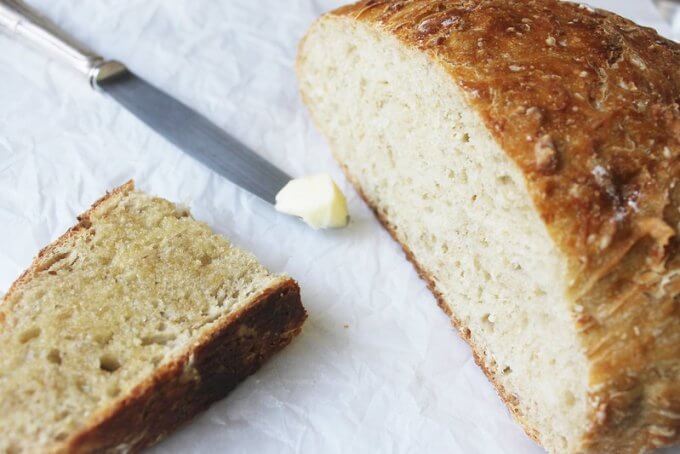
Followed the instructions completely for my first loaf. I was worried that the dough tasted too salty, but after baking, it was just right! This bread was great for breakfast with a little cinnamon honey butter! I love no knead bread recipes and yours is tops!
PAT says
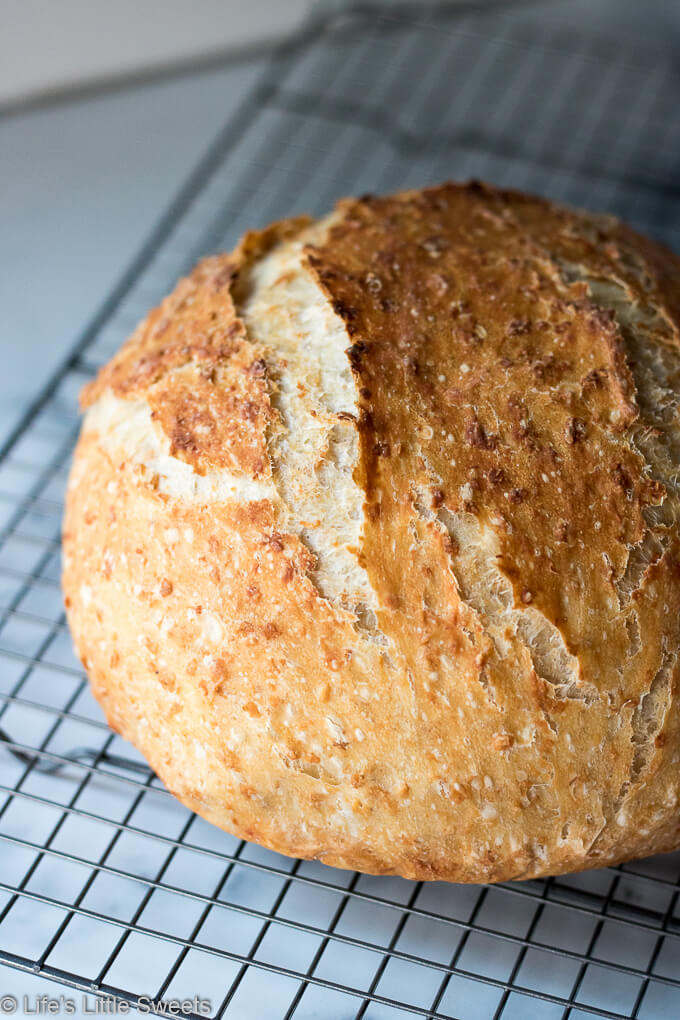
I have made a lot of bread over the years and here I find a bread recipe with only 4 ingredients that are all natural and very little hands on time and it produces the most delicious bread I have had made in a long time. The Dutch Oven makes all the difference in the world! This is a keeper 🙂
Sara Maniez says
Thank you for coming back and taking the time to comment! It really means a lot! I am so glad that you like the recipe! Have a wonderful day!
Mandy says
You have active yeast listed as opposed to rapid rise. It is my understanding that active yeast needs to be activated in water first, where rapid rise can go directly into the bowl with the other ingredients. So no pre activation then? How is that?
Sara Maniez says
Great question, I use both types of yeast in my kitchen depending on the recipe, I found this explanation from the Kitchn, "Active dry yeast and instant (or rapid-rise) yeast are the two most common yeasts available to us as home bakers. The two yeasts can be used interchangeably in recipes, but active dry yeast needs to be dissolved in water before using while instant yeast can be mixed right into the dough." I hope that helps!
Marian says
Yes but you didn’t Dissolve it first?
Sara Maniez says
With this recipe, you do not need to. Of course, you can if you want. Thanks for your comment!
Brigitte says
Hi ,
Can I use Bread machine instant yeast?
Sara Maniez says
yes, I have and it works fine. I have Fleischmann's instant dry yeast (bread machine, rapid rise). Just make sure your yeast is fresh!
Janice says
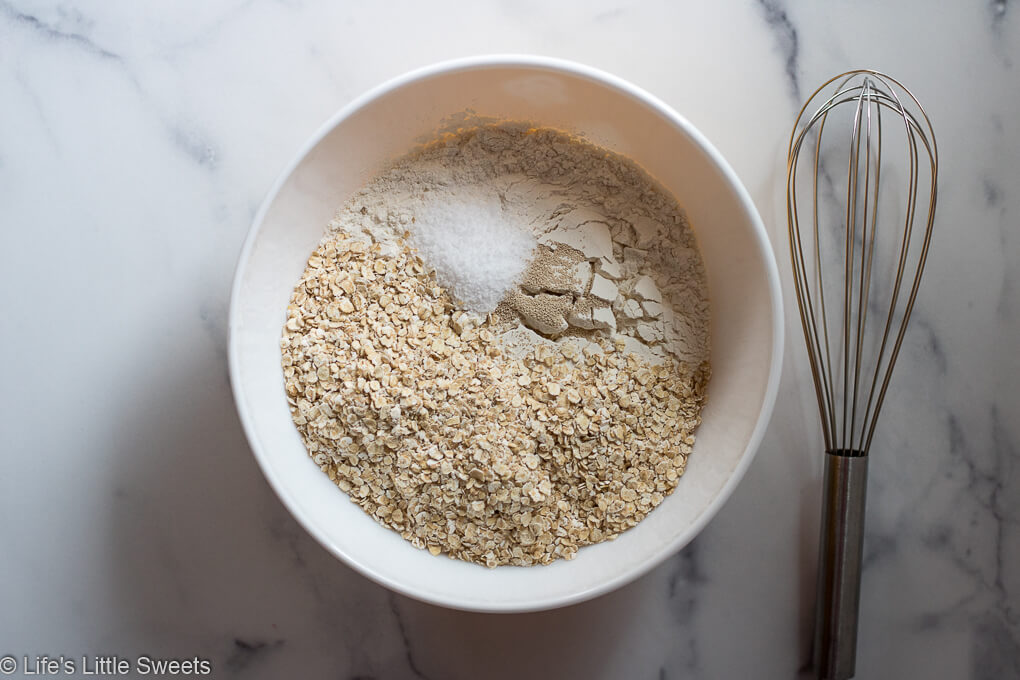
Just wondering about the yeast. The recipe mentions to use active rise which should be dissolved in water) but the water isn’t added at the end along with the other dry ingredients. Pls explain.
Sara Maniez says
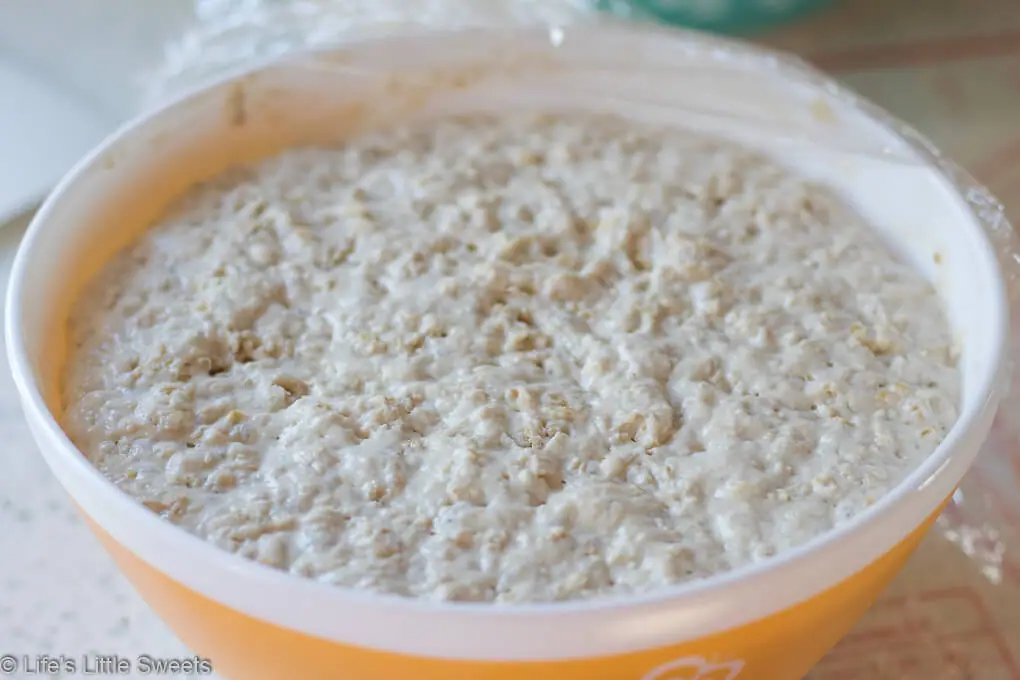
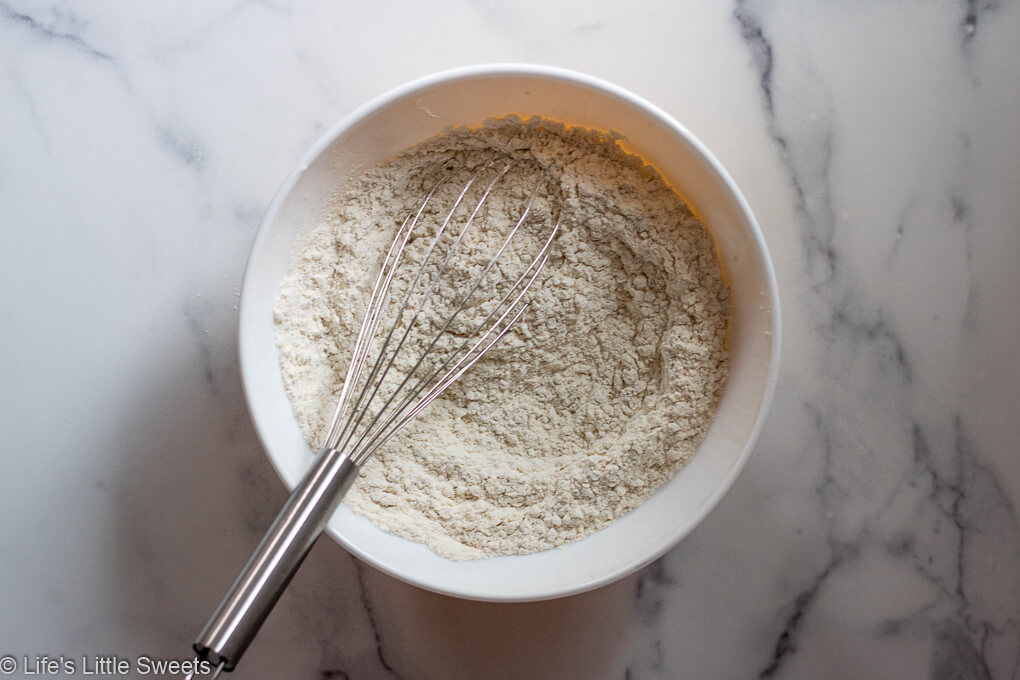
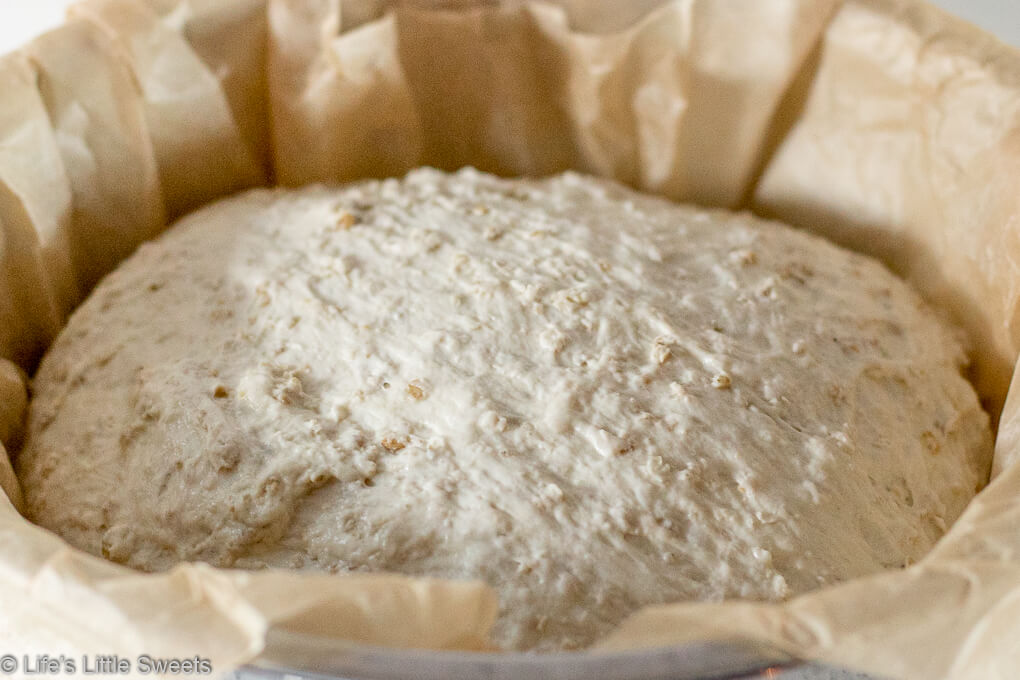
Hello Janice, another reader (Anne, question dated 3/5/21), just asked this question and I would give the same answer to your question that I gave to her: "Thank you for asking your questions. Regarding the water temperature, I have updated the ingredients in the recipe card, adding, “130° F, I use water hot out of the tap, make sure you do not boil the water or it will kill the yeast).” Regarding the yeast, if the yeast you have says it should be dissolved in water, you can follow the directions and do that before adding it to the flour-salt mixture – but you don’t have to. I’ve made this recipe with both Fleischmann’s Active Dry Yeast (original) and their “Bread Machine Instant Yeast” – adding them directly to the flour mixture, the water gets added to the flour mixture and activates the yeast during that first rise, just make sure it’s evenly mixed and covered so it doesn’t dry out. One yeast might rise faster than the other, you’ll know when it’s ready to be turned out when it’s flat on the top with lots of little bubbles, having it “look” correct is more important than the time because the temperature and humidity in everyone’s individual kitchens will vary. I hope that clarifies and helps you! Let us know how it works out."
Anne says
Regarding the question and answer dated February 19, 2021. The yeast issue is still confusing and I've hesitated to try this recipe. So are you saying that even though the recommendation is to dissolve dry active yeast in water, you don't need to in your recipe? Also, you don't mention the temperature of the water - how warm should it be? I really look forward to your answer as I want to try this one - all of your reviews rave about it. Thanks!
Sara Maniez says
Thank you for asking your questions. Regarding the water temperature, I have updated the ingredients in the recipe card, adding, "130° F, I use water hot out of the tap, make sure you do not boil the water or it will kill the yeast)." Regarding the yeast, if the yeast you have says it should be dissolved in water, you can follow the directions and do that before adding it to the flour-salt mixture - but you don't have to. I've made this recipe with both Fleischmann's Active Dry Yeast (original) and their "Bread Machine Instant Yeast" - adding them directly to the flour mixture, the water gets added to the flour mixture and activates the yeast during that first rise, just make sure it's evenly mixed and covered so it doesn't dry out. One yeast might rise faster than the other, you'll know when it's ready to be turned out when it's flat on the top with lots of little bubbles, having it "look" correct is more important than the time because the temperature and humidity in everyone's individual kitchens will vary. I hope that clarifies and helps you! Let us know how it works out.
Anne says
I have tried this recipe twice and have, so far, had 2 failures! The first time it didn't rise (after allowing at least 4 hrs) so I tested the yeast and found that it was no longer active. This morning after testing that my yeast is good - I made a new batch, adding quick rise yeast to the dry ingredients, then mixed in 130 deg water. I just checked it after 3 hrs and it hasn't risen! No bubbles, not flat across the top! I have it in a plastic bowl, covered with a dish towel in my oven (off) to rise. What am I doing wrong?? So disappointed. Could it be the lack of sugar in the recipe? This is not my first No Knead bread.
Sara Maniez says
Hi Anne, I am sorry that it didn't work out for you. It's hard to tell what went wrong with the recipe without seeing exactly what you did to help you. I found this on redstaryeast.com, "The appropriate temperature depends on the bread making method being used. Dissolve dry yeast in a water temperatures between 110°F – 115°F. If yeast is added directly to the dry ingredients, liquid temperatures should be 120°F – 130°F." I know some people have activated the yeast in water before adding or added the water directly to the flour mixture - depending on the type of yeast they have in their house at the time. It sounds like the yeast was not active from what you describe or perhaps the water was too hot but you said it was 130, as long as it wasn't over 130 degrees F, it should have been fine. This recipe does work without sugar. Of course, you could try adding some if you want but it might change the flavor.
Anne says
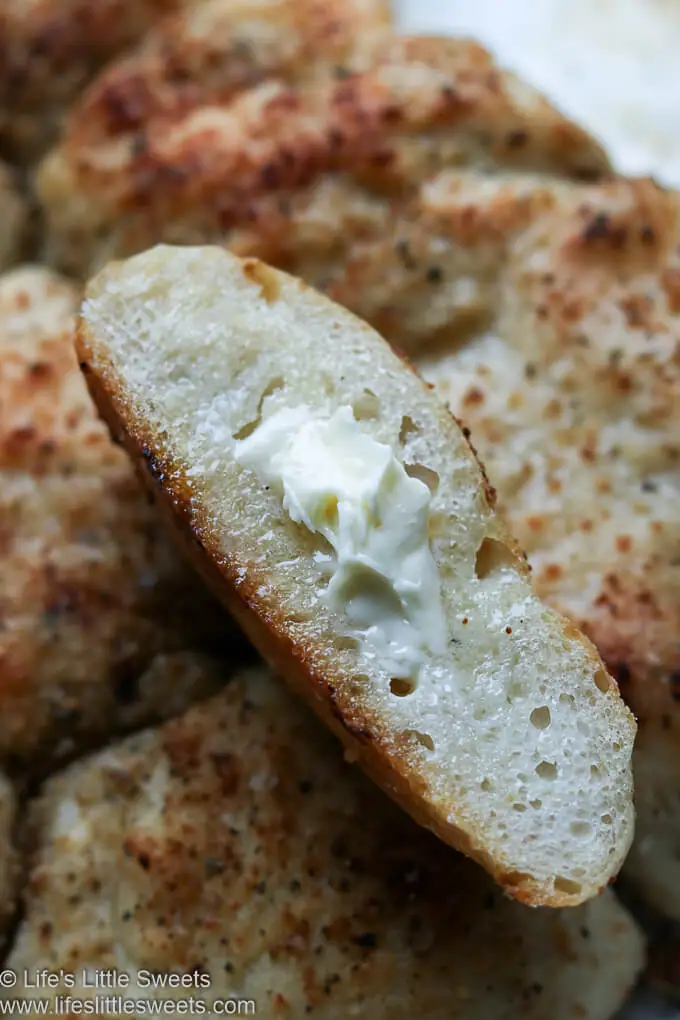
I did bake the second batch after at least a 4 hr rise time, even though it didn't appear to have risen very much and it definitely was neither flat or full of bubbles. I was happy with the appearance, and hollow sound, when it came out of the oven. After letting it cool and cutting into it I found it to be dense -especially the bottom portion. On a positive note it was excellent toasted and spread with a little butter and honey!
Sara Maniez says
Hi Anne, thanks for coming back to let everyone know about your experience! I am so glad that it was excellent with butter and honey. I have noticed that things can really vary with the environment that the bread is rising in, with factors like temperature, humidity, etc. Have a wonderful day and best wishes!
Debi says
I think 130 degrees is way too hot for the yeast. It killed
Mind when I tested that. I used water at 90-95 degrees and that wax with Instant yeast. I also covered the dough and let it rise in the oven all day, about 7 hours, did the second rise step snd baked out. Perfection. I do think the cast iron Dutch oven makes a big impact. A reasonably priced cast iron option is the covered pot by Lodge. Target carries it.
Denise Prince says
This bread sounds delicious!!! I am excited to try it. I noticed that the recipe does not include any sugar. I always thought that sugar was needed to activate the yeast. No sugar???
Sara Maniez says
That's correct, there's no sugar in this recipe! Thanks for your comment!
Stephanie says
Does the bread go back in the oven after the parchment paper is removed or just sit on your counter?
Sara Maniez says
Yes, for 10 more minutes or until you get the desired crispness on the crust. Thank you for your question!
Sandia says
Love the taste of this bread. Thank you for the recipe. I don't like handling the hot dutch oven so I did what I usually do with my bread. I made 2 loaves on a parchment lined sheet and cooked them at 425 for 10 minutes and then lowered the temperature to 350 for 30 minutes. I also let the dough rise overnight.
Sara Maniez says
I love this and thank you for coming back to share with the community! Have a lovely weekend!
June Greaves says
I made this bread yesterday and was absolutely thrilled how it turned out. Great recipe and so easy.
Sara Maniez says
I'm so glad that you like it! Thank you for coming back to comment.
Gail says
I love to add honey and orange marmalade like my grandmother did with her oatmeal bread. Would you be able to advise me on how to incorporate them?
Maryam says
My bread didn’t rise very much, even though I proofed it for over 3 hours. I felt like I didn’t use enough yeast 1/4 teaspoon?
Any thoughts? I would like to try and make it again.
Sara Maniez says
Hello, thank you for your question. Make sure your yeast is fresh, also, the temperature of the room affects how the yeast rises. Sometimes if a room is cooler or drafty, you may need to leave it longer until it's "ready." Does your oven have a "proofing" setting? During the winter, I often use the oven's proofing setting for more reliable, predictable results. Hope that helps!
Mela says
Hello! You can also put the dough in a cold oven with the oven light turned on to let it rise.
Sara Maniez says
Great tip! Thank you Mela!
Donna says
This recipe has no sweetner or fat. Does it have any taste? Is it tough?
Sara Maniez says
Hello, it has a mild, subtle oatmeal taste, it is not tough. Thank you for your question.
Rachel says
I made this twice today, first time following recipe as written. It didn’t rise much at all, is small in size and heavy. The second time I proofed the yeast and used lukewarm water. In my 45+ years of making bread I’ve never used hot water with yeast nor have I ever not proofed traditional active dry yeast. Second loaf is so much better. It rose this time, and is lighter. Both look tasty though. Can’t wait to try it with supper. Will definitely make again.
Sara Maniez says
I'm glad that you tried the recipe, experimented with it, and had a good result with the 2nd one! Thank you for commenting and sharing your experience!