


Estimated reading time: 14 minutes
With the sun shining bright and temperatures soaring, there's no doubt that summer is in full swing. It's the perfect time to indulge in a scrumptious and refreshing treat, and what could be better than homemade ice cream? I'm thrilled to share a delightful activity that will not only keep you cool but also spark joy in the hearts of both kids and adults alike - making ice cream in a bag! This fun and easy method will have you churning out creamy goodness in no time. Let's embark on a sweet adventure to create the most delectable ice cream flavors right in the comfort of your home. Let's dive into this step-by-step guide and explore the wonders of homemade ice cream in a bag!
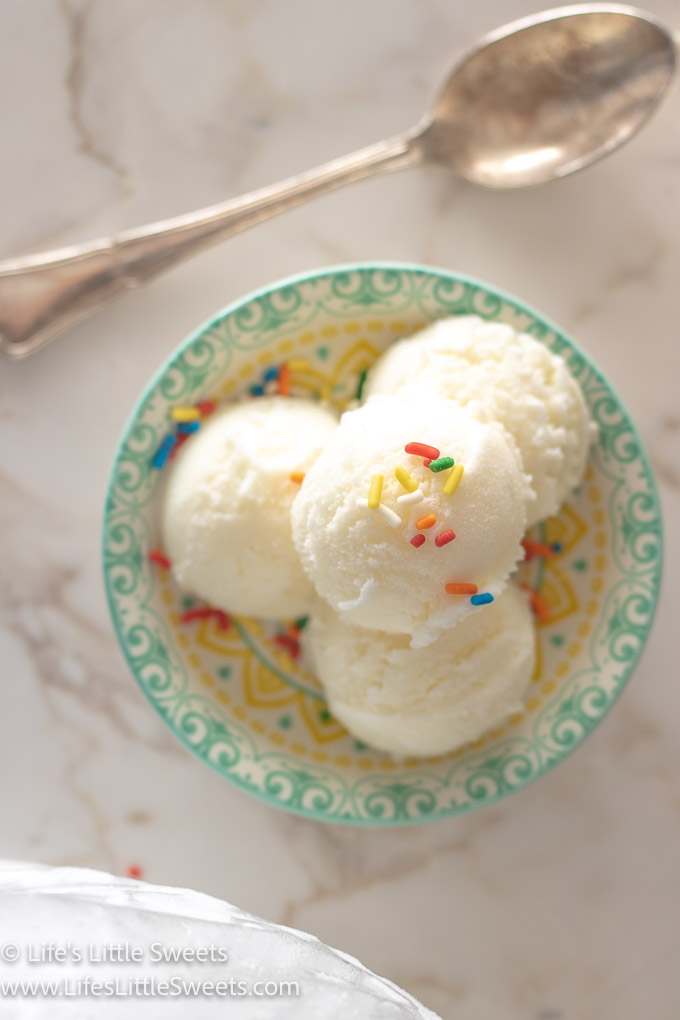
Table of contents
- How To Make Ice Cream In A Bag - A Fun Summer Treat!
- What You'll Need
- Ingredients
- Materials
- Instructions
- Mixing the Ice Cream Base
- Preparing the Ice and Salt Bath
- Double-Bagging
- Check for Consistency
- Tips for Recipe Success
- Can I substitute half-and-half for the whole milk and heavy cream?
- What if I only have half-and-half?
- Web Story
- Serving and Enjoying
- Related Posts
- Final Thoughts
- Latest Story
- Full, Printable Recipe
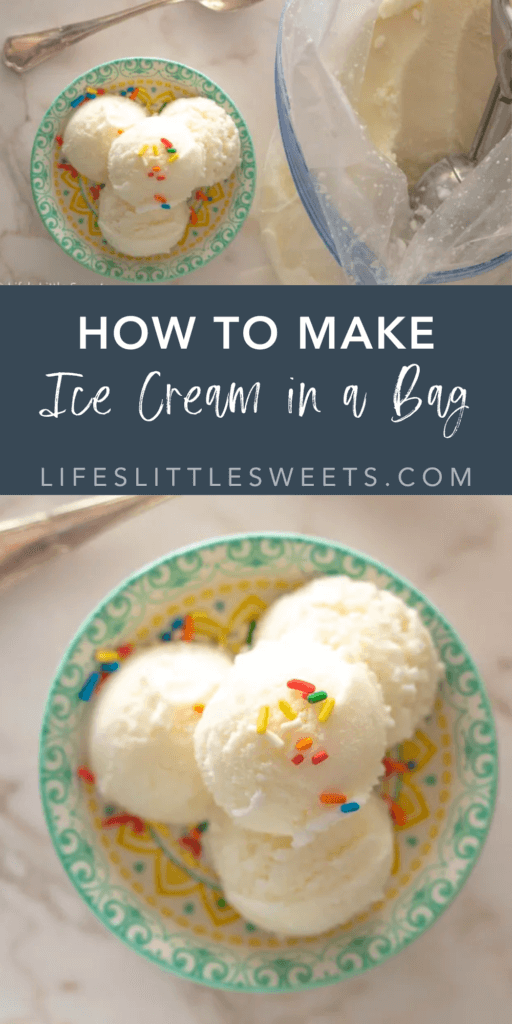
How To Make Ice Cream In A Bag - A Fun Summer Treat!
Hello, dessert lovers! Summer is in full swing, and there's no better way to beat the heat than with a cool and creamy treat. I'm excited to share with you a fun and delicious activity that the whole family can enjoy - making homemade ice cream in a bag! Not only is this a great way to keep the kids entertained, but it also guarantees a mouthwatering result. Let's roll up our sleeves and dive into the fantastic world of DIY ice cream!
What You'll Need
Before we start, let's gather all the ingredients and materials you'll need for this ice cream adventure:
Ingredients
- 1 cup heavy cream
- 1 cup whole milk
- ½ cup granulated white sugar
- 1 teaspoon pure vanilla extract
Materials
- 1 quart-sized resealable plastic bag
- 1 gallon-sized resealable plastic bag
- Ice cubes
- ½ cup rock salt or kosher salt
- Oven mitts or a kitchen towel (to protect your hands)
Instructions
Mixing the Ice Cream Base
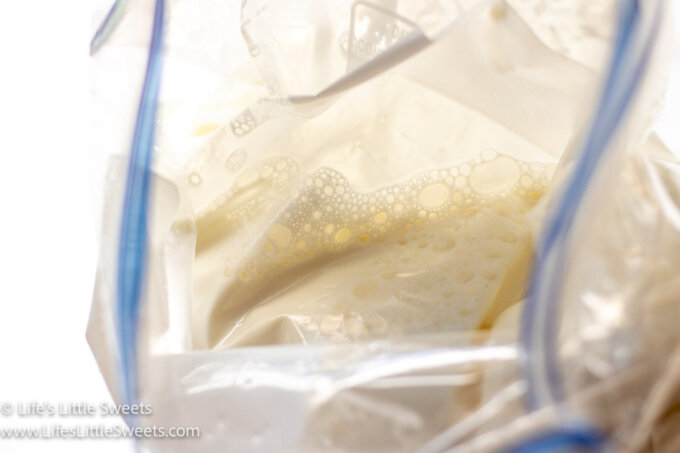
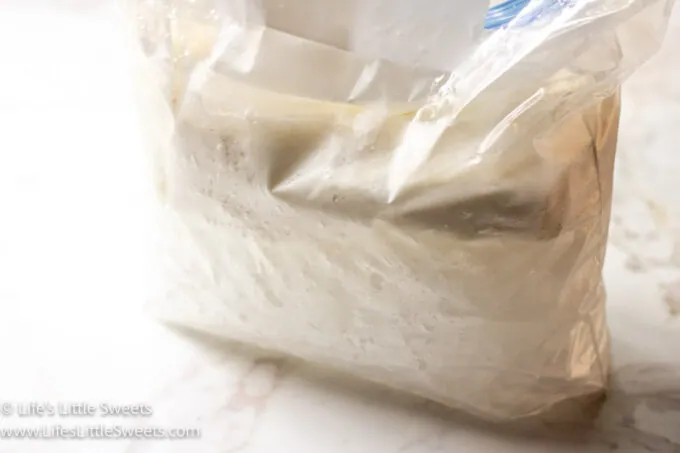
- In the quart-sized plastic bag, pour in the heavy cream, whole milk, sugar, and vanilla extract. Seal the bag tightly, ensuring no leaks or spills. Now, give it a good shake to mix all the ingredients thoroughly. This creamy concoction will be the base of our ice cream!
Preparing the Ice and Salt Bath
- In the gallon-sized plastic bag, fill it halfway with ice cubes. Sprinkle the rock salt or kosher salt over the ice. The salt lowers the freezing point of the ice, creating an ultra-cold environment for freezing our ice cream.
Double-Bagging
- Place the sealed quart-sized bag containing the ice cream base into the larger bag with the ice and salt. Seal the gallon-sized bag tightly, removing as much air as possible. Double-bagging helps prevent any salty water from seeping into your ice cream while it freezes.
- Shake, Shake, Shake!
- Now comes the fun part! Put on your favorite summertime tunes and start shaking the bag vigorously for about 5-7 minutes. You can enlist the kids to help, making it a fun activity for the whole family. The constant motion of the ice cream base and the ice-cold environment will work together to freeze the mixture into a smooth and creamy delight.
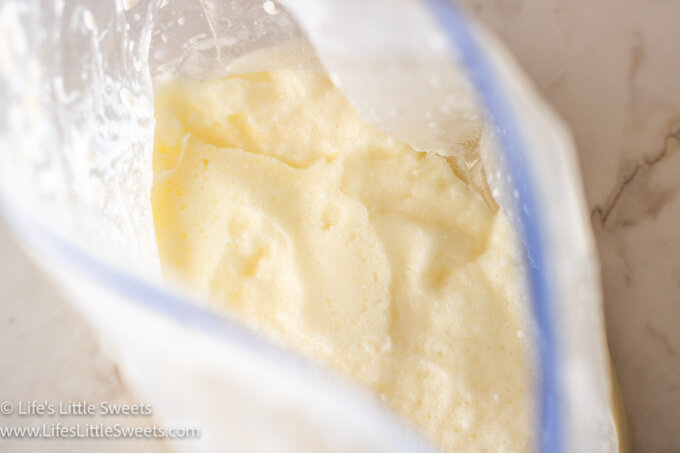
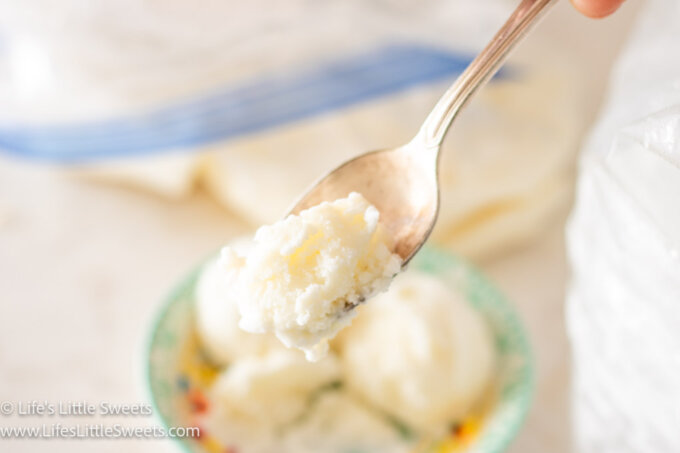
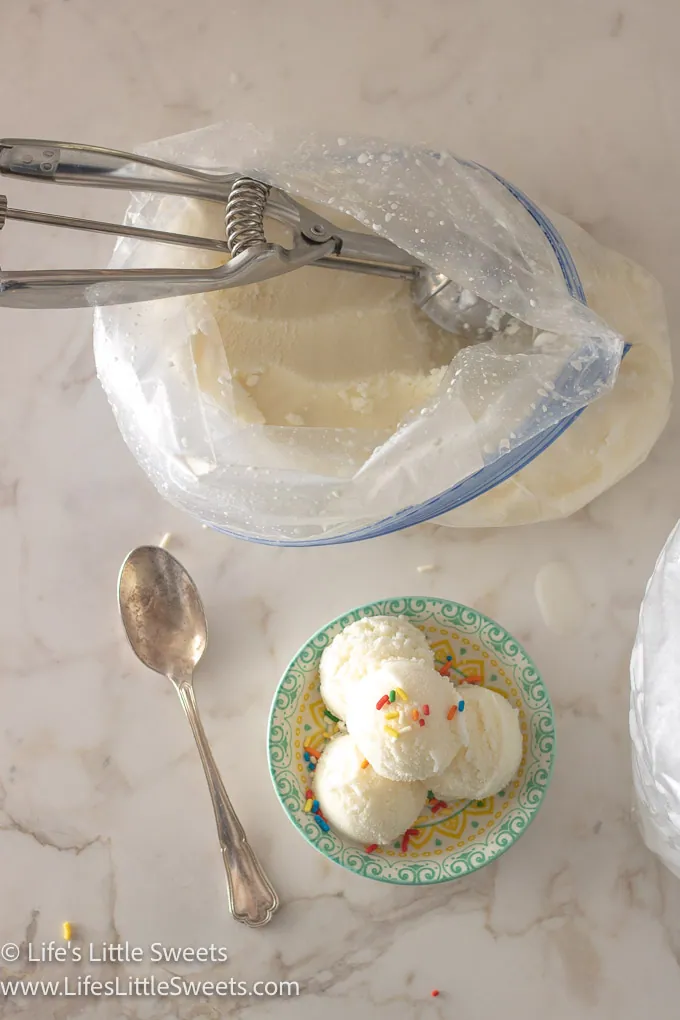
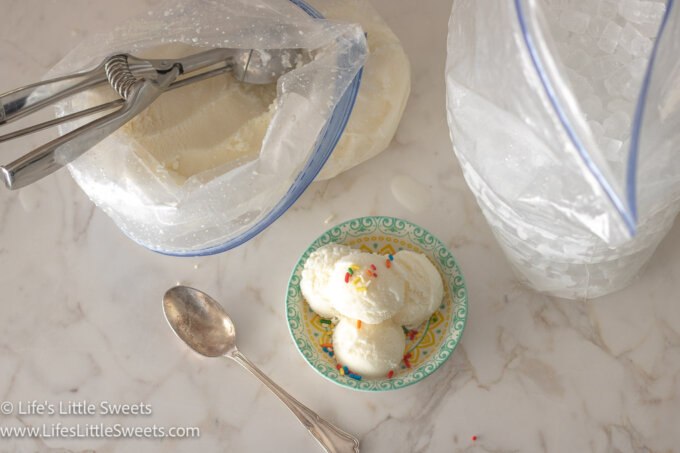
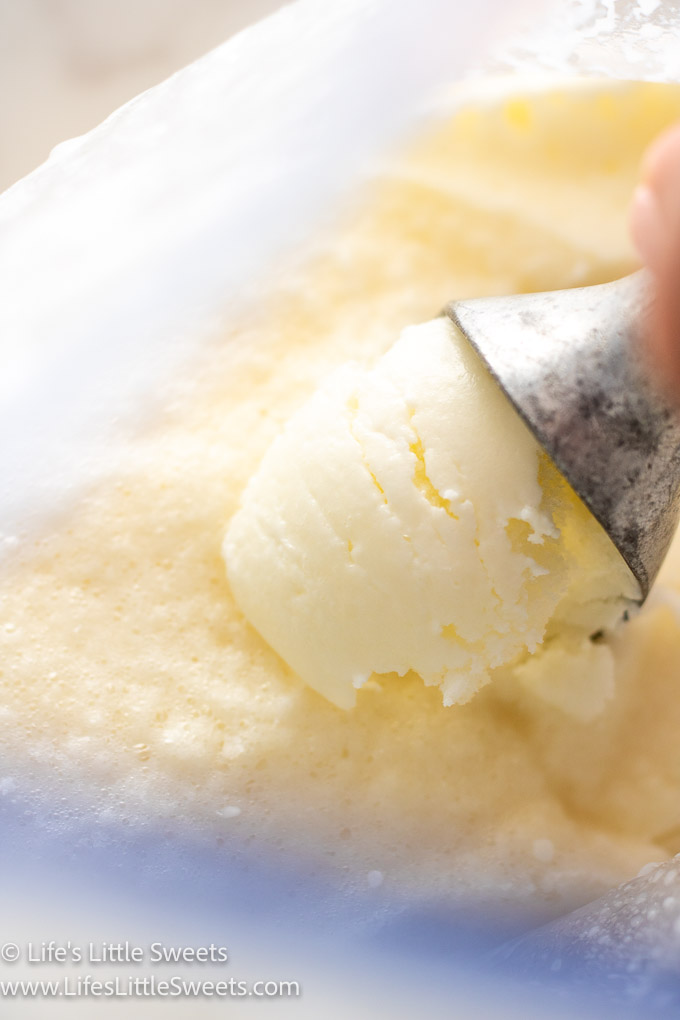
Check for Consistency
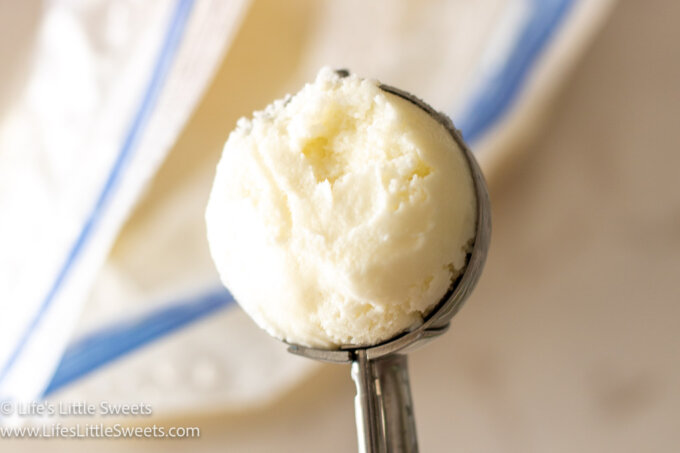
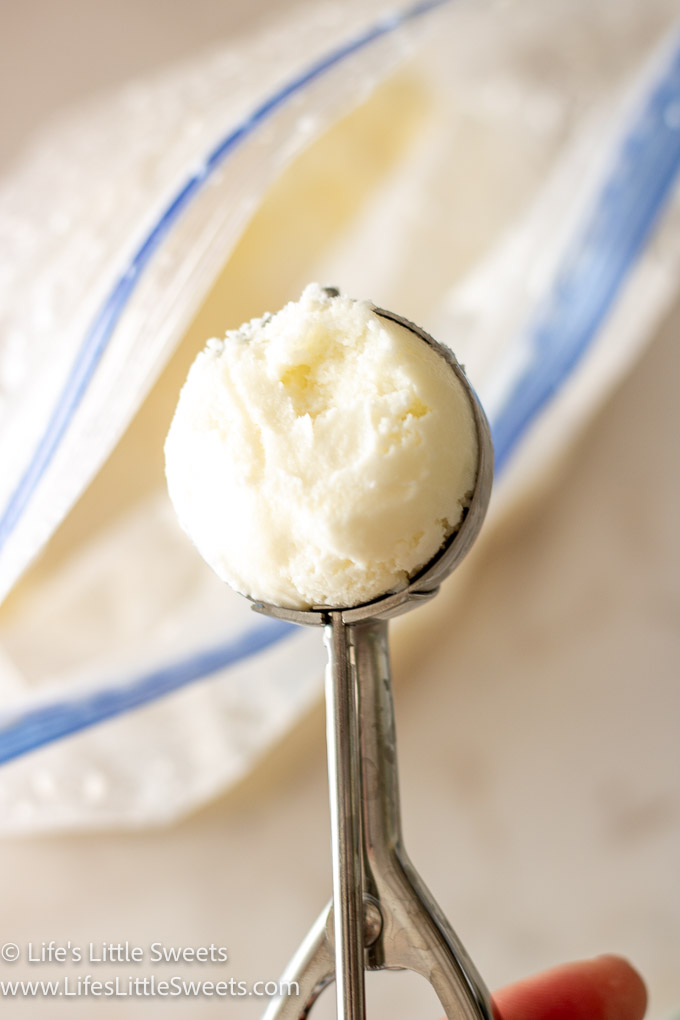
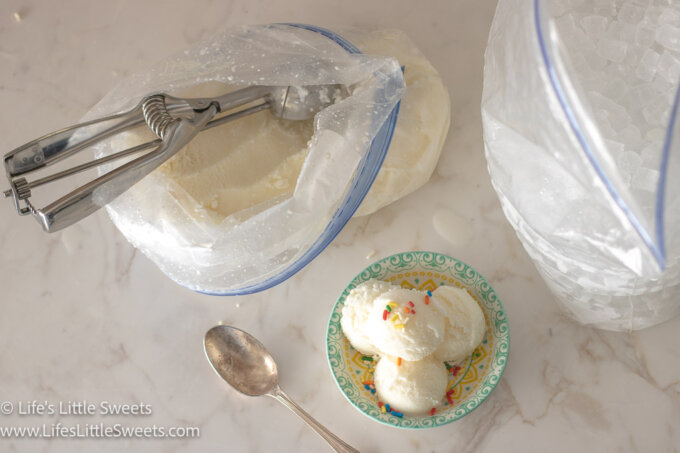
Open the gallon-sized bag and carefully remove the quart-sized bag. Wipe off any excess saltwater from the bag before opening it. Check the consistency of your ice cream; it should be thick and creamy by now. If it's not quite there yet, place the quart-sized bag back into the ice and salt mixture, seal the larger bag again, and continue shaking for a few more minutes.

Tips for Recipe Success
- Use High-Quality Ingredients: For the best results, opt for high-quality heavy cream and whole milk. Using fresh and pure ingredients will contribute to a richer and creamier ice cream.
- Seal Bags Tightly: Ensure both the quart-sized ice cream base bag and the gallon-sized ice and salt bag are tightly sealed to avoid any leaks or spills during the shaking process.
- Double-Bag for Extra Protection: Double-bagging the ice cream base bag helps prevent any salty water from getting into your ice cream while it freezes. It adds an extra layer of protection during the shaking process.
- Use Oven Mitts or a Towel: When shaking the ice cream bags, the temperature can get extremely cold. To protect your hands from the cold, use oven mitts or wrap the bag in a kitchen towel while shaking.
- Add Mix-Ins After Shaking: If you want to add mix-ins like chocolate chips, crushed cookies, or fruit to your ice cream, do so after the shaking process. Simply stir them into the ice cream base before serving.
- Customize Your Flavors: Don't be afraid to experiment with different flavors! You can add cocoa powder, coffee, extracts, or even fruit purees to create unique and delicious ice cream varieties.
- Check Consistency During Shaking: Open the gallon-sized bag occasionally during shaking to check the ice cream's consistency. If it's not yet firm enough, reseal the bags and continue shaking until the desired texture is achieved.
- Have Fun with the Shaking Process: Get the whole family involved and make shaking the bags a fun activity. Play some music, dance around, and enjoy the process together!
- Plan Ahead: The ice cream base can be prepared ahead of time and stored in the refrigerator until you're ready to make the ice cream in a bag. This way, you can quickly start the shaking process when the craving strikes.
With these tips in mind, you're all set to embark on a successful ice cream-making adventure! Enjoy the process, and savor every delicious spoonful of your homemade ice cream. Happy shaking!
Can I substitute half-and-half for the whole milk and heavy cream?
Yes, you can use half and half instead of whole milk and heavy cream to make ice cream in a bag. Half and half is a mixture of equal parts whole milk and light cream, and it typically contains around 10-12% fat content. While it won't yield the exact same creaminess as using heavy cream, it can still produce a tasty and lighter version of homemade ice cream.
When substituting half and half, keep in mind that the lower fat content may result in a slightly less rich and creamy texture. However, it will still freeze and churn similarly in the ice and salt bath, allowing you to enjoy a refreshing ice cream treat.
If you prefer a creamier and richer ice cream, you can try using a higher-fat content cream, like light cream or whipping cream, instead of half and half. Experimenting with different dairy products will allow you to customize the ice cream to your taste preferences. So go ahead and get creative with your ice cream in a bag and discover the perfect combination for a delightful frozen treat!
To substitute half and half for the heavy cream in the Homemade Ice Cream in a Bag recipe, you can use 1 cup of half and half. Simply combine the 1 cup of half and half with 1 cup of whole milk, ½ cup of granulated sugar, and 1 teaspoon of pure vanilla extract in the quart-sized resealable plastic bag.
Using half and half will result in a lighter and less creamy texture compared to using heavy cream, but it will still create tasty homemade ice cream. The lower fat content in half and half might affect the overall richness of the ice cream, but it's a great alternative if you prefer a lighter version of the frozen treat.
As always, feel free to experiment with different dairy products to find the perfect balance of creaminess and flavor that suits your taste preferences. Enjoy making your ice cream in a bag with half and half!
What if I only have half-and-half?
You can use all half and half instead of a combination of whole milk and heavy cream to make ice cream in a bag. Using all half and half will result in a lighter and less creamy ice cream compared to using heavy cream, but it will still be a delicious frozen treat.
To do this, simply use 2 cups of half and half in the quart-sized resealable plastic bag, and then proceed with the rest of the recipe as usual. Combine the 2 cups of half and half with ½ cup of granulated sugar and 1 teaspoon of pure vanilla extract in the bag. Then, place that bag inside the larger gallon-sized resealable plastic bag filled with ice and salt and shake to freeze and churn the ice cream.
Remember, the texture and richness of the ice cream will be influenced by the fat content of the half-and-half, which is lower than heavy cream. But it will still be a refreshing and enjoyable frozen treat.

Web Story


Serving and Enjoying
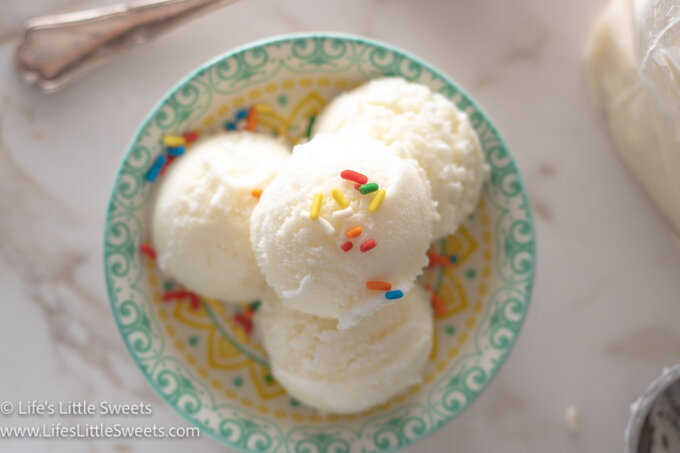
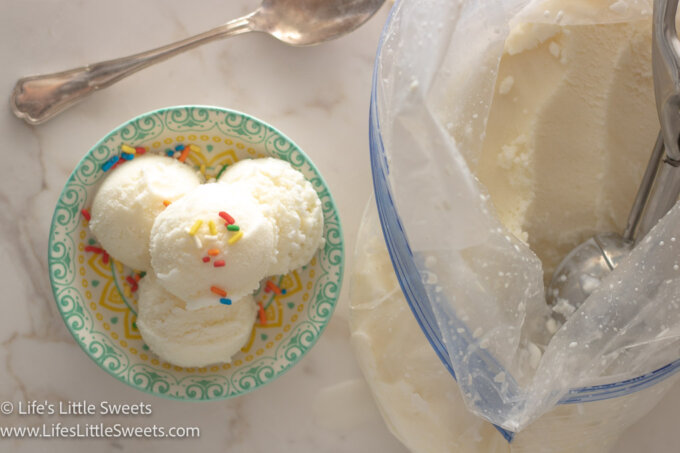
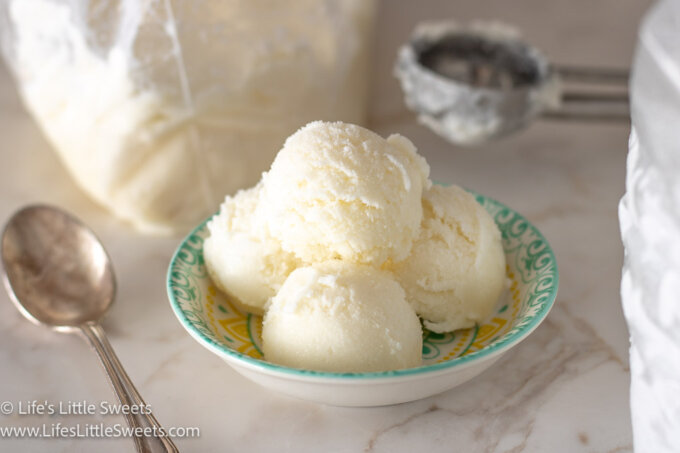
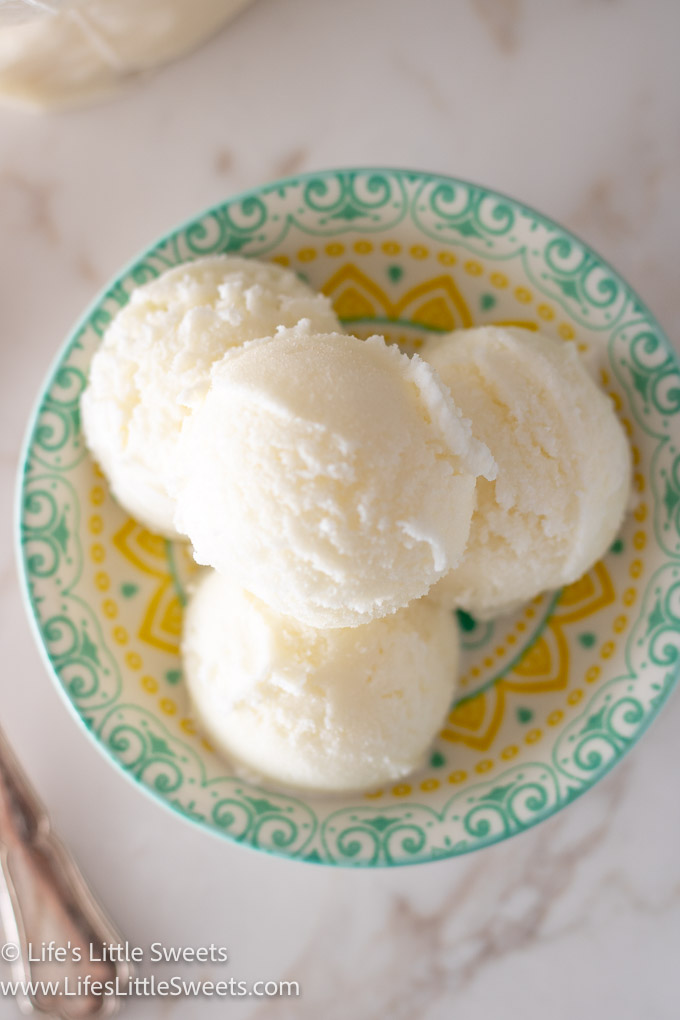
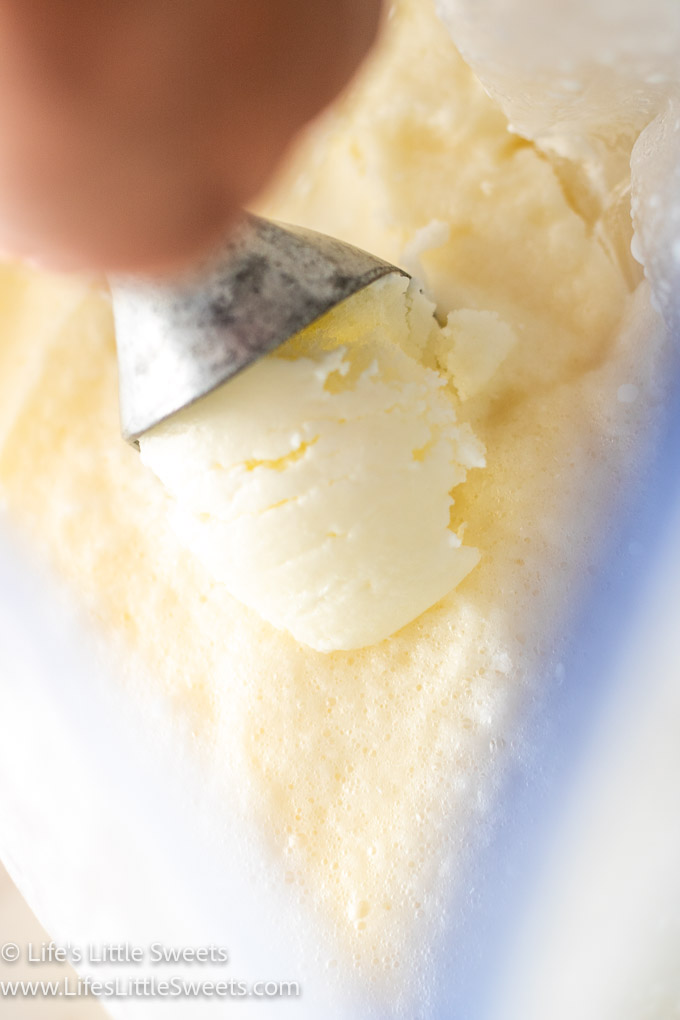
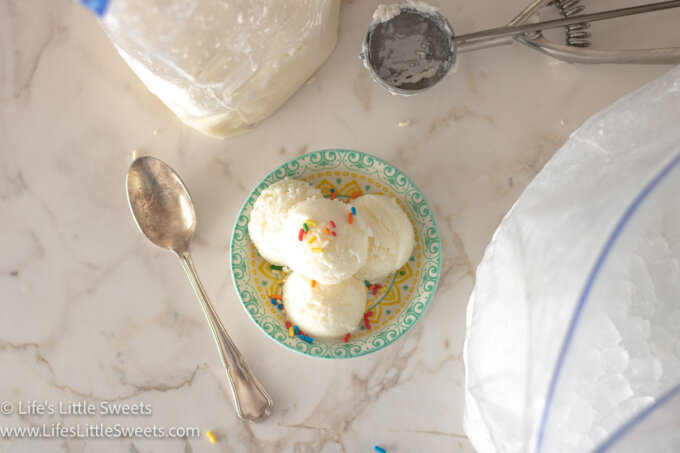
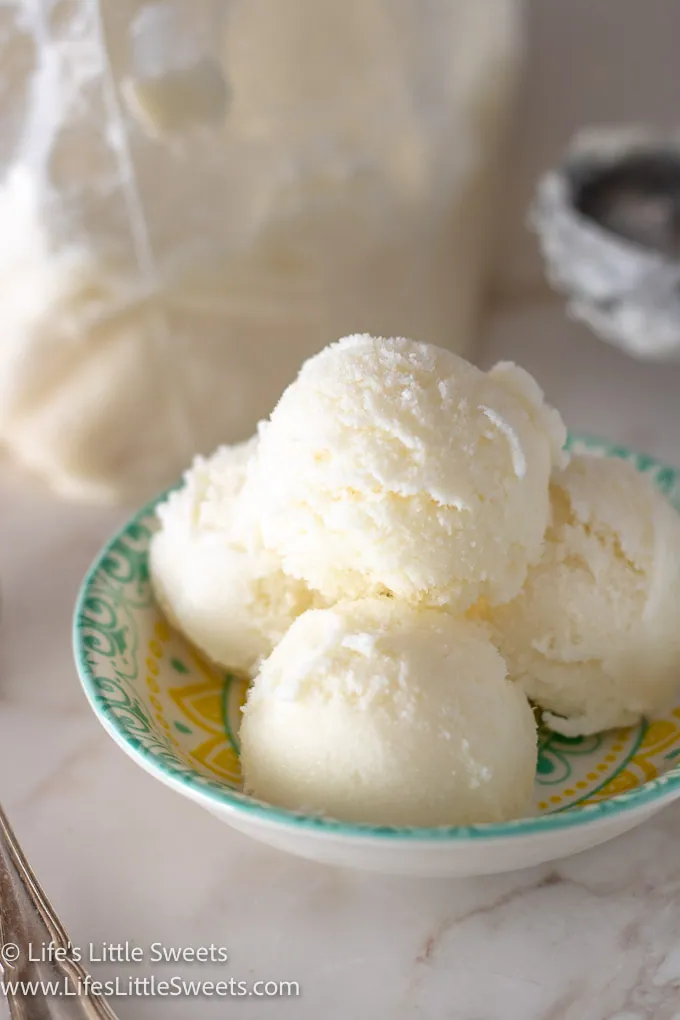
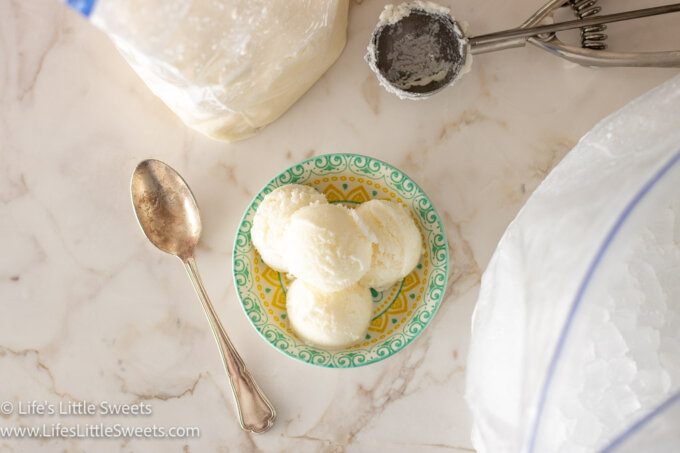
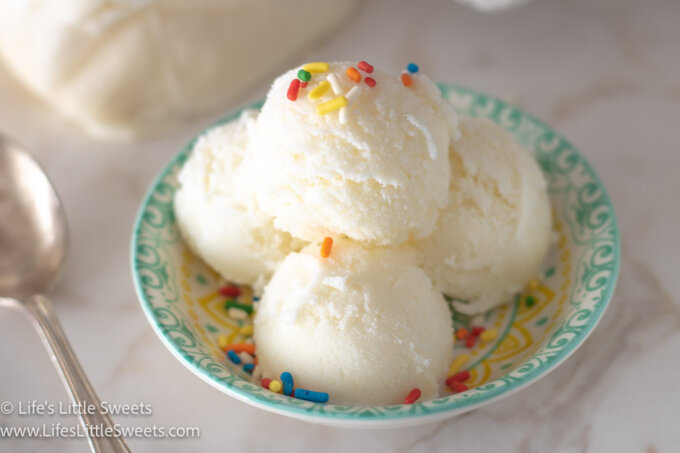
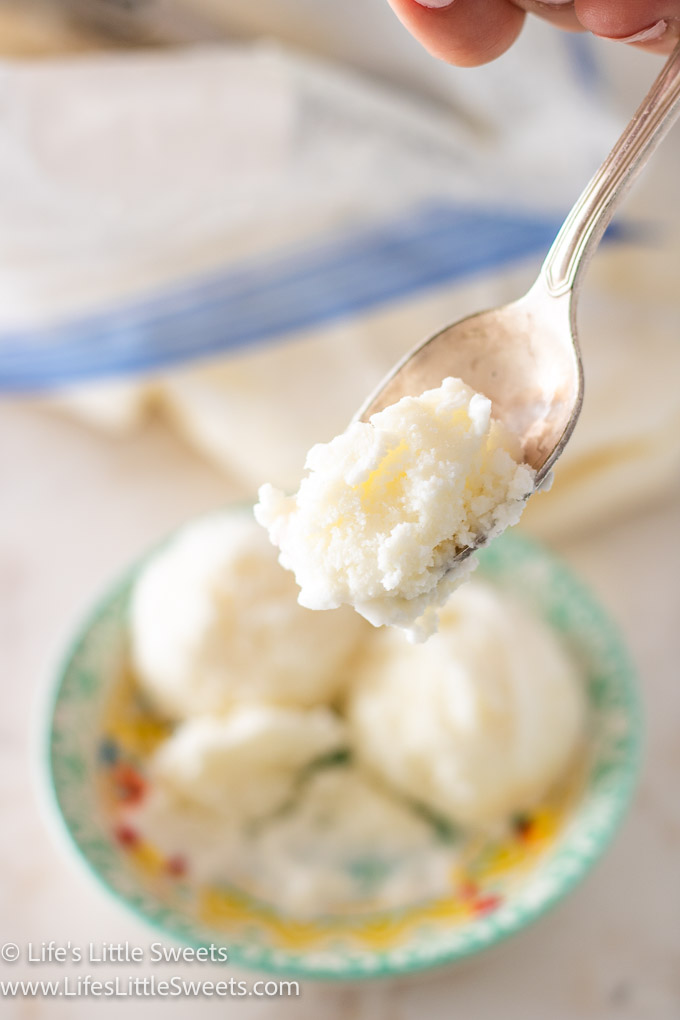
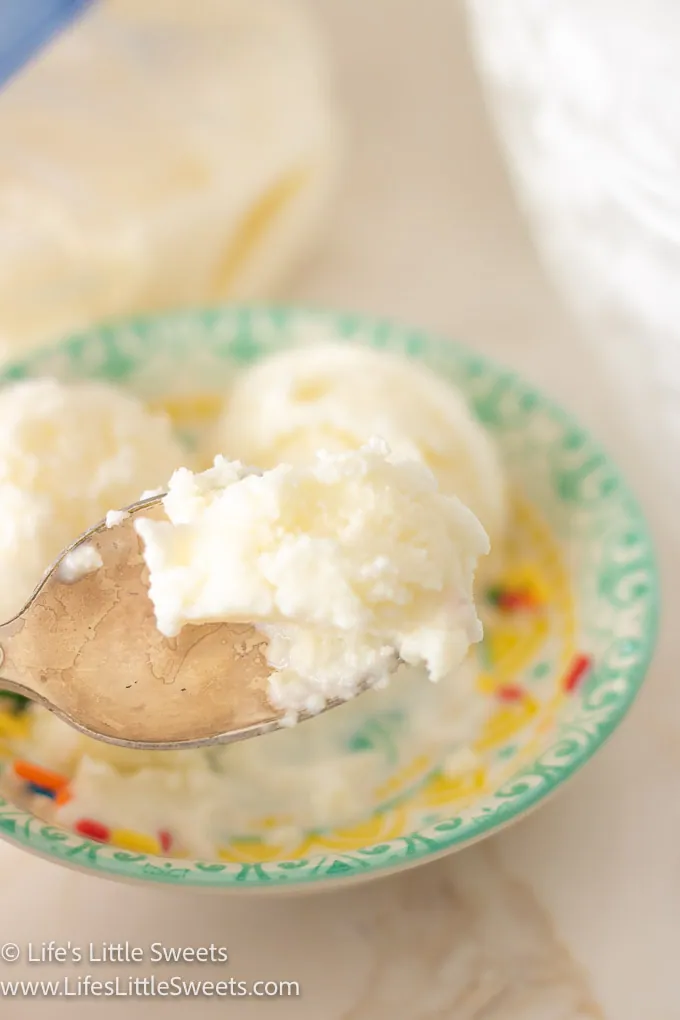
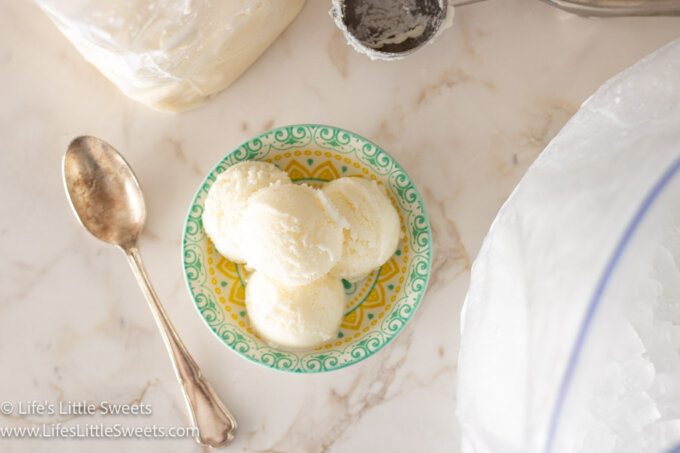
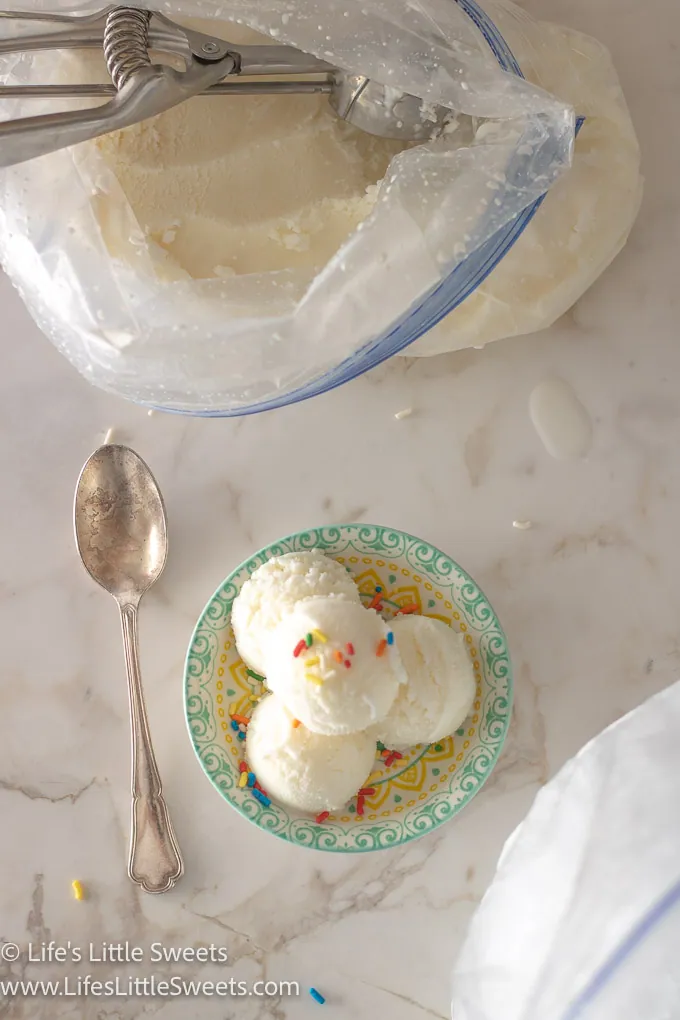
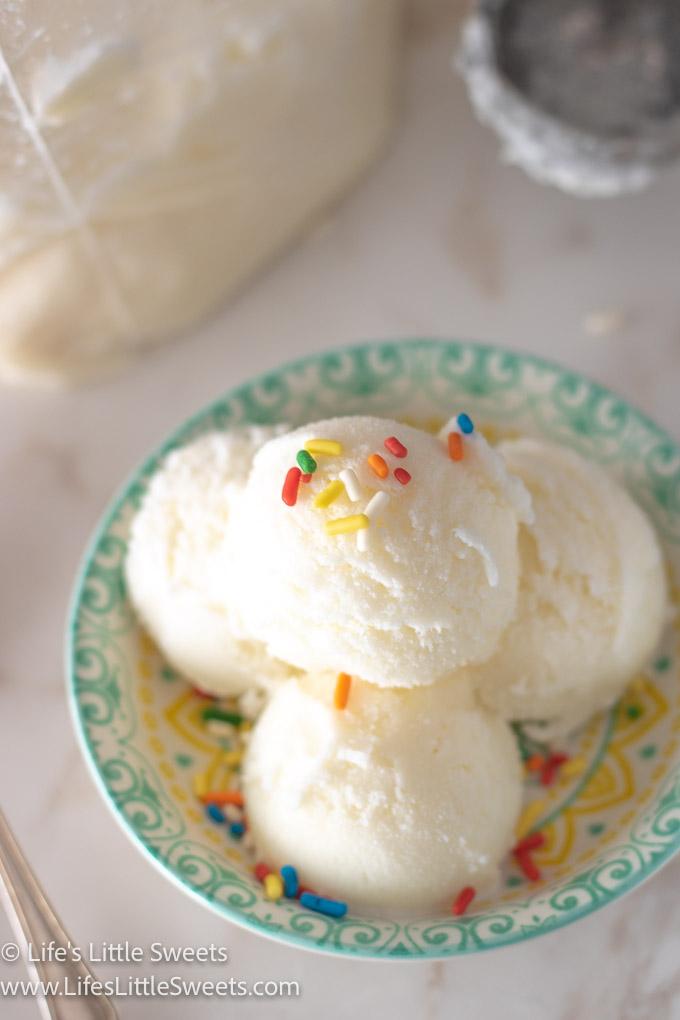
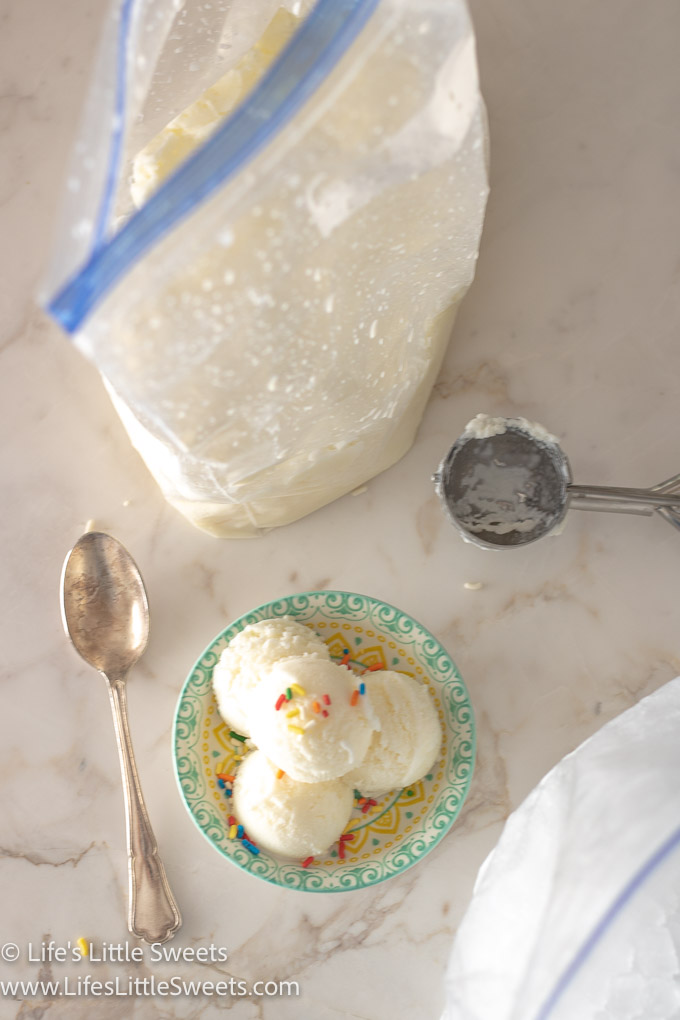
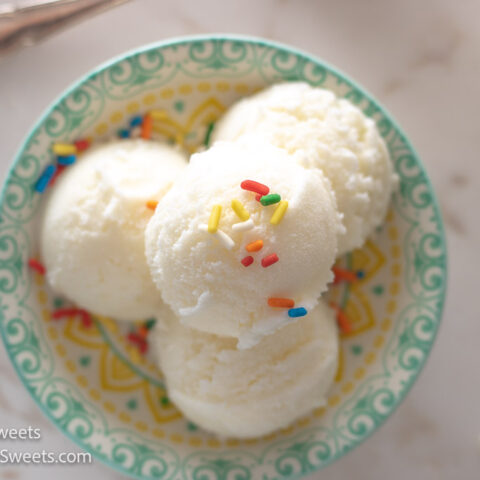
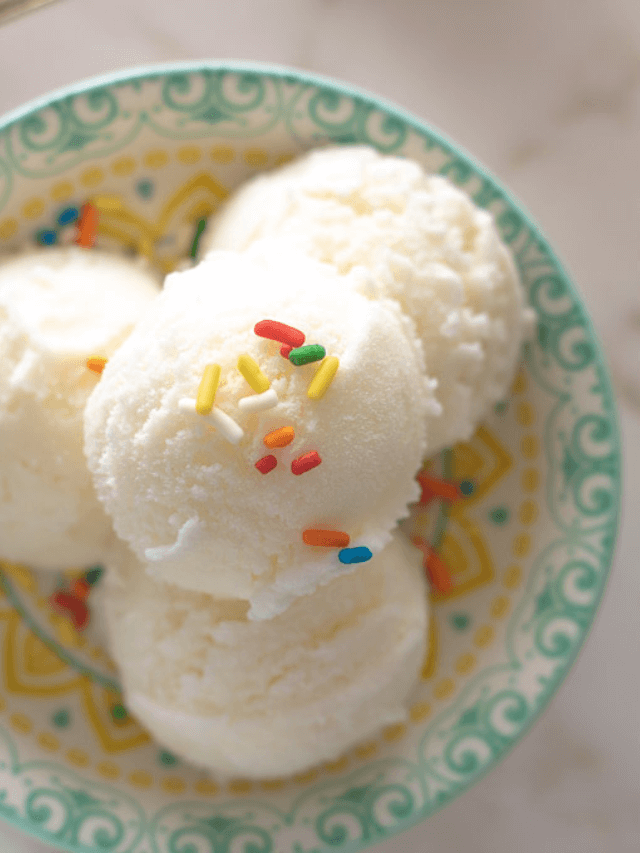
Once your ice cream reaches the desired consistency, remove the quart-sized bag from the ice and salt bath. Unseal the bag and scoop the ice cream into bowls or waffle cones. Feel free to add your favorite toppings like sprinkles, chocolate chips, or fresh fruit.
Related Posts
Final Thoughts
Yay! You've successfully made homemade ice cream in a bag - a delightful summer treat that brings joy to any hot day. It's a fantastic activity to engage with loved ones and create lasting memories. Remember, the possibilities are endless, so don't hesitate to experiment with different flavors and mix-ins.
Next time the temperature starts to soar, whip out those bags and enjoy the magic of creating ice cream from scratch. Be sure to share your delicious creations on social media and tag us @lifeslittlesweets. Happy ice cream making!
Latest Story
Full, Printable Recipe
How To Make Ice Cream In A Bag
Create a magical summer experience with our Homemade Ice Cream in a Bag recipe! This delightful treat guarantees smiles all around as you shake up a creamy concoction right in a resealable bag. With just a few simple ingredients and a lot of fun shaking, you'll have smooth and scrumptious ice cream ready to savor. Perfect for a family activity or a solo treat, this DIY ice cream adventure will keep you cool and satisfied on hot summer days. Get ready to enjoy two cups of pure creamy goodness with our easy-to-follow recipe!
Ingredients
- 1 cup heavy cream
- 1 cup whole milk
- ½ cup granulated white sugar
- 1 teaspoon pure vanilla extract
Instructions
MIXING THE ICE CREAM BASE
- In the quart-sized plastic bag, pour in the heavy cream, whole milk, sugar, and vanilla extract. Seal the bag tightly, ensuring no leaks or spills. Now, give it a good shake to mix all the ingredients thoroughly. This creamy concoction will be the base of our ice cream!
PREPARING THE ICE AND SALT BATH
- In the gallon-sized plastic bag, fill it halfway with ice cubes. Sprinkle the rock salt or kosher salt over the ice. The salt lowers the freezing point of the ice, creating an ultra-cold environment for freezing our ice cream.
DOUBLE-BAGGING
- Place the sealed quart-sized bag containing the ice cream base into the larger bag with the ice and salt. Seal the gallon-sized bag tightly, removing as much air as possible. Double-bagging helps prevent any salty water from seeping into your ice cream while it freezes.
- Shake, Shake, Shake!
- Now comes the fun part! Put on your favorite summertime tunes and start shaking the bag vigorously for about 5-7 minutes. You can enlist the kids to help, making it a fun activity for the whole family. The constant motion of the ice cream base and the ice-cold environment will work together to freeze the mixture into a smooth and creamy delight.
CHECK FOR CONSISTENCY
- Open the gallon-sized bag and carefully remove the quart-sized bag. Wipe off any excess saltwater from the bag before opening it. Check the consistency of your ice cream; it should be thick and creamy by now. If it’s not quite there yet, place the quart-sized bag back into the ice and salt mixture, seal the larger bag again, and continue shaking for a few more minutes.
SERVING AND ENJOYING
- Once your ice cream reaches the desired consistency, remove the quart-sized bag from the ice and salt bath. Unseal the bag and scoop the ice cream into bowls or waffle cones. Feel free to add your favorite toppings like sprinkles, chocolate chips, or fresh fruit.
Recommended Products
As an Amazon Associate and member of other affiliate programs, I earn from qualifying purchases. #CommissionsEarned #ad
-
 Spring Chef Ice Cream Scoop with Comfortable Handle, Black
 -
Solula 18/8 Stainless Steel Small Ice Cream Scoop Disher Cookie Scoop Melon Baller
-
GE Profile Opal | Countertop Nugget Ice Maker
-
Homestia Gold Measuring Cups and Spoons Set Stainless Steel 8 PIECE for Dry and Liquid Ingredients Engraved Measurement Heavy Duty Baking & Cooking Utensils
-
Pyrex Glass Measuring Cup Set (3-Piece, Microwave and Oven Safe),Clear
-
Creative Co-Op Floral Hand Stamped Stoneware Measuring Cups (Set of 4 Sizes/Designs)


Nutrition Information:
Yield: 4 Serving Size: 1Amount Per Serving: Calories: 339Total Fat: 23gSaturated Fat: 15gTrans Fat: 1gUnsaturated Fat: 7gCholesterol: 73mgSodium: 43mgCarbohydrates: 30gFiber: 0gSugar: 30gProtein: 4g
Please note that the Calculated Nutrition is an estimate at best. If you make this recipe and love it, remember to stop back and give it a 5-star rating – it helps others find the recipe!
- First published: 7/27/2023

- Hot Cross Buns - May 6, 2024
- Nordy Bars - May 6, 2024
- Dandelion Jelly - April 22, 2024
Leave a Reply