


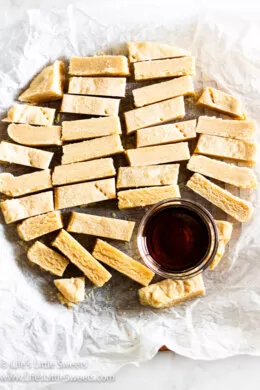
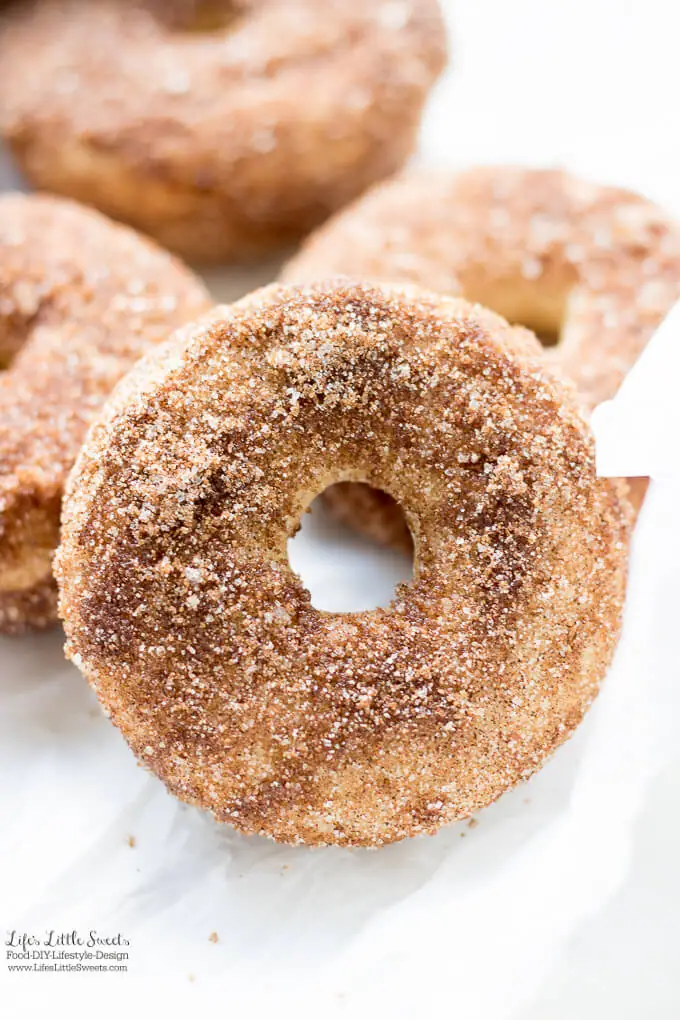
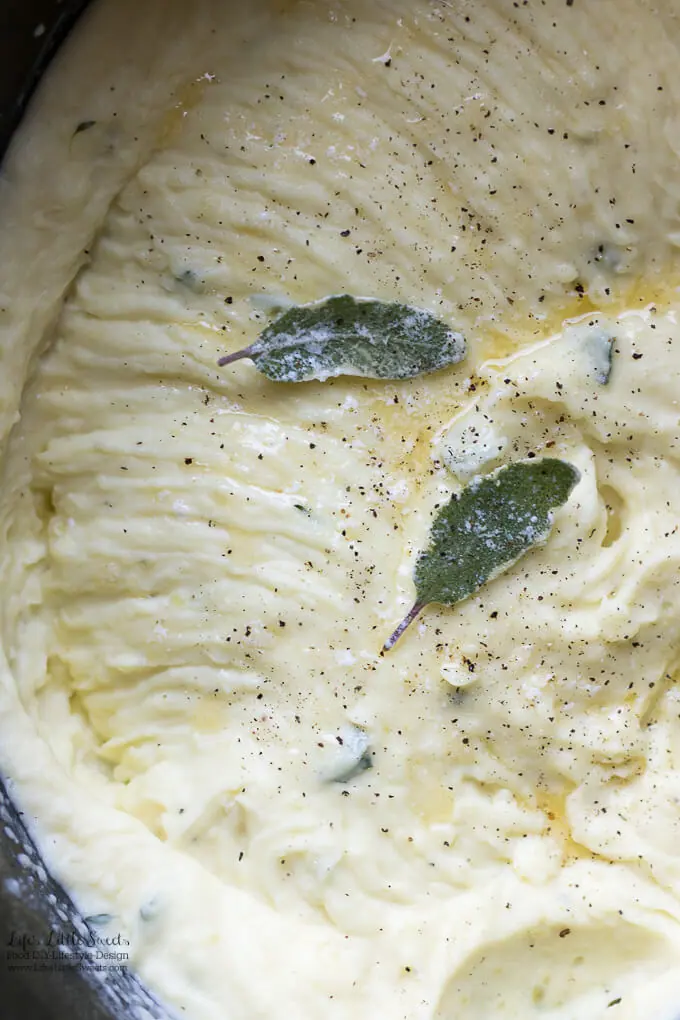
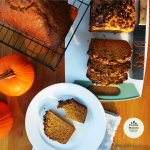
Maple Cinnamon Butter is a sweet and delicious butter recipe that is perfect for having on muffins, toast, popovers, bread, or just about anything you imagine. It only takes a few minutes and 4 simple ingredients to make this maple-cinnamon scented butter.
Any Season April August dairy free December Fall February Food Gluten-Free Holidays January July June March May New Year's November October Paleo Recipes Recipes by Diet Lifestyle Recipes By Month Recipes By Season Savory September Spring Summer Vegan Vegetarian Recipes Veggies and Sides Winter


Blair @ The Seasoned Mom says
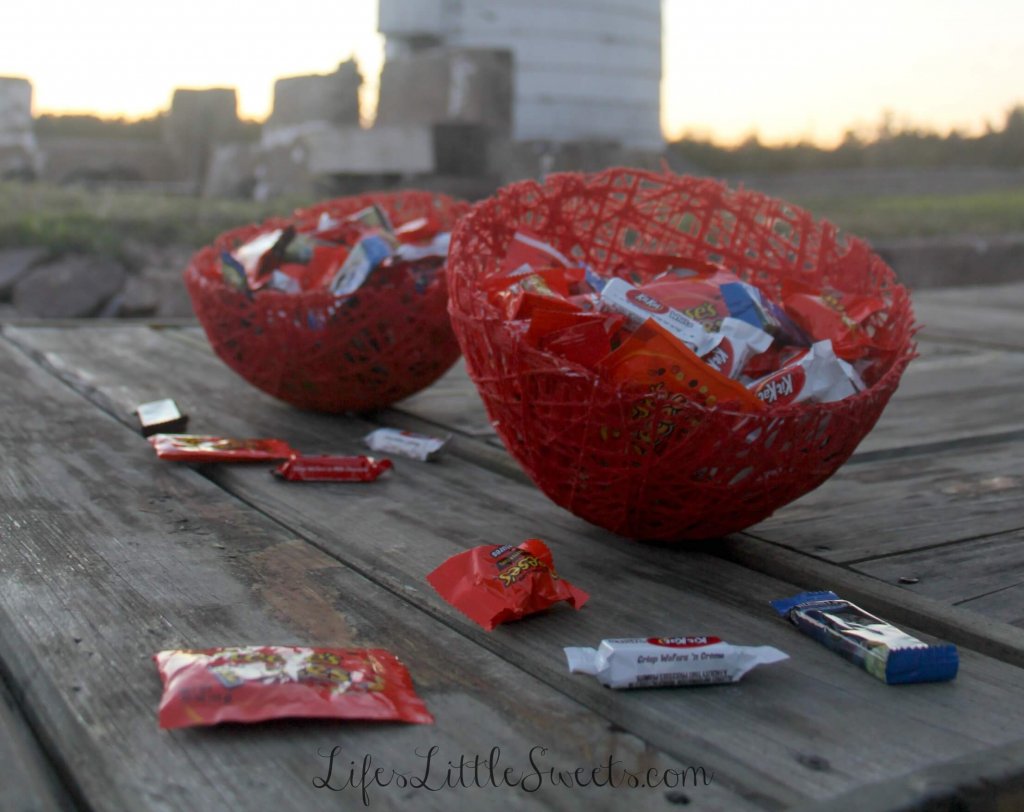
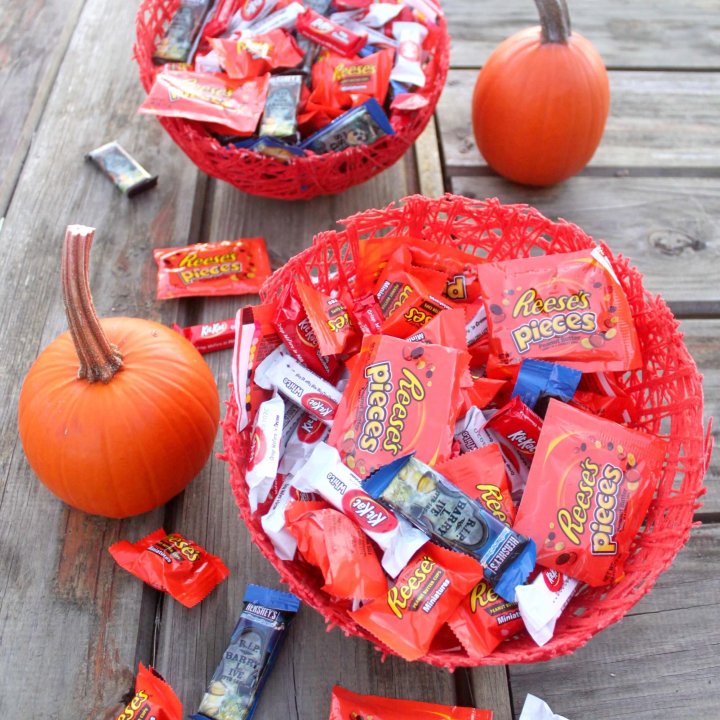
Such a fun project! My boys would love doing this...especially the candy-eating part. 🙂
Sara says
I know, Halloween (and Easter) are the times when I let myself indulge a little more in candy!
Linda Lara says
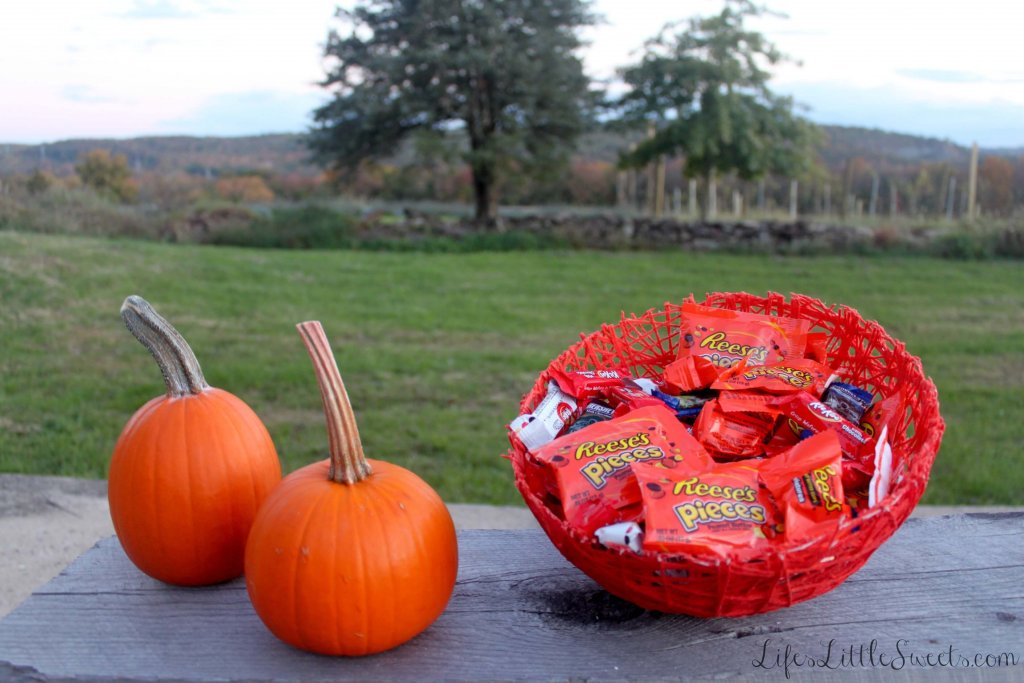
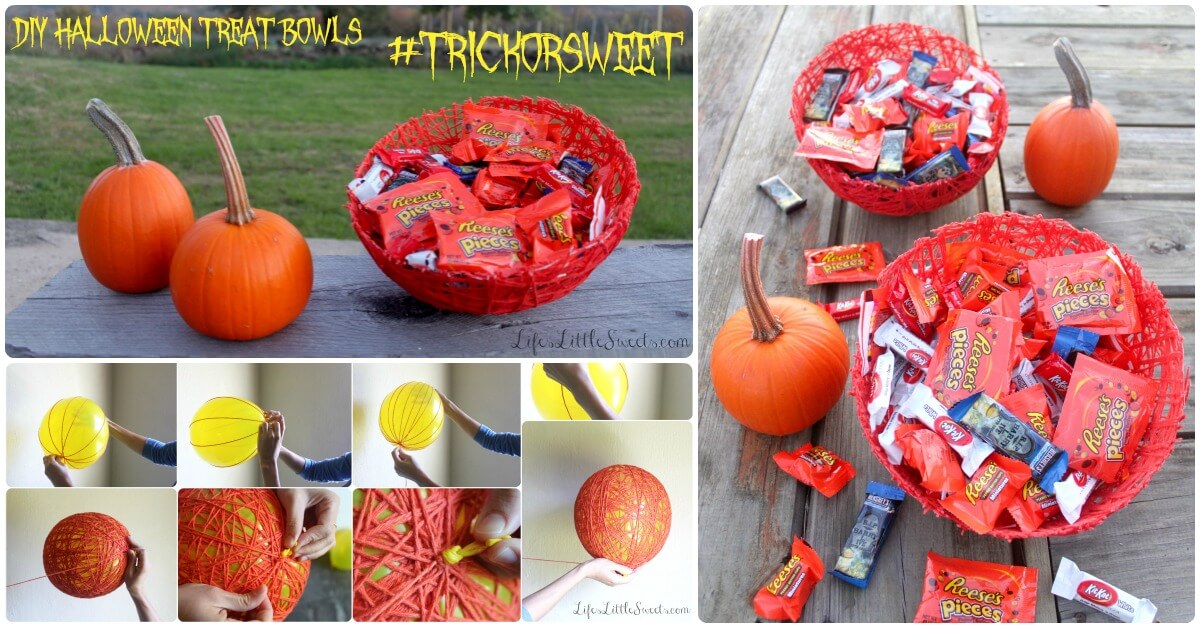
Such a great craft activity, and your story and photos are first class!
Sara says
Thank you Linda! It was fun taking photos at the farm, it's so pretty there 🙂
Derek says
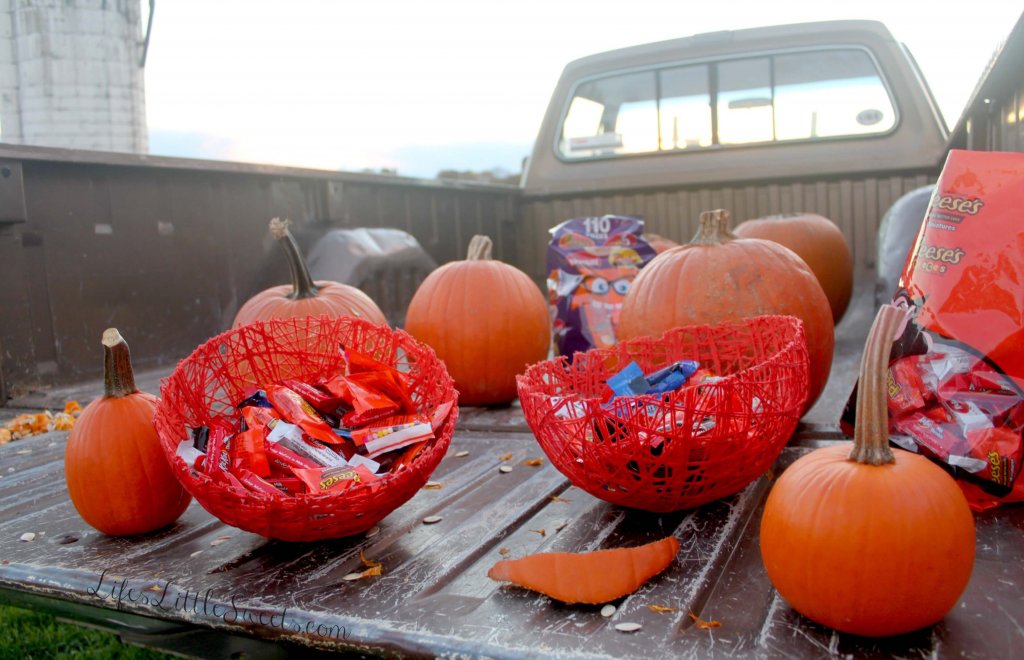
I like the back of the truck pic - cool angle! Good stuff.
Sara says
Yep Derek, this is how we do it over here!
Samantha says
A few things:
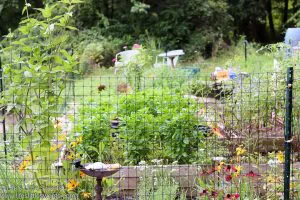
1. Is that your backyard in the one picture? If so, WOWSA! Can I come stay for a year? Beautiful!
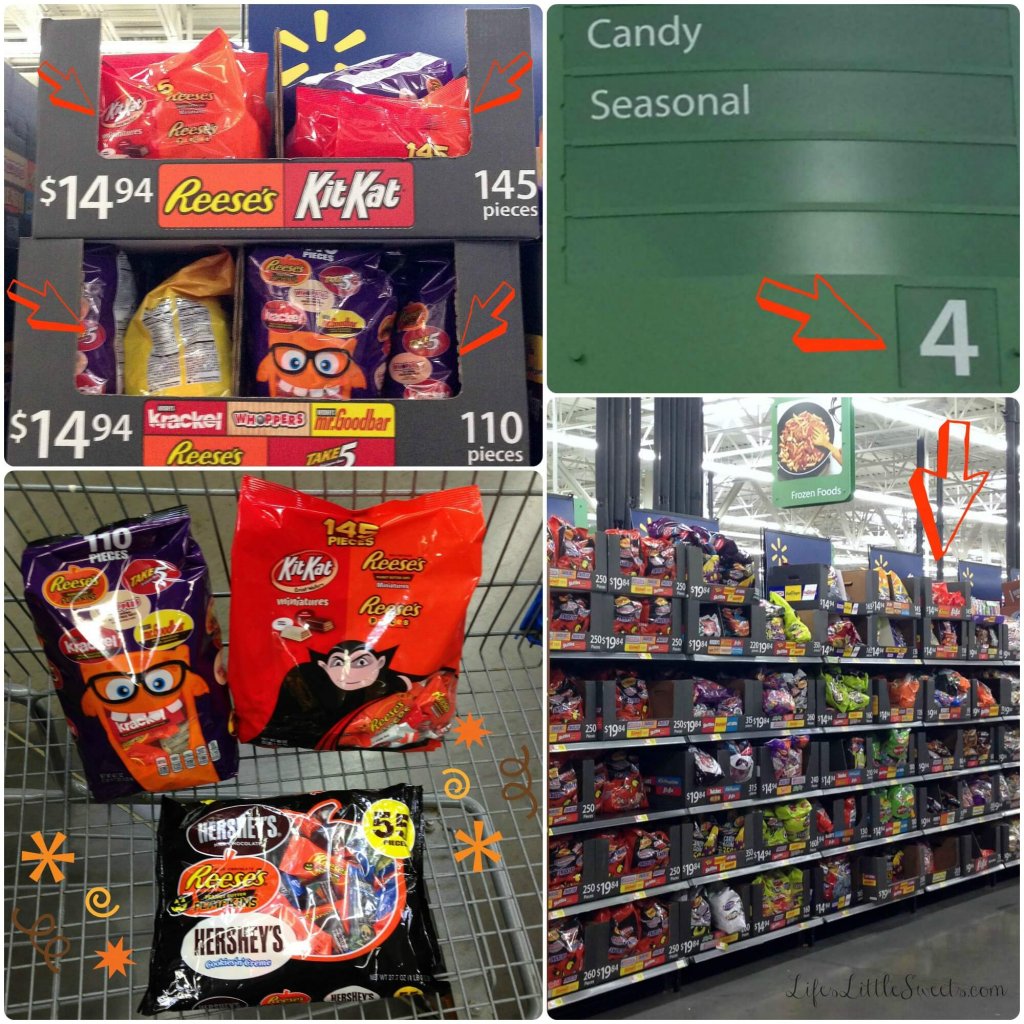
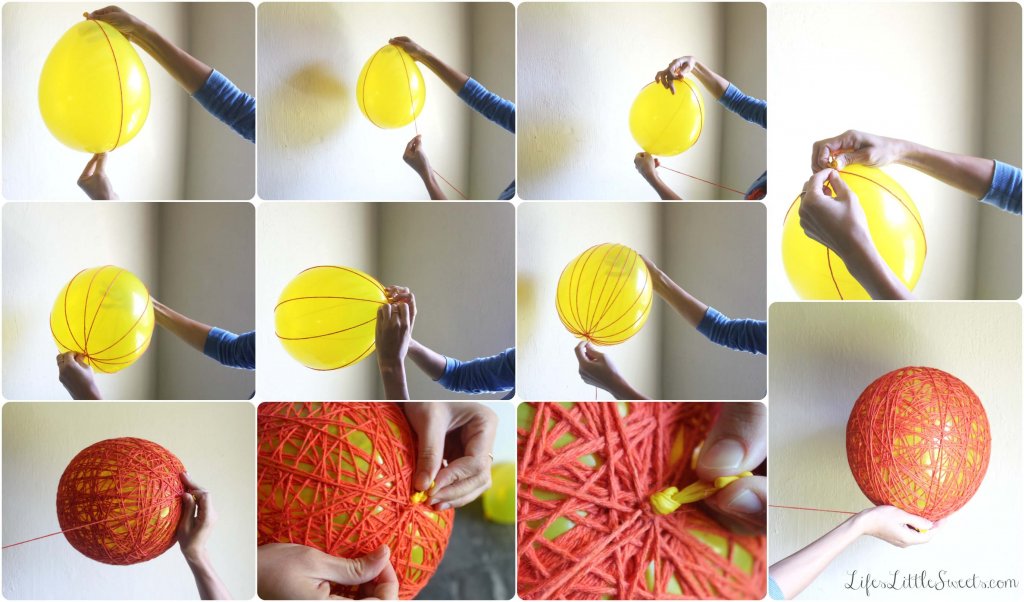
2. I LOVE that you included the pictures - so many - to share the tutorial - this one definitely helps to have the steps!
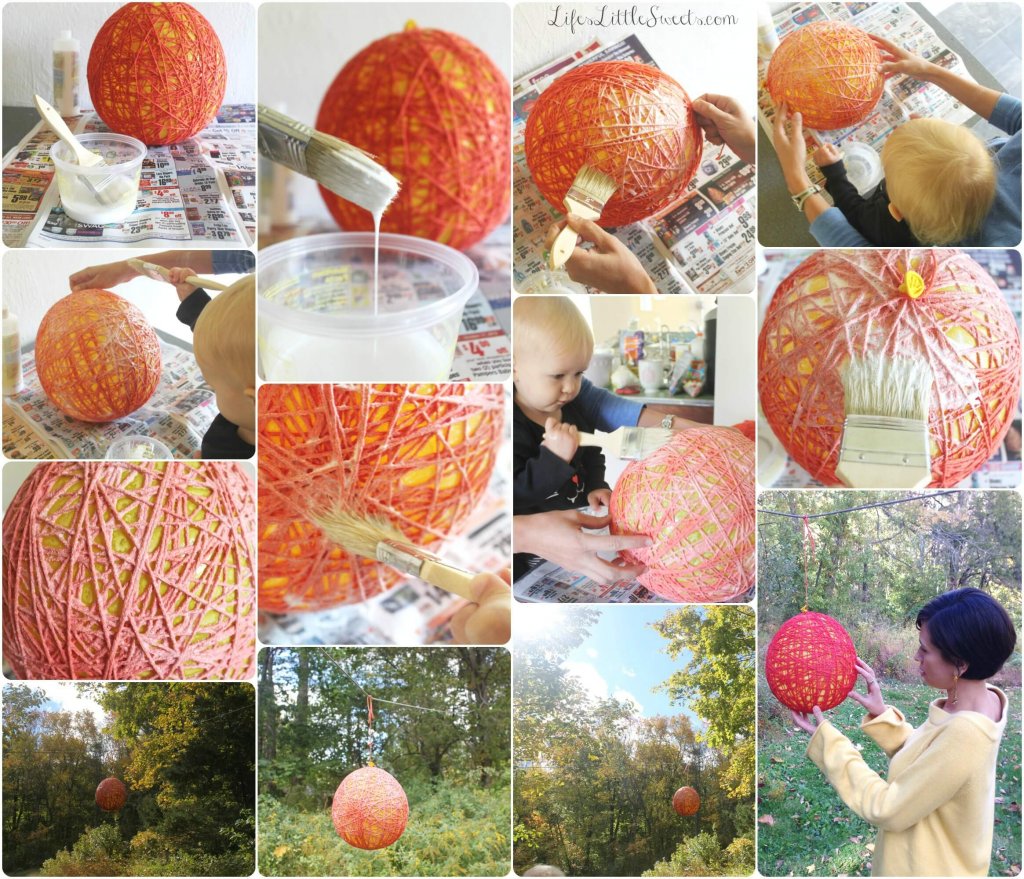
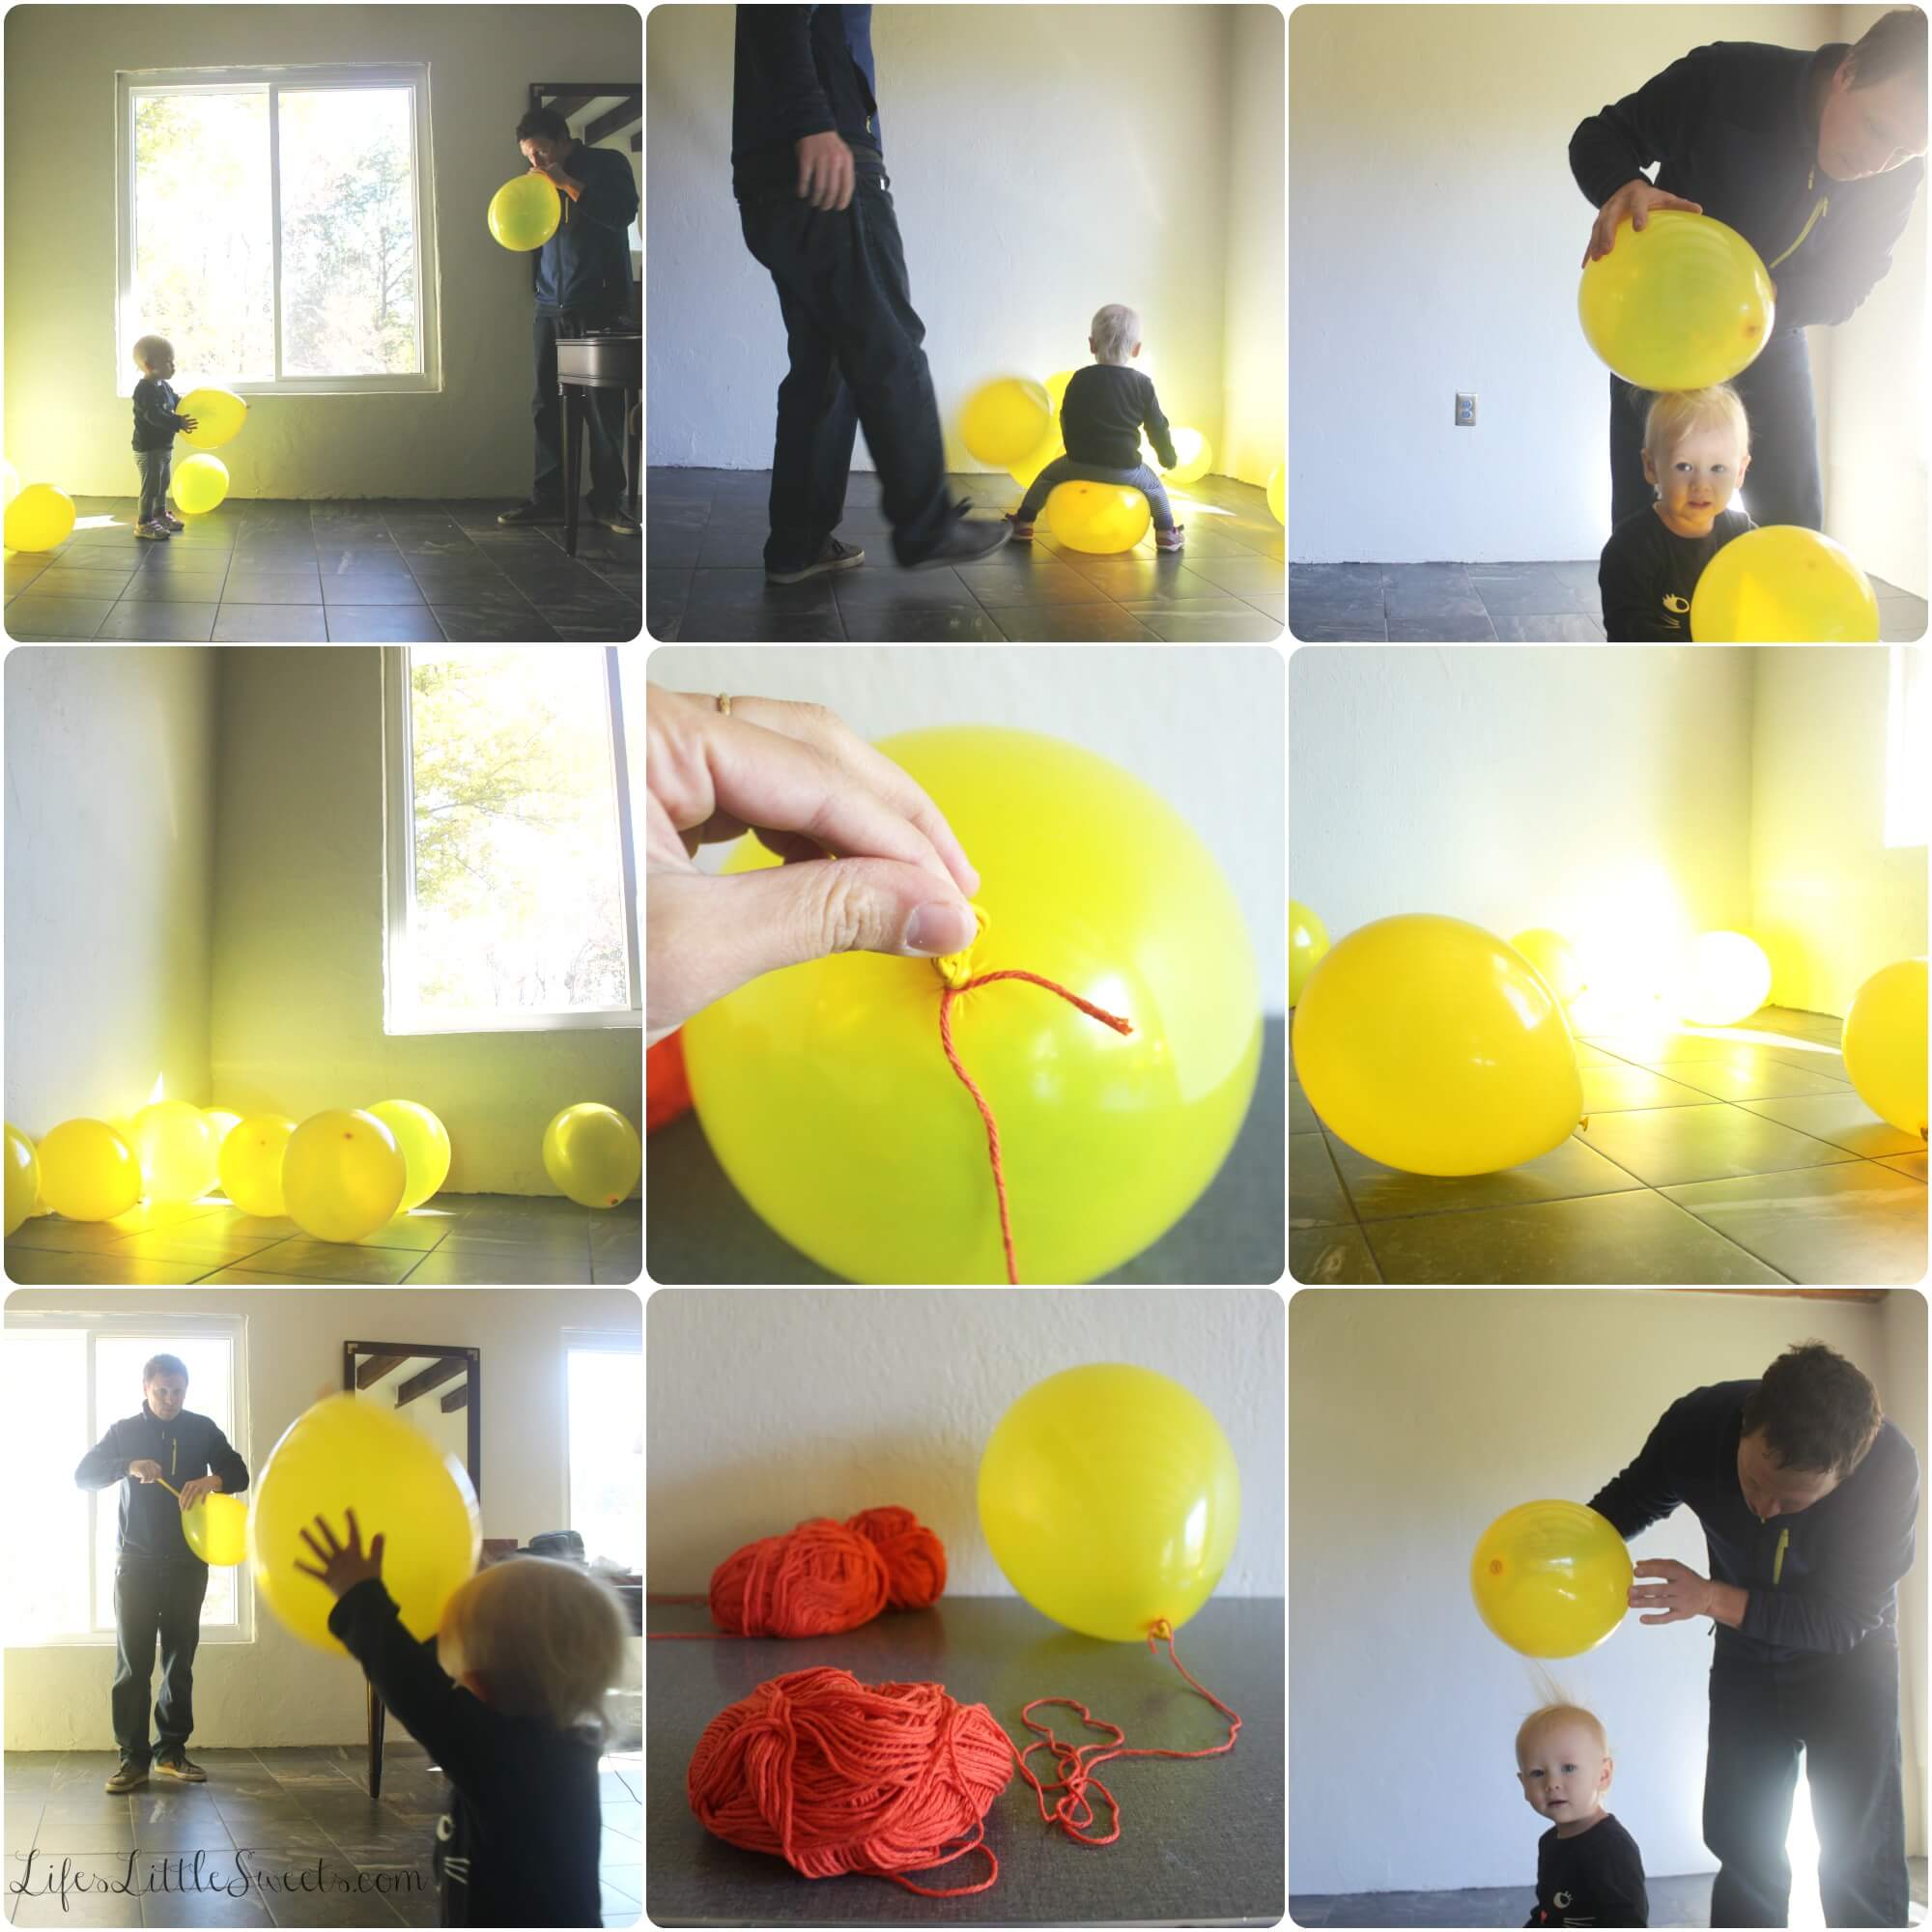
3. I LOVE that you had little ones helping - getting dirty and crafty with them is the best! 🙂
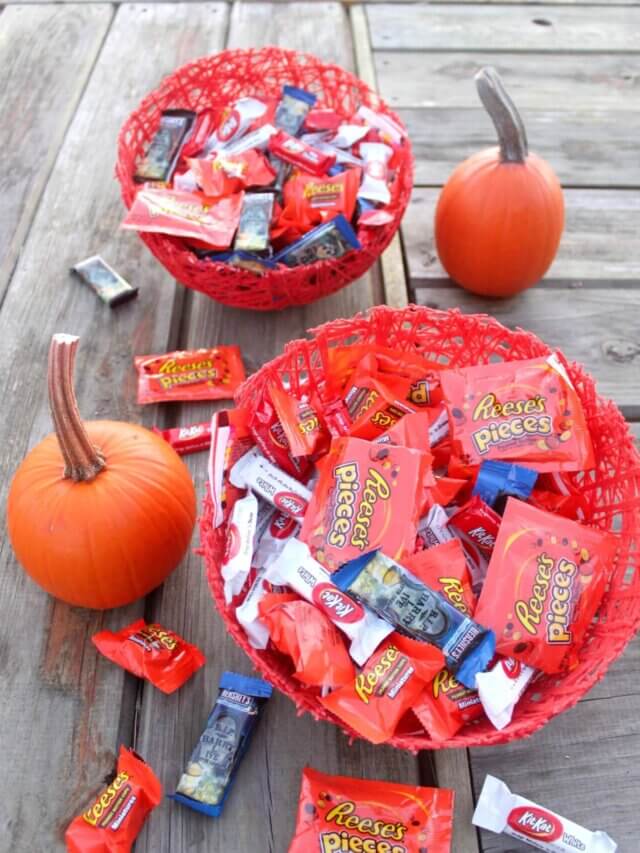
Beautiful bowls, definitely could see myself making them. Thanks for sharing! #client
Sara says
1. It's the farm where my Father-in-law and my Sister-in-law and her family live just 3 miles down the road, it's a place we gather together as a family and hang out. It is really pretty (especially with the foliage) there with a nice view that you never get tired of!
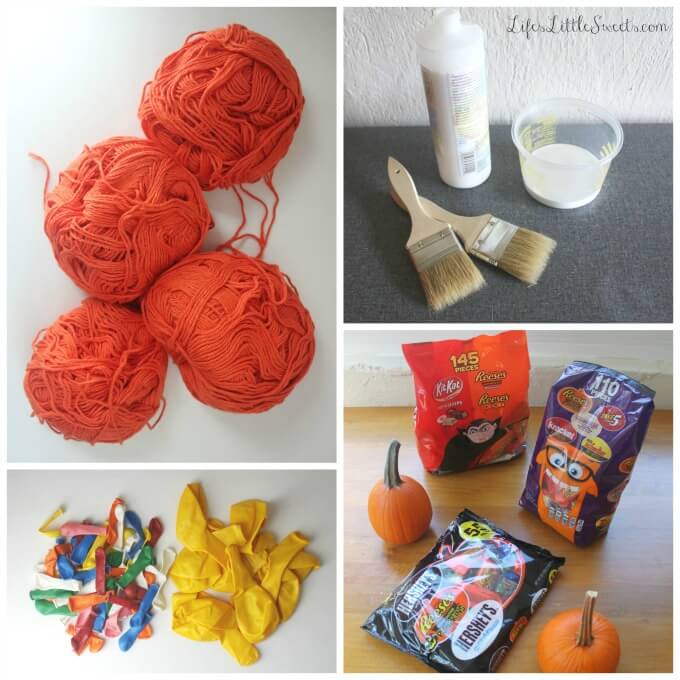
2. Yeah, I love to do photo collages and I wanted to give people a sense of the fun we had doing this, my daughter Margo LOVES balloons and we ended up bringing the extra ones over to the farm for a bonfire party my sister-in-law recently had.
3. Oh my goodness, Margo loved helping! I think it gives children confidence and helps their self-esteem when they make things, I can't wait to do more DIY projects like this!
Thank you Samantha!
deliciouslynell says
Neat idea!
Sara says
Thank you so much!
Manali @ CookWithManali says
wow so fun and creative! absolutely love this Sara!
Sara says
Hey Manali, thanks so much! I try 🙂