Kitchen Renovation New Tile Floor - Check out the latest from the Life's Little Sweets home kitchen renovation being our tile floor odyssey this past week (and other updates with 45 photos!)
Estimated reading time: 23 minutes

Table of contents
Kitchen Renovation New Tile Floor
Hi Everyone! Welcome to the latest installment of our Kitchen Renovation Series.
Since our last post, Kitchen Renovation Ceiling Walls and Plumbing Update, we have run more electrical, put in a tile floor & room thresholds (ourselves, mostly Eric), purchased our countertops(!), purchased our stove(!!), purchased our stainless steel farmhouse-style sink and selected a potential dishwasher. Wow, that's actually a lot.
I numbered the pictures and ordered them by the date because this tiling has felt like a long-distance marathon.
Eric and I have sore bodies from doing the back-breaking work of tiling but by doing the work ourselves we saved a lot of money in what it would cost to hire someone to tile.
It helps that we are consummate DIYers and no strangers to tiling, we tiled 3 rooms at our old home and most of the 1st floor of our home now.
Be sure to follow along with my Snapchat and Instagram stories because I will post regular blog & kitchen updates there, as they happen.
Wednesday - 5.3.2017
Eric picked up the tile for our kitchen after work from the Floor & Decor store.
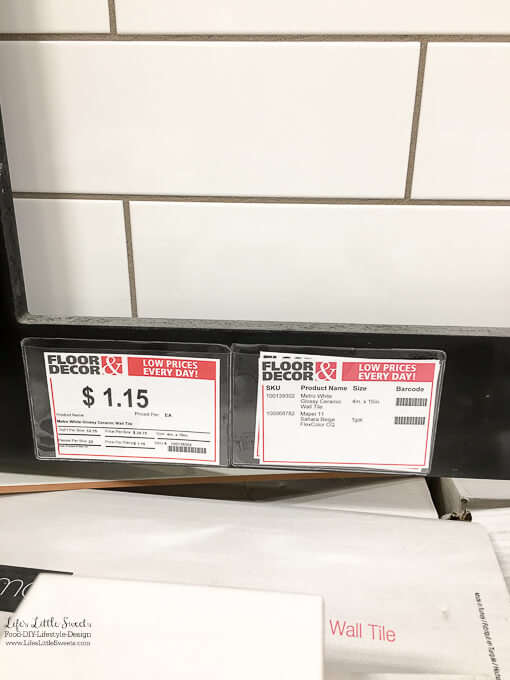
They have a great selection, good quality tile/products, and good prices by his comparison between different tile stores.
I went there for the first time (5.7.2017), and I would have to agree.
The place is HUGE and they have several showroom examples set up, lots of clearance selection (that's always fun, thinking about future DIY projects!), and just so much to choose from.
Some things that floated through my head were, "Wow, that would be perfect for when we renovate our 2 bathrooms, or our daughter's room or make an outdoor kitchen(a long-term dream)!"
It was like being a kid in a candy store, very easy to get overwhelmed.
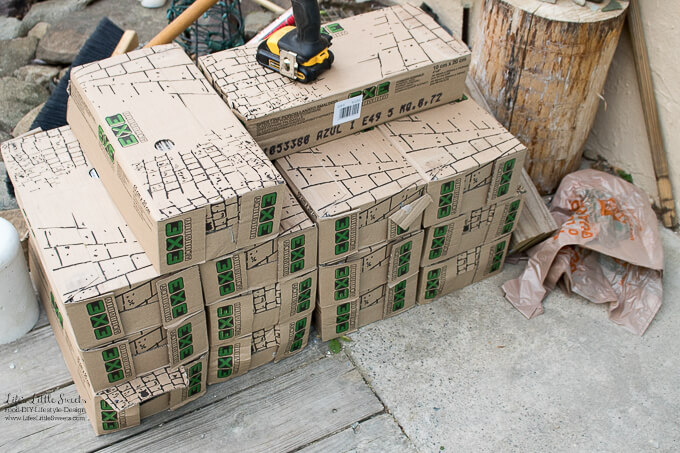


Eric had planned on starting Thursday (he took Thursday and Friday off to work on this mega tile project) but got a head start Wednesday afternoon and it was a good thing he did because we did FULL days Thursday-Sunday and he still has to grout some last areas and we need to clean and de-haze the tile (that means removing the haze left from the grouting process).

Eric started in the far corner of the kitchen, close to the living room because that's the sightline right when you walk into the room.
We also chose that spot to start because we wanted that side to be the most perfect.
As the tile floor gets closer to the wall where the counter will be, that 2-foot section will be hidden under the base cabinets.

Here (above) he left a 4 ½ inch gap for a threshold between the living room tile and the kitchen tile.
You can check out what we chose for the threshold further on below.

Tiling is such a hand-crafted art and I say this as I am sore from bending over and tiling/cleaning tile for the past few days.
It's no wonder people pay a lot of money to have other professionals do it because it is so hard and very physically demanding.
Eric really did most of the tiling, I helped as much as I could but I really needed to tend to our daughter while this was going on and as you will see further below, she helped when she could too!
Plus, I made our meals to keep us going, like a turkey burger recipe, which I plan to share on the blog soon, and my Stuffed Grape Leaves recipe (my favorite food right now!).

Eric went with these 4 x 8 inch Italian made, porcelain tiles.
The color is "San Juan Azul" (see below, a screenshot of the sample).
They are higher quality than any of the tile in our house.
He figured that we are putting so much effort into this kitchen, the floor should have nice tile.
He ran the sample by me when he saw it in the store and I approved it from just looking at the screenshot.
It wasn't what I was thinking of at all, I actually had this blank spot when it came to the floor material.
I knew that Eric had a gut feeling about this tile, so I just trusted him and was like, "Yeah, it looks great!"

You know what?
It does look so great in person! It has this "old world" feel, like the cobblestone on a medieval Italian or French side street. It's distressed, so it has so much interest.
It has repeating tiles but it's random enough that it doesn't look predictable.
It really looks like a stone to the eye and the print on it is high quality.

We had previously thought about doing cork or Pergo flooring when we found out that the tile that we have in the living room is no longer available.
Originally, we planned to just continue that tile throughout the new kitchen.
When it came down to it, there's a lot of tile in the house already and it's an integral part of the character of the house, so we continued with that theme.
Tile also has many merits, it's easy to clean, SO durable, and wears really well, especially for high-traffic areas like the kitchen.
I plan on having anti-fatigue mats near the sink and stove areas where anyone (me, namely) would be standing since tile is hard to stand on.

Eric also chose this pattern to lay the tile in.
They had it as an example and he thought it was unique.
I think having the 2 rectangles in a square pattern also helps it echo the square tiles in the adjoining rooms as well.


Thursday - 5.4.2017
Here are progress photos from Thursday.
Eric started tiling early at 6 am and he got a lot accomplished.
I helped him around 8 am for a few hours (at most) but he did most of everything.

We often said during this tiling project that we felt like we were in a time warp and all this time was passing but the room still wasn't finished.
It was just one of those scenarios where you have to just keep going and stay positive.

Eric went with a smaller tile (compared to the 8 x 8 and 12 x 12-inch tiles in the rest of the house) because we have some areas that are uneven on this concrete floor.
We chose not to have the floor leveled because it really is mostly flat and we did not want to raise the floor in height more because we will have the counter come very close to one of the windows and we didn't want to take any chances.
We also wanted the tiles to meet with the other 2 rooms flush so there wouldn't be a tripping hazard at the threshold to the living room and the family room/future dining room.

Not bad for a day's work!

All those wires sticking out are new electrical wire to outlets and future lighting fixtures.
There's new exposed electrical pipe that wasn't there since the last kitchen renovation update.
I will focus on the showing the lighting after the lighting fixtures go in because it will make more sense then when you can actually SEE the lights.

We are so intimately in tune with our kitchen floor now and know all the intricacies after spending days sitting on it.
Probably more than we would ever want to!

Friday - 5.5.2017
Friday morning we had a hard time getting out of bed and only finally did after our daughter jumped up and down on us to tell us, "It's Mornin'!"

We were SO sore after that full day on Thursday.
Joints and bones were hurting that we didn't even know we had.

We agreed that after tiling, at some point during or after this kitchen renovation we need new doors because now that there's a new floor, we look around and notice more things that need updating.
Well, the doors have been on our mind since we moved in but there are like a thousand things that were on our mind when we moved in.
It's just that now they will be right next to the the new kitchen and more noticeable.

Originally, Eric wanted to install the cabinets too but after this tiling project, I think we are having them installed. We feel burnt out with installing.
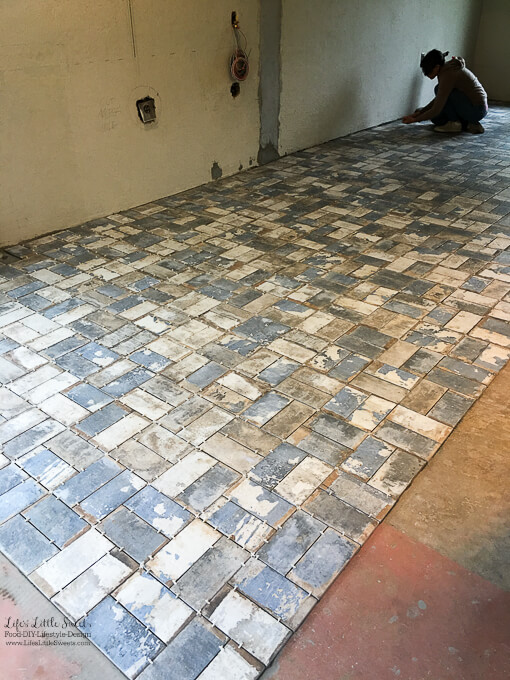
It's really cool to see a finished material go in after months of planning and talking about this project, it just makes it more real and makes us closer to the end goal of having the new kitchen.
Saturday - 5.6.2017
Doing this floor tiling project has been a family adventure for sure.
Our daughter has been curious about it and got to help a little by being our "Project Manager."
She got a crayon and a piece of paper and knew exactly what to do.
She told us when we were being, "slowpokes" and when we were "doing a good job" and pointed out where we "missed a spot" and how we needed to "hurry up!"


The silver-grey colored grout that Eric picked out is perfect.
It's not too light and not too dark and allows the tile pattern & color to shine. It's perfectly neutral.

I actually enjoy the detail-oriented work of tiling.
It's sort of meditative and fun to get the spacing right and get it all perfect.
Tiling is when I can let my "perfectionist beast" come out and it's okay.

Our end of the week and weekend was a family-focused time where we just concentrated on working together to make this kitchen tiling job happen.
Eric really did most of the work, our daughter and I helped, supported where we could.

When I was helping Eric tile, we had a really good system going, he would deal with the mortar and I would place and space the tile.
Likewise, when he would put down the grout, I would come by after and wipe away the grout from the tile surface.

I learned too late in the day that I should be kneeling on something at EVERY part of tiling.
I did have a piece of cardboard that I used for the actual tiling but somehow I didn't use that for picking out spacers or wiping off the grout.
I still have blister-like red marks on my knees, a painful lesson learned!
Ouch!
And I know better than to make that mistake too...
Sunday 5.7.2017
We took a family trip to the tile store Sunday where I was in awe of all the tile choices.

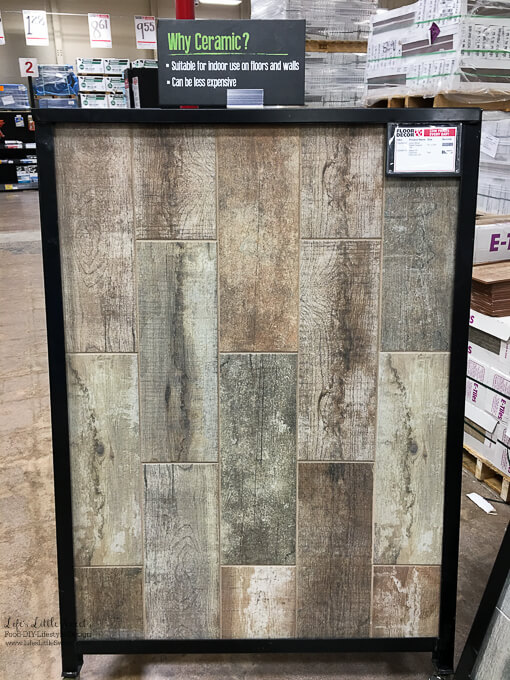
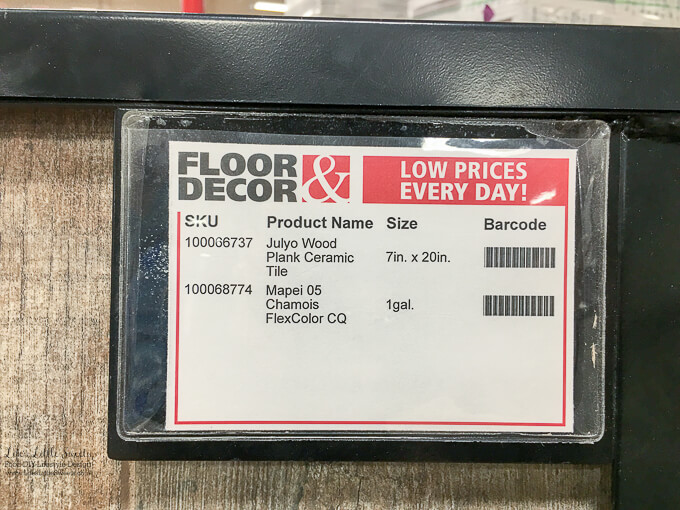
Eric came up with this brilliant idea to use a certain shade of wood-printed porcelain tile as the threshold.
I was taken aback at first because he previously told me a did not like tile that is printed like wood.
However, in the case of the threshold, as I mentioned above, it really does pull all these different areas/3 tile floors/colors & wood ceiling beams together.
This is a case again with the tile where I trusted Eric's intuition and it worked out so well.


Cabinet Plans


Now remember, the tile floor still needs to be further wiped down, I will be posting photos of the floor when it's finally finished and clean.
We picked up a solution to help "de-haze" the tile.

Eric estimates that all the materials to do this tile floor project cost $1400 (after we returned the extra tile). The approximate area we tiled is 321 SF.
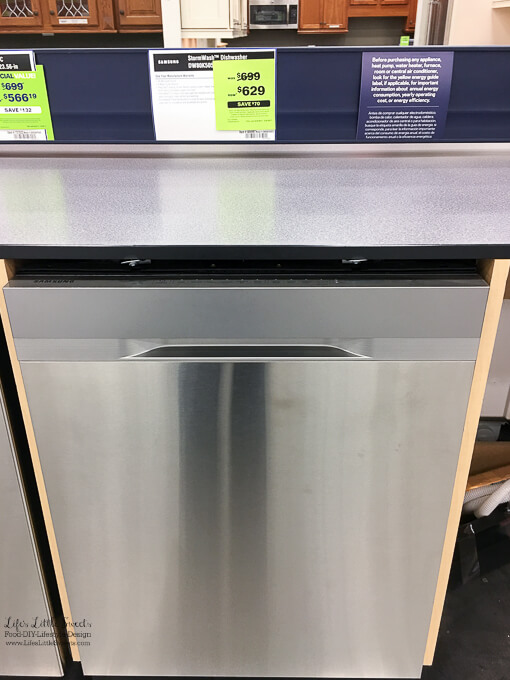
More Kitchen Renovation Updates - Dishwasher
New Stove Range!
How excited am I being a food blogger at the prospect of having a new stove when I've been without one for weeks now. Um, VERY!

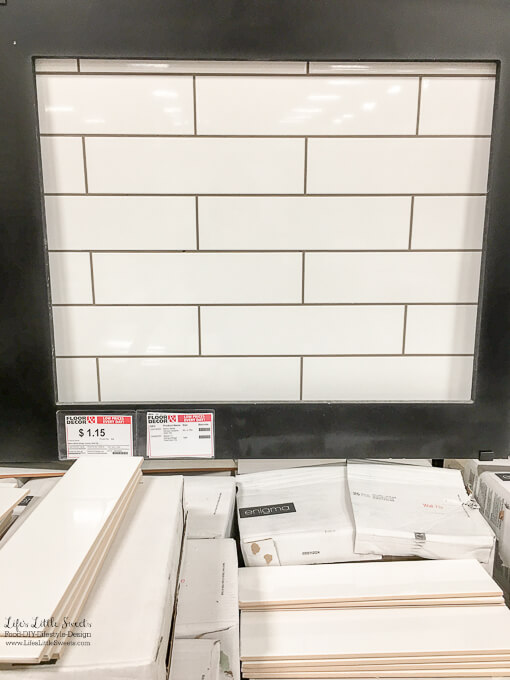
Thank you for following along with our adventures with our Kitchen Renovation Series on Life’s Little Sweets, stay tuned for more updates!
Tell me your kitchen renovation stories! Have you ever done your own tiling? Let me know in the comments below!
Latest Posts
- Nordy Bars - April 14, 2024
- Hot Cross Buns - April 6, 2024
- Recipes with Ginger - March 30, 2024





Rebekah says
Wow, the room looks huge now! I love the new floors! You guys did such a fantastic job in and here and in the bathroom!