This shop has been compensated by Collective Bias, Inc. and its advertiser. All opinions are mine alone. #SendHallmark #CollectiveBias
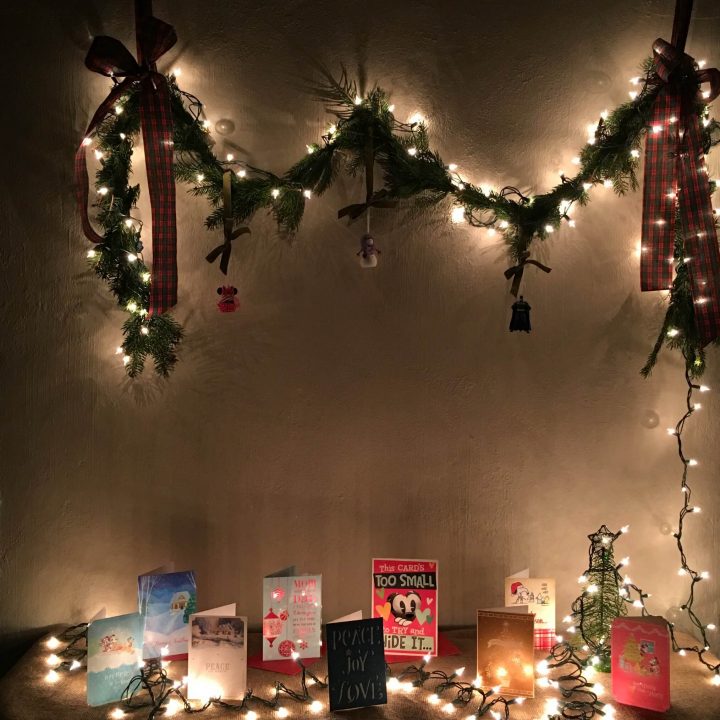
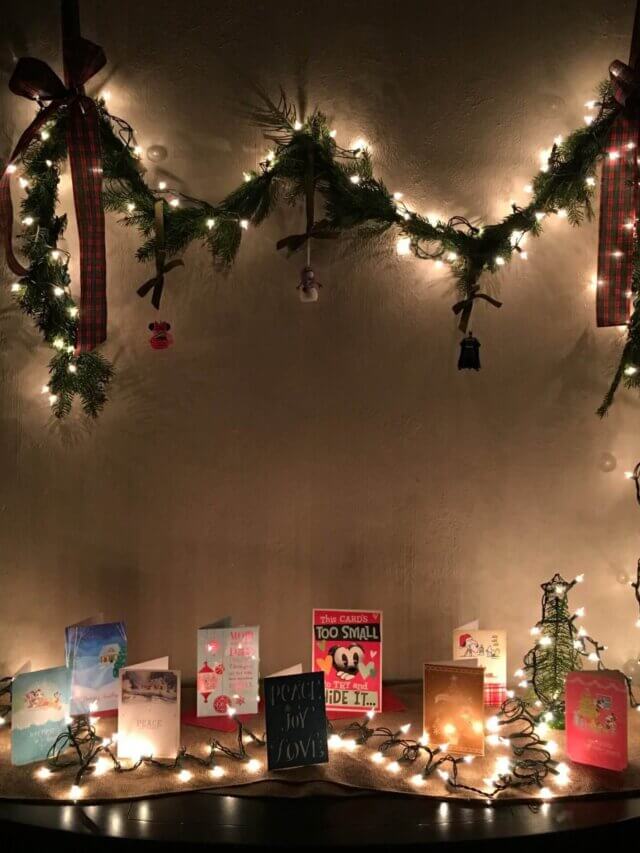
Creating a DIY Christmas Garland & Greeting Card Table vignette in your home is easier than you think! There is nothing like the smell of fresh pine, the glow of a string of lights, precious family ornaments hanging over arranged Christmas & Holiday Cards from your loved ones - all in one place. Feather your nest with this special DIY Christmas Garland and Greeting Card Table vignette in your home this holiday season!
Estimated reading time: 8 minutes
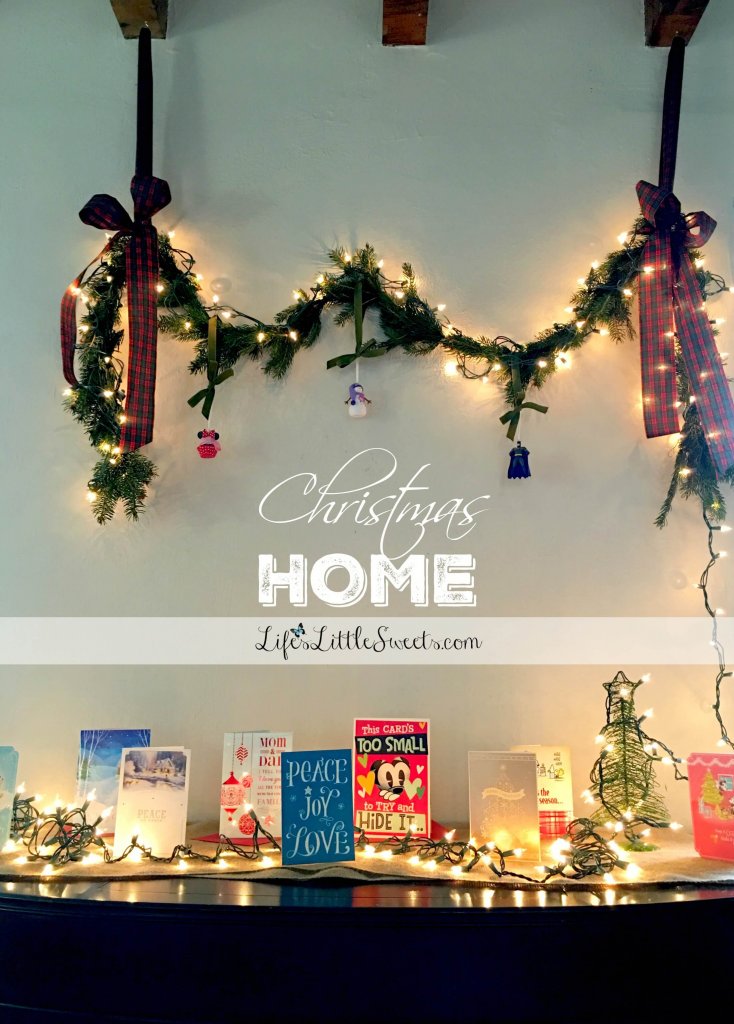
Table of contents
DIY Christmas Garland & Greeting Card Table
I have a 20-month old toddler and she is into everything.
I said officially on the blog that I started Christmas decorations at the beginning of the month; what I discovered after I published that post was that I can not hang breakable ornaments in a place where my daughter can reach them! Duh!
I had to throw out 2 awesome keepsake ornaments that day and pack the rest away 🙁
But wait!
There's a solution to the Christmas-Holiday season that doesn't involve packing everything up safely in the attic: Make a DIY Christmas Garland and a Greeting Card Table!
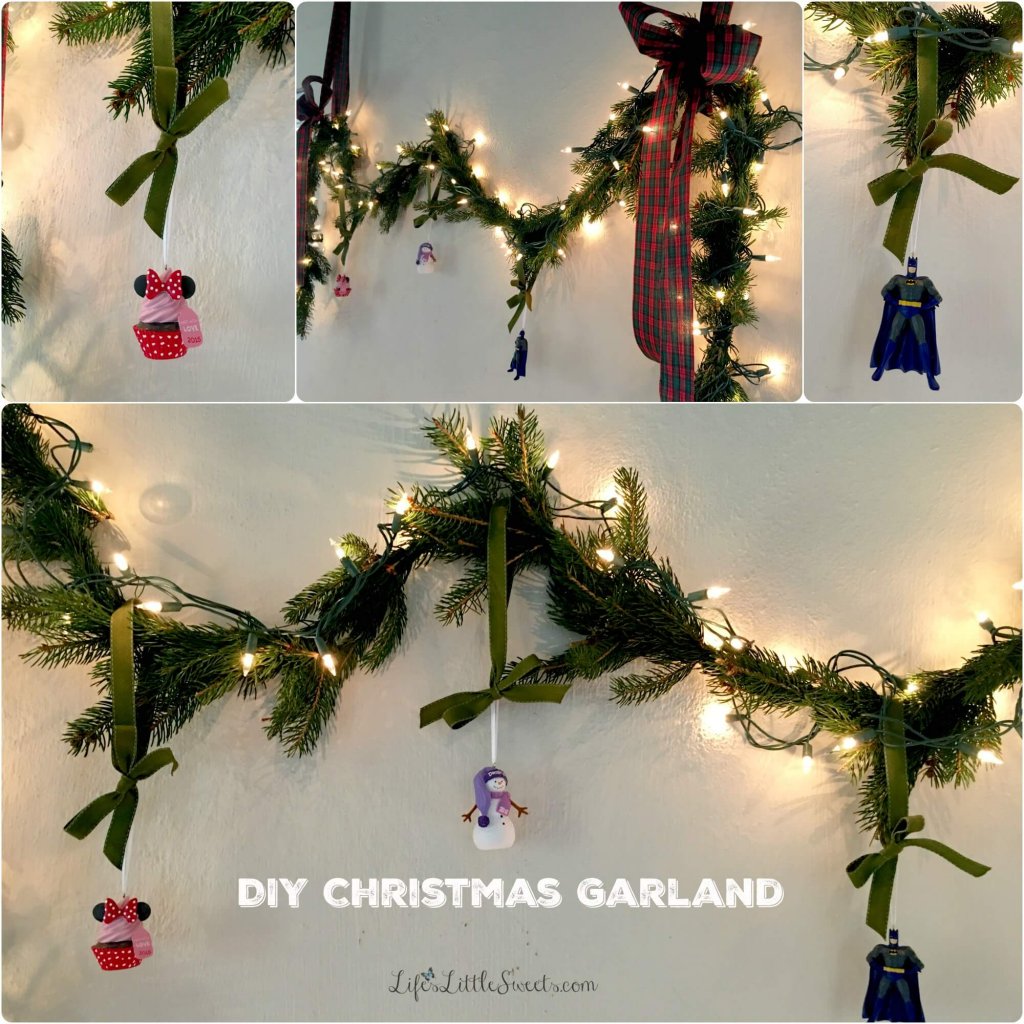
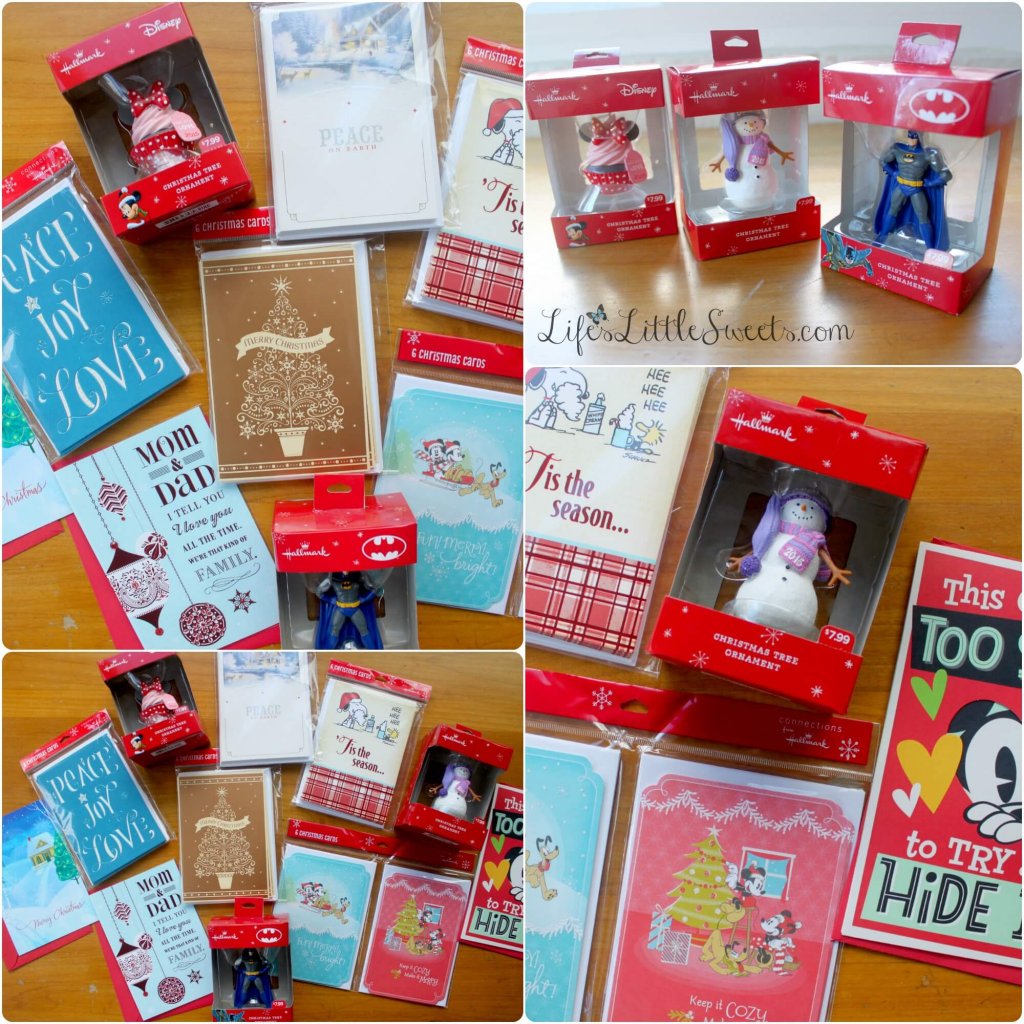
I was so happy to be able to replace those broken ornaments with some new keepsake ornaments to represent our little family - Thank you, Hallmark!
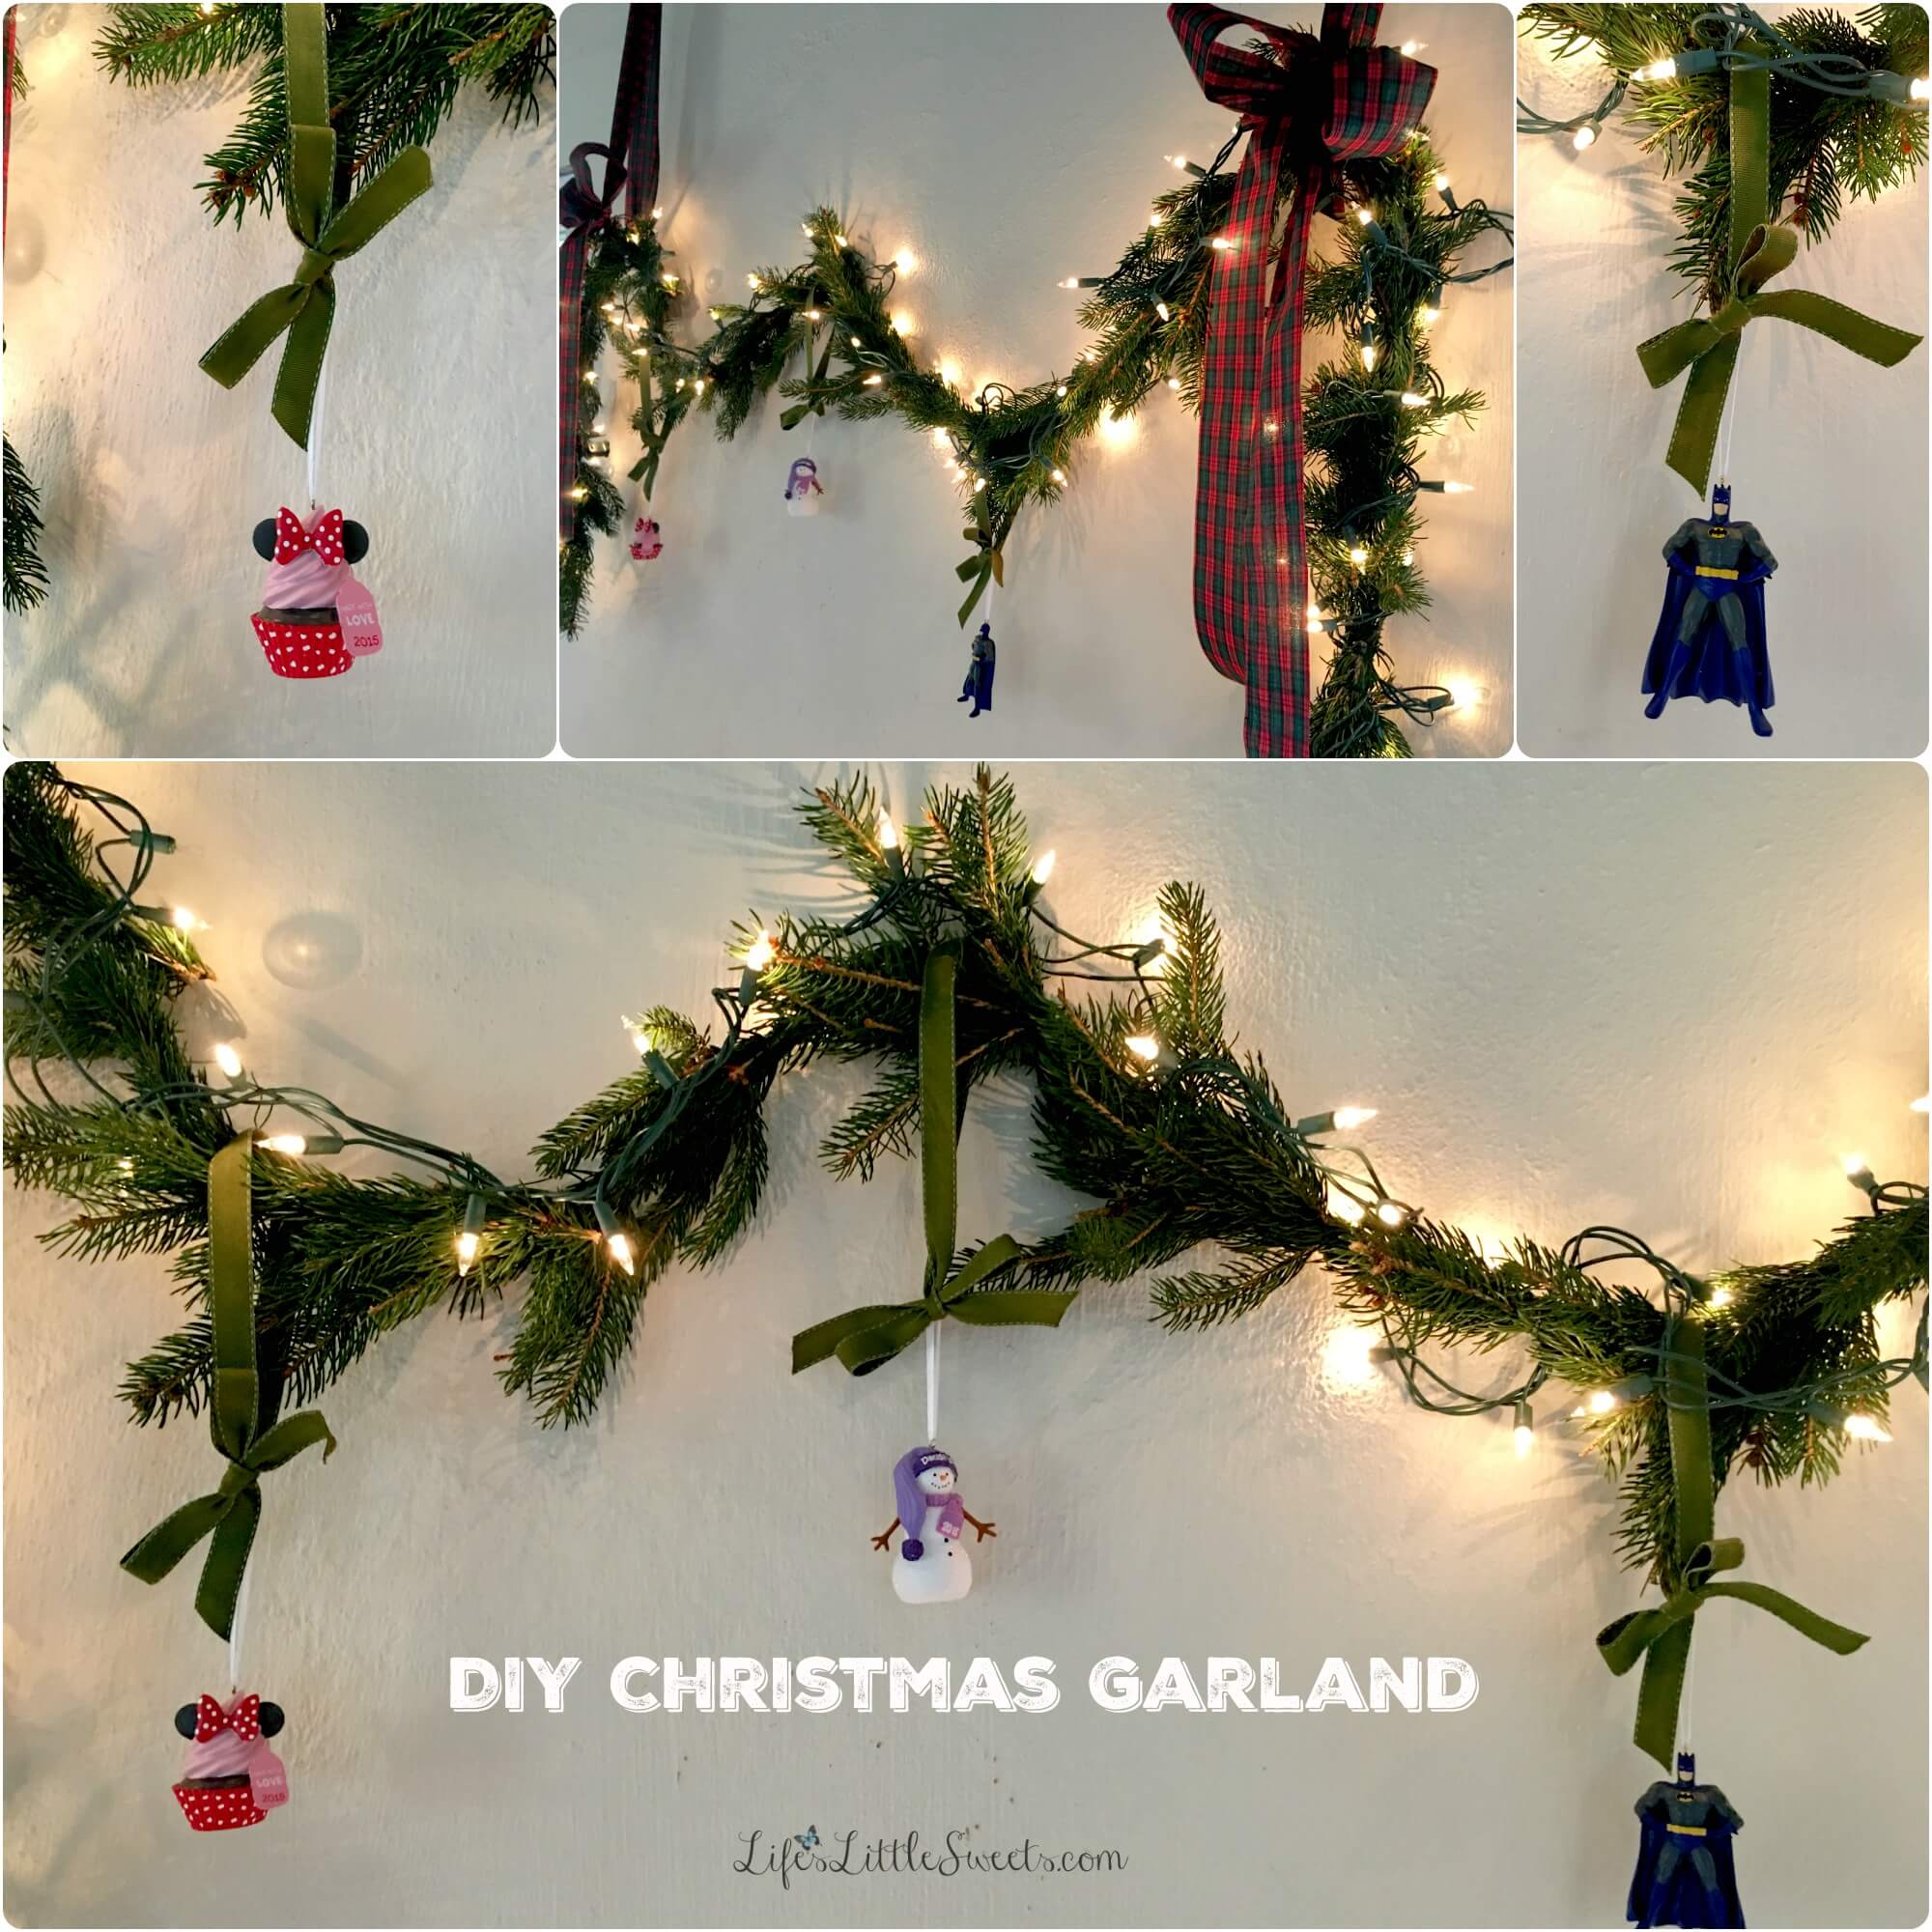
They had a Snowman "Daughter" (pictured above, middle), Batman for my hubby Eric (he likes Batman, plus he's resourceful & handy, pictured above, right) and me on the left as the Minnie mouse cupcake, representing my love of baking sweet treats (pictured above, left).

A Christmas "shrine" (that's what Eric called it) or vignette, as I like to call it, is not complete without the Christmas and Holiday cards that flood our mailbox every year.
Here are some of the ones that I bought which I will be sending out shortly.
I love how Hallmark always has specific cards for specific relatives and there is always a great selection to choose from. When
I am looking for that special card, I am never disappointed with a Hallmark card.

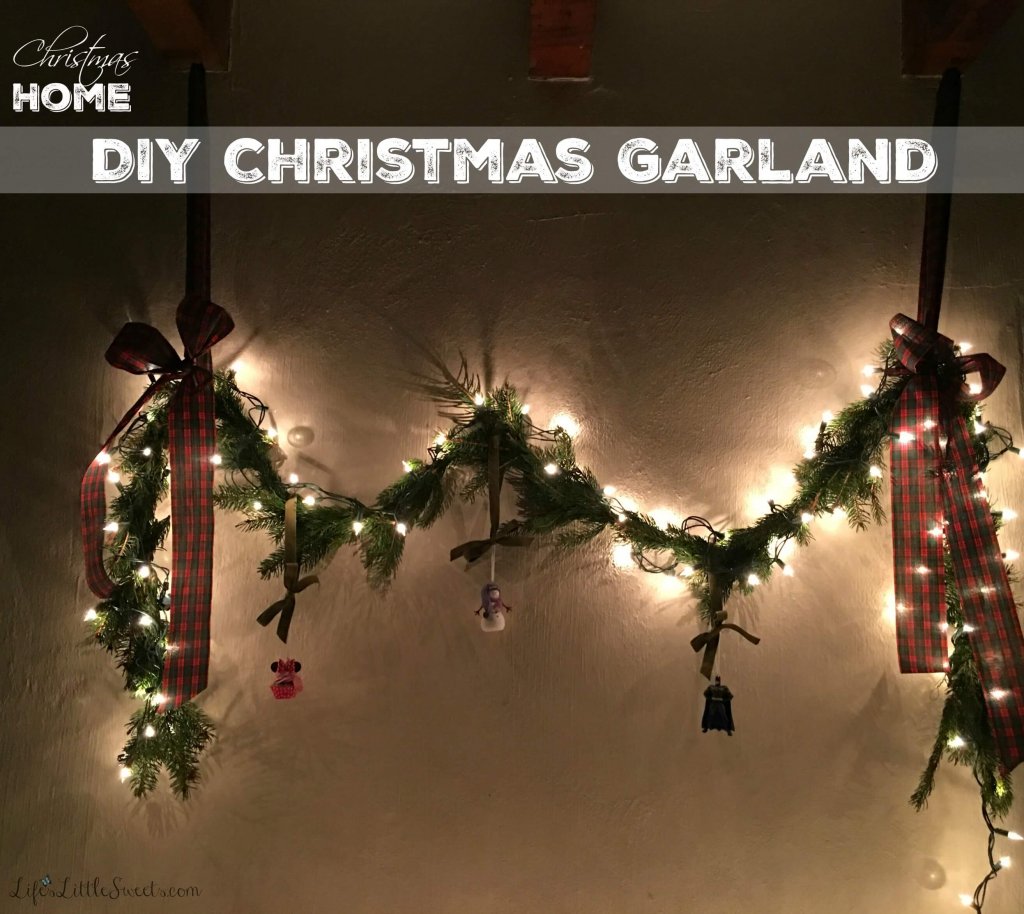
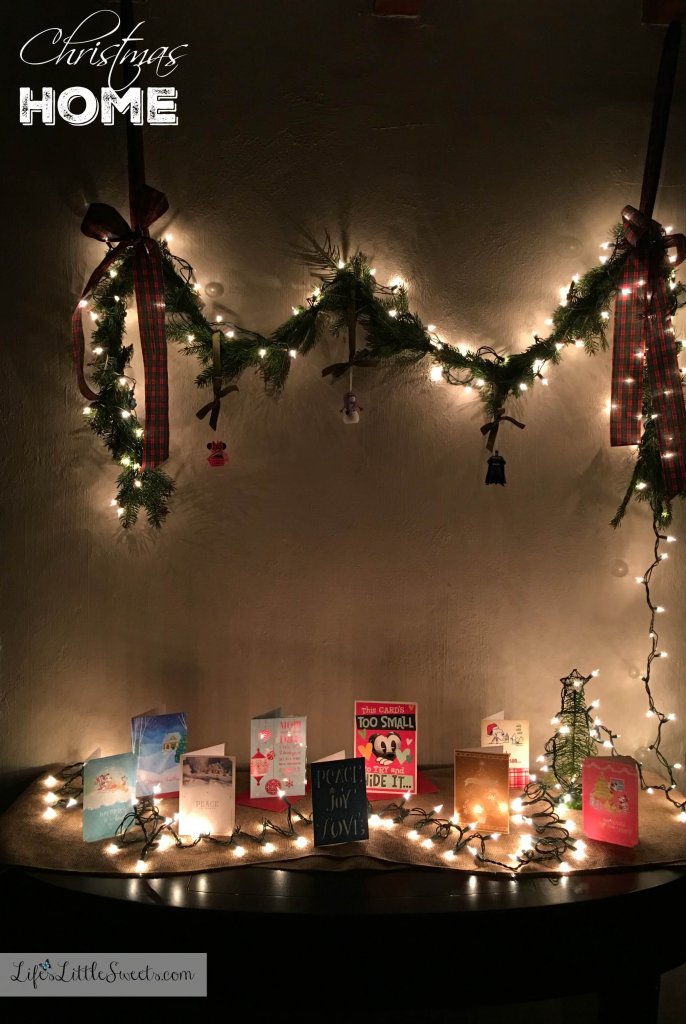
Don't you love Christmas lights at night?
It reminds me of staring in wonder at the Christmas tree when I was little.
Now, I am creating and curating those little moments for my little one to see as she grows up.

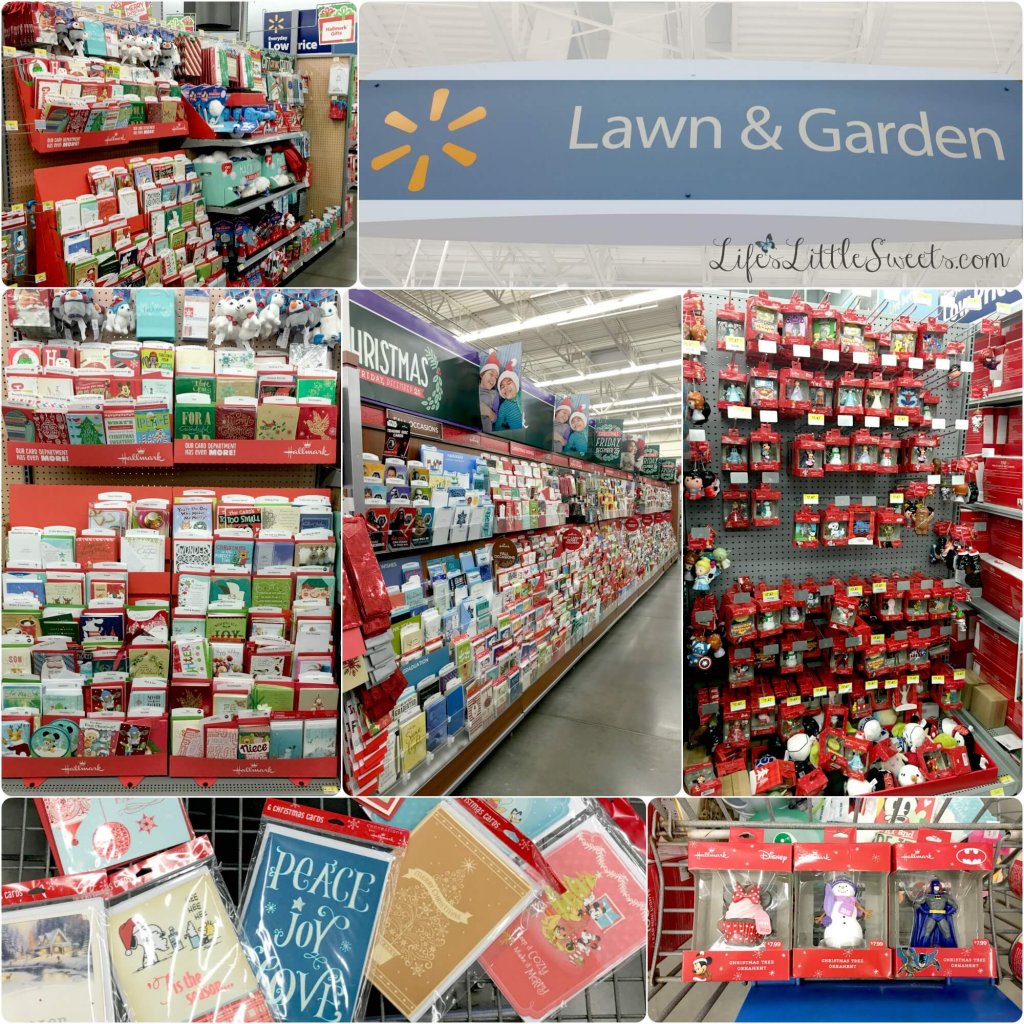
I started off in the Holiday card area close to the front door of Walmart and picked out a few cards, then I went to the main greeting card section and found some more, lastly, I ventured over to the main Holiday decorations area near the Lawn & Garden section to pick out these three Hallmark Keepsake Ornaments.
DIY Christmas Garland Tutorial
Materials & Tools
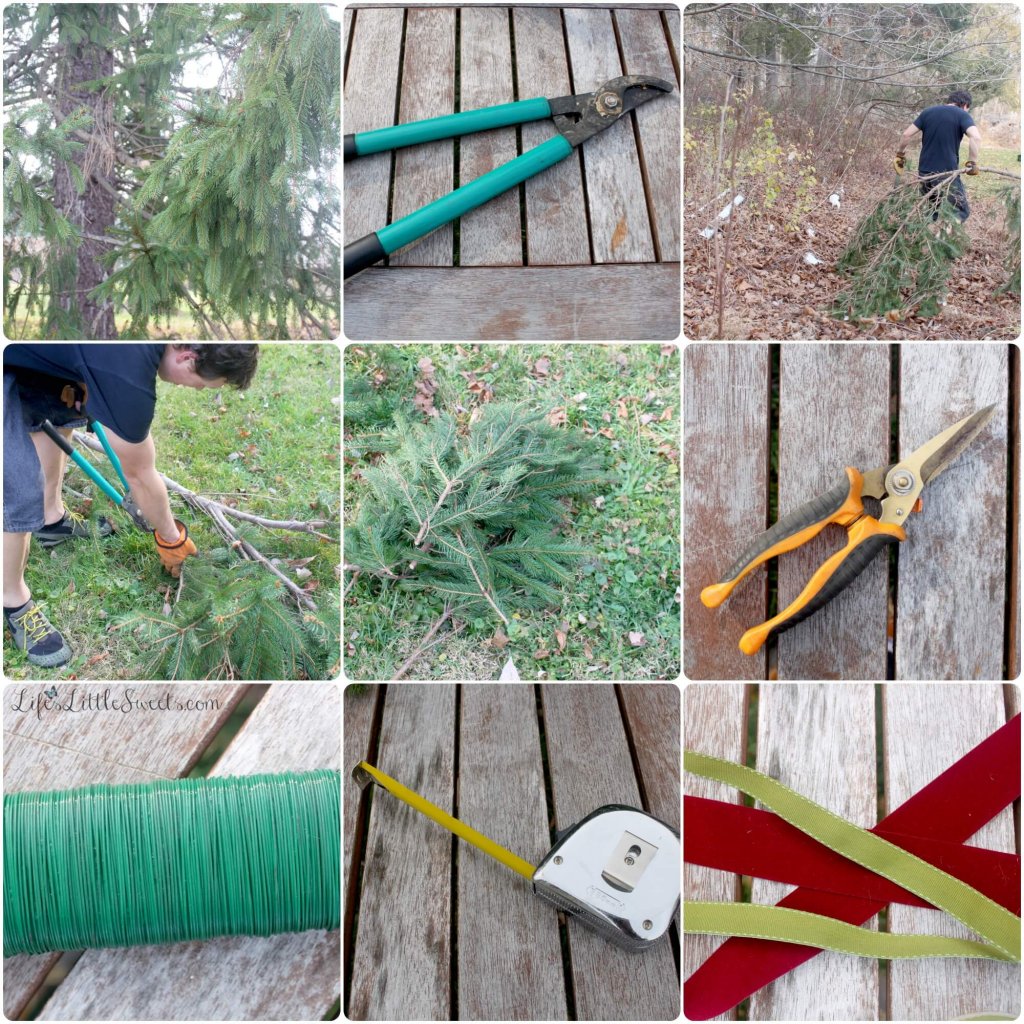
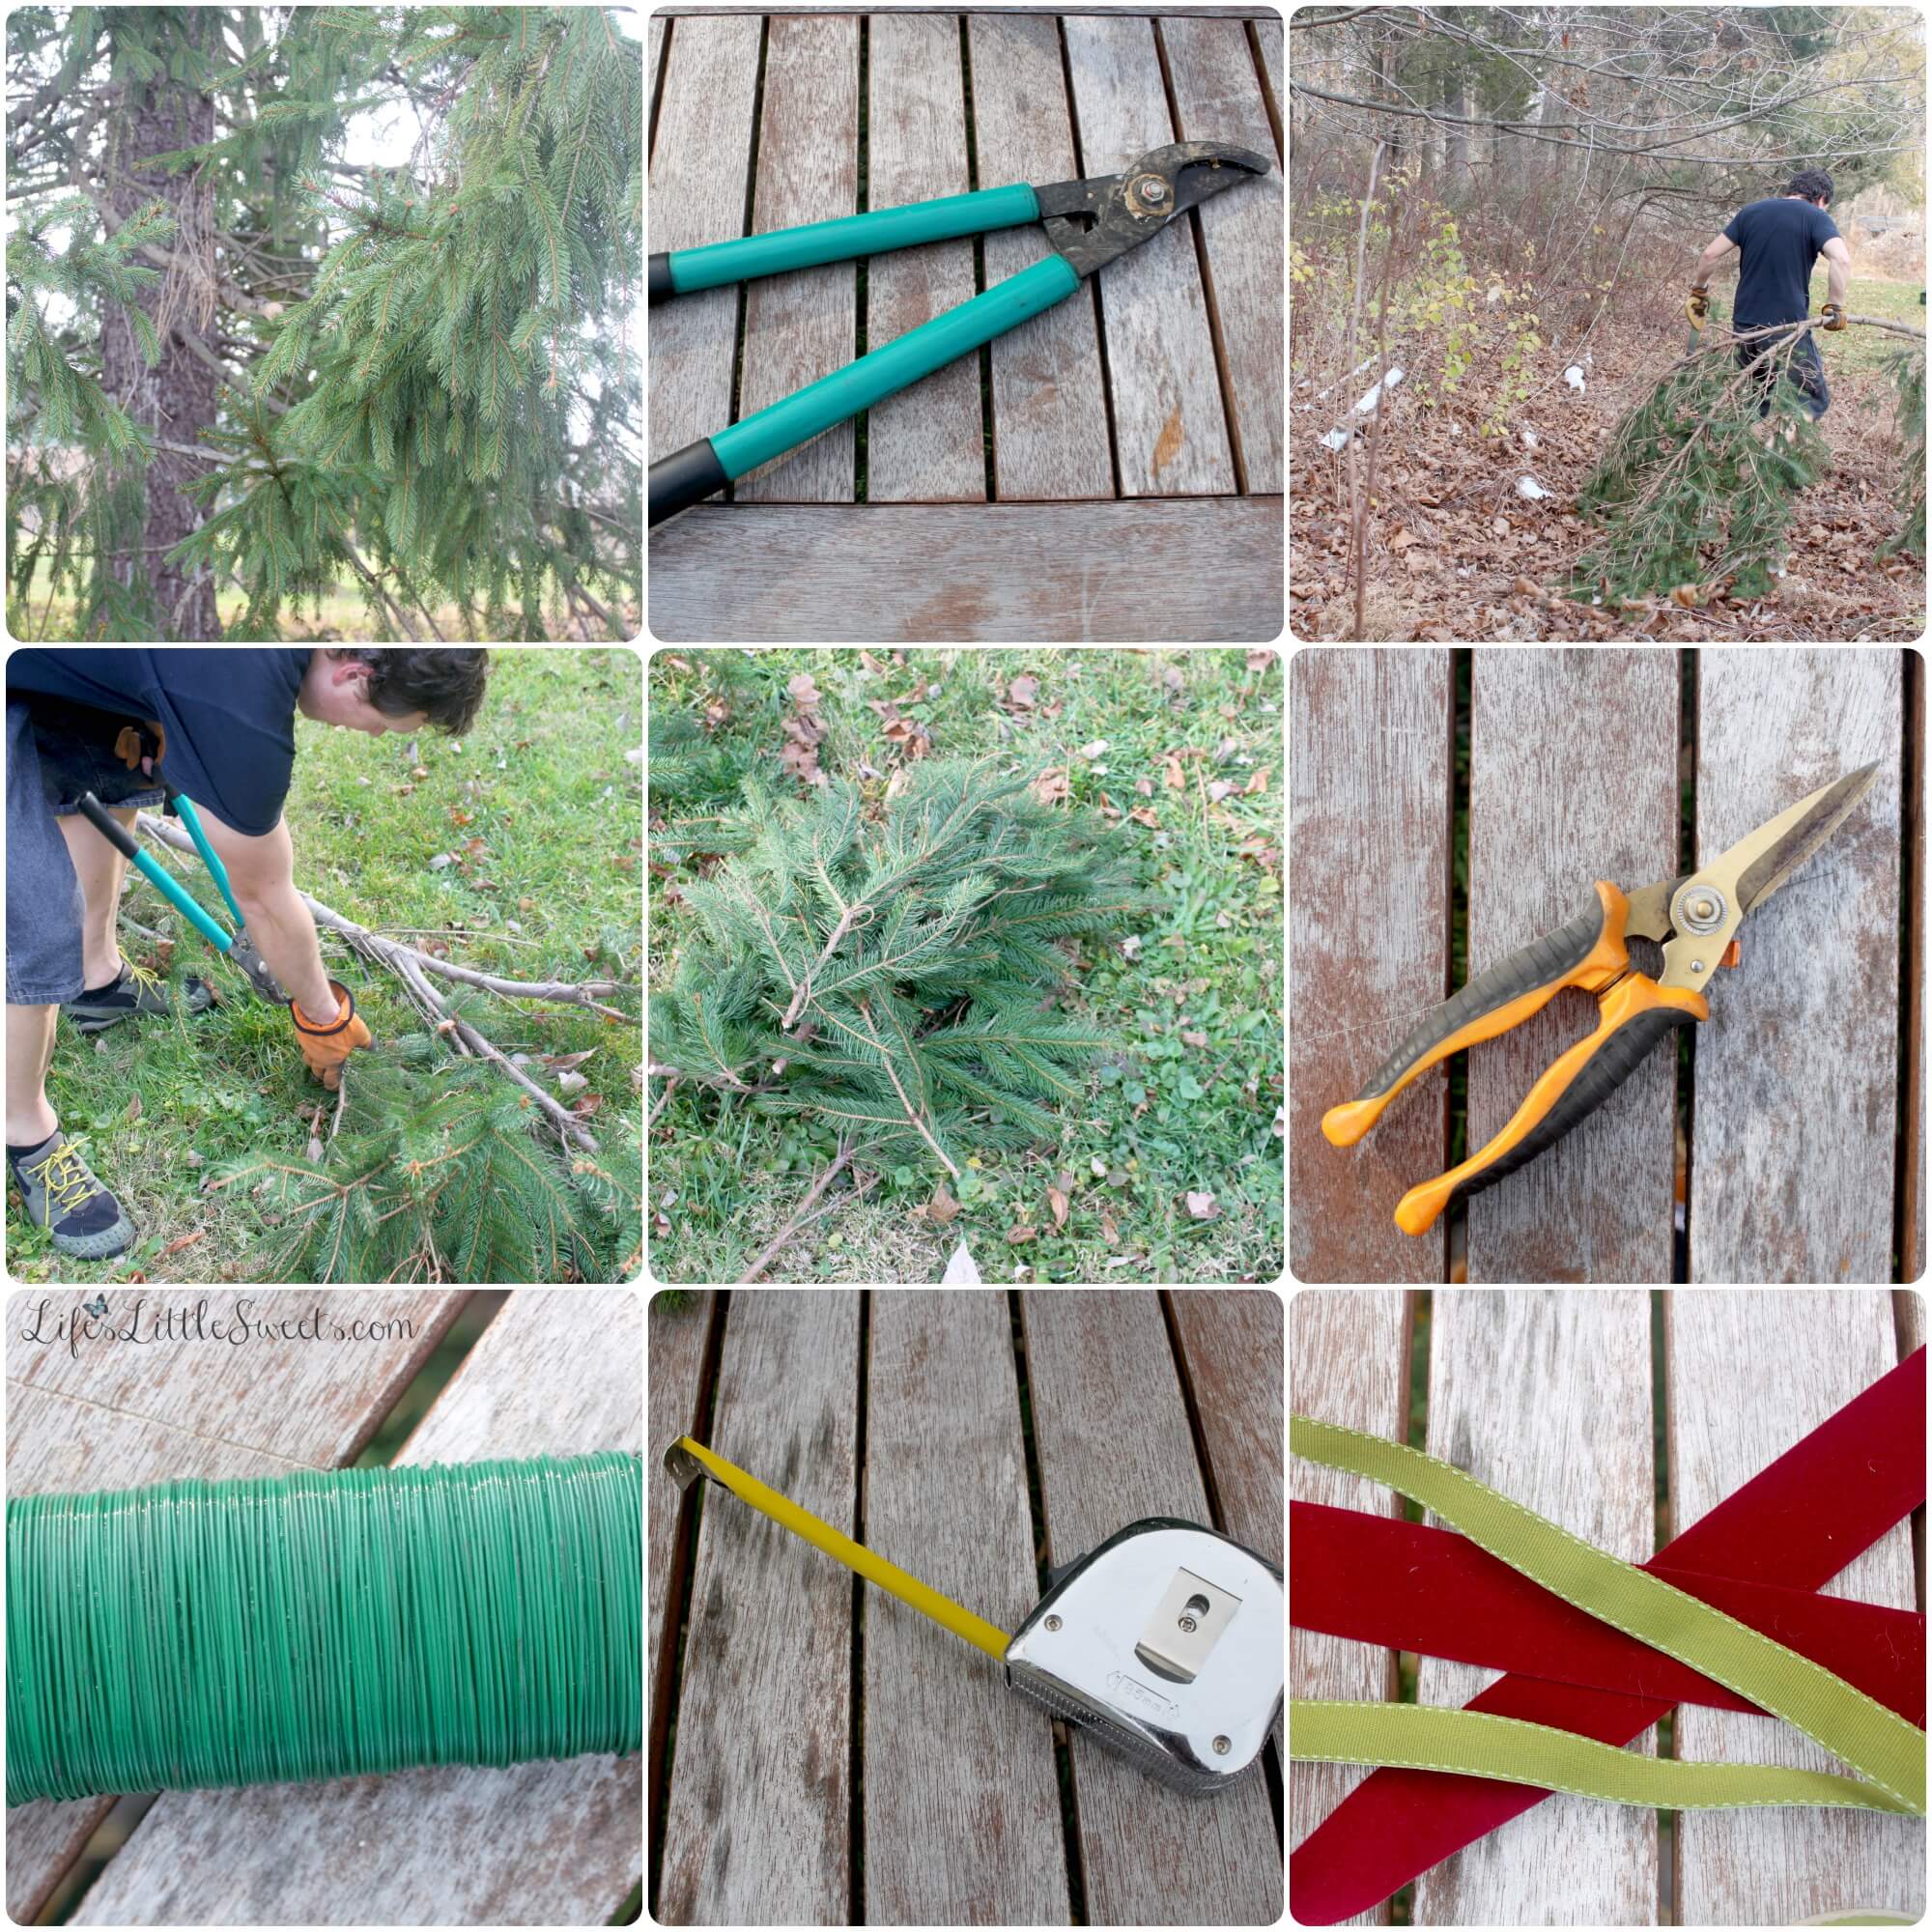
- Pruning shears - large and small
- Work gloves (My husband used work gloves when he was pruning the pine tree but I didn't use any because I found them to be cumbersome but the pine needles can really prick you, so be careful!)
- Green floral wire - it needs to be green so that you do not notice it as apart of the garland, it really helps hold everything together.
- Festive Ribbon (for decoration) - I did 2 bows on either side of my approx. 10 ft. garland which also attached to the ceiling with cup hooks to hold it all up.
- Clear Mini Lights - or lights of your choice; I used 2, 23 ft. long/7m stands of indoor/outdoor lights.
- Burlap fabric - or a tablecloth/fabric of your choosing, I used 18 in W burlap fabric that I found at Walmart in the Sewing/Craft section.
- Metal Cup Hooks (brass, size: ⅞ in./22.2 mm) - I used 2 of these as a nifty way of hanging the garland from the ribbon, hanging from the beams in my living room ceiling. Side tip: I use cup hooks a lot for hanging things in my home and always keep several sizes & finishes handy for projects.
- Hallmark Greeting Cards 🙂
- Hallmark Ornaments 🙂
- Any other Christmas/Holiday decor that you want to add to the garland and table.
Web Story
Directions
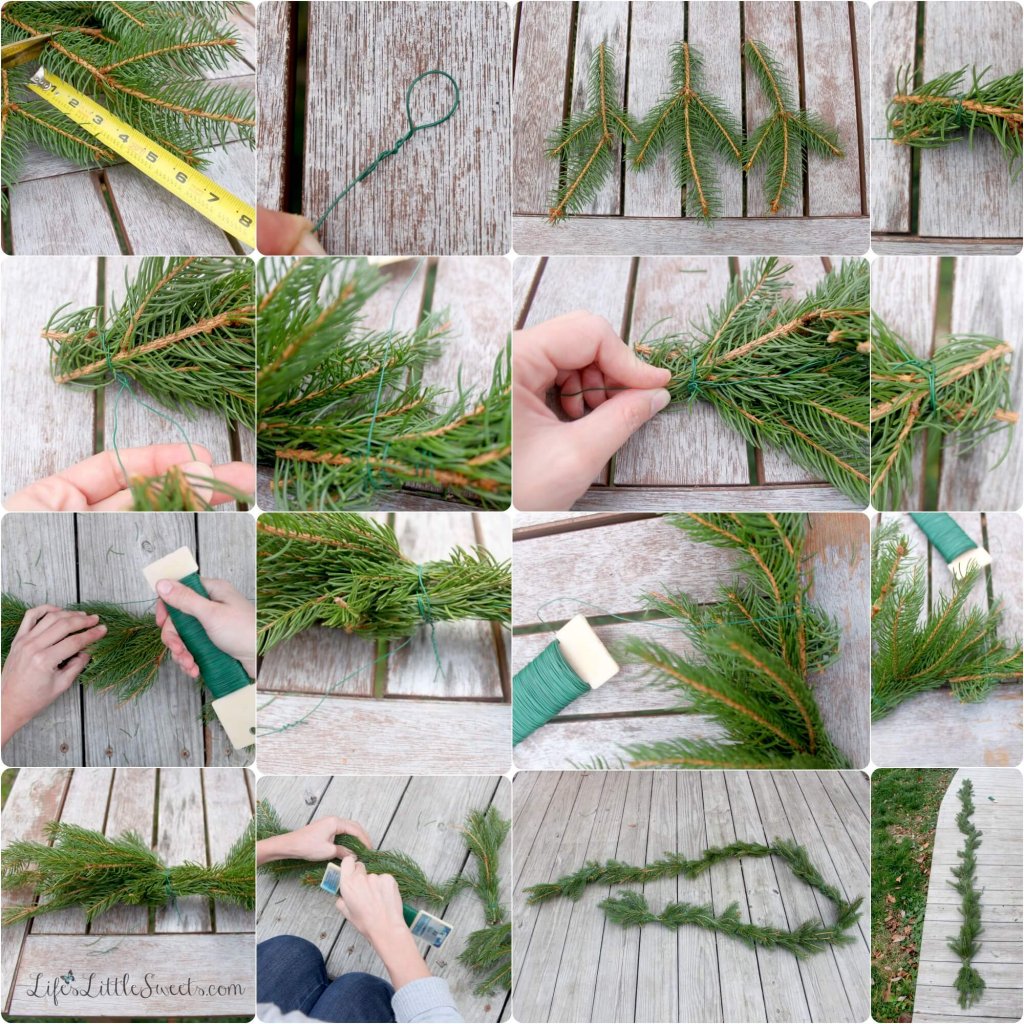
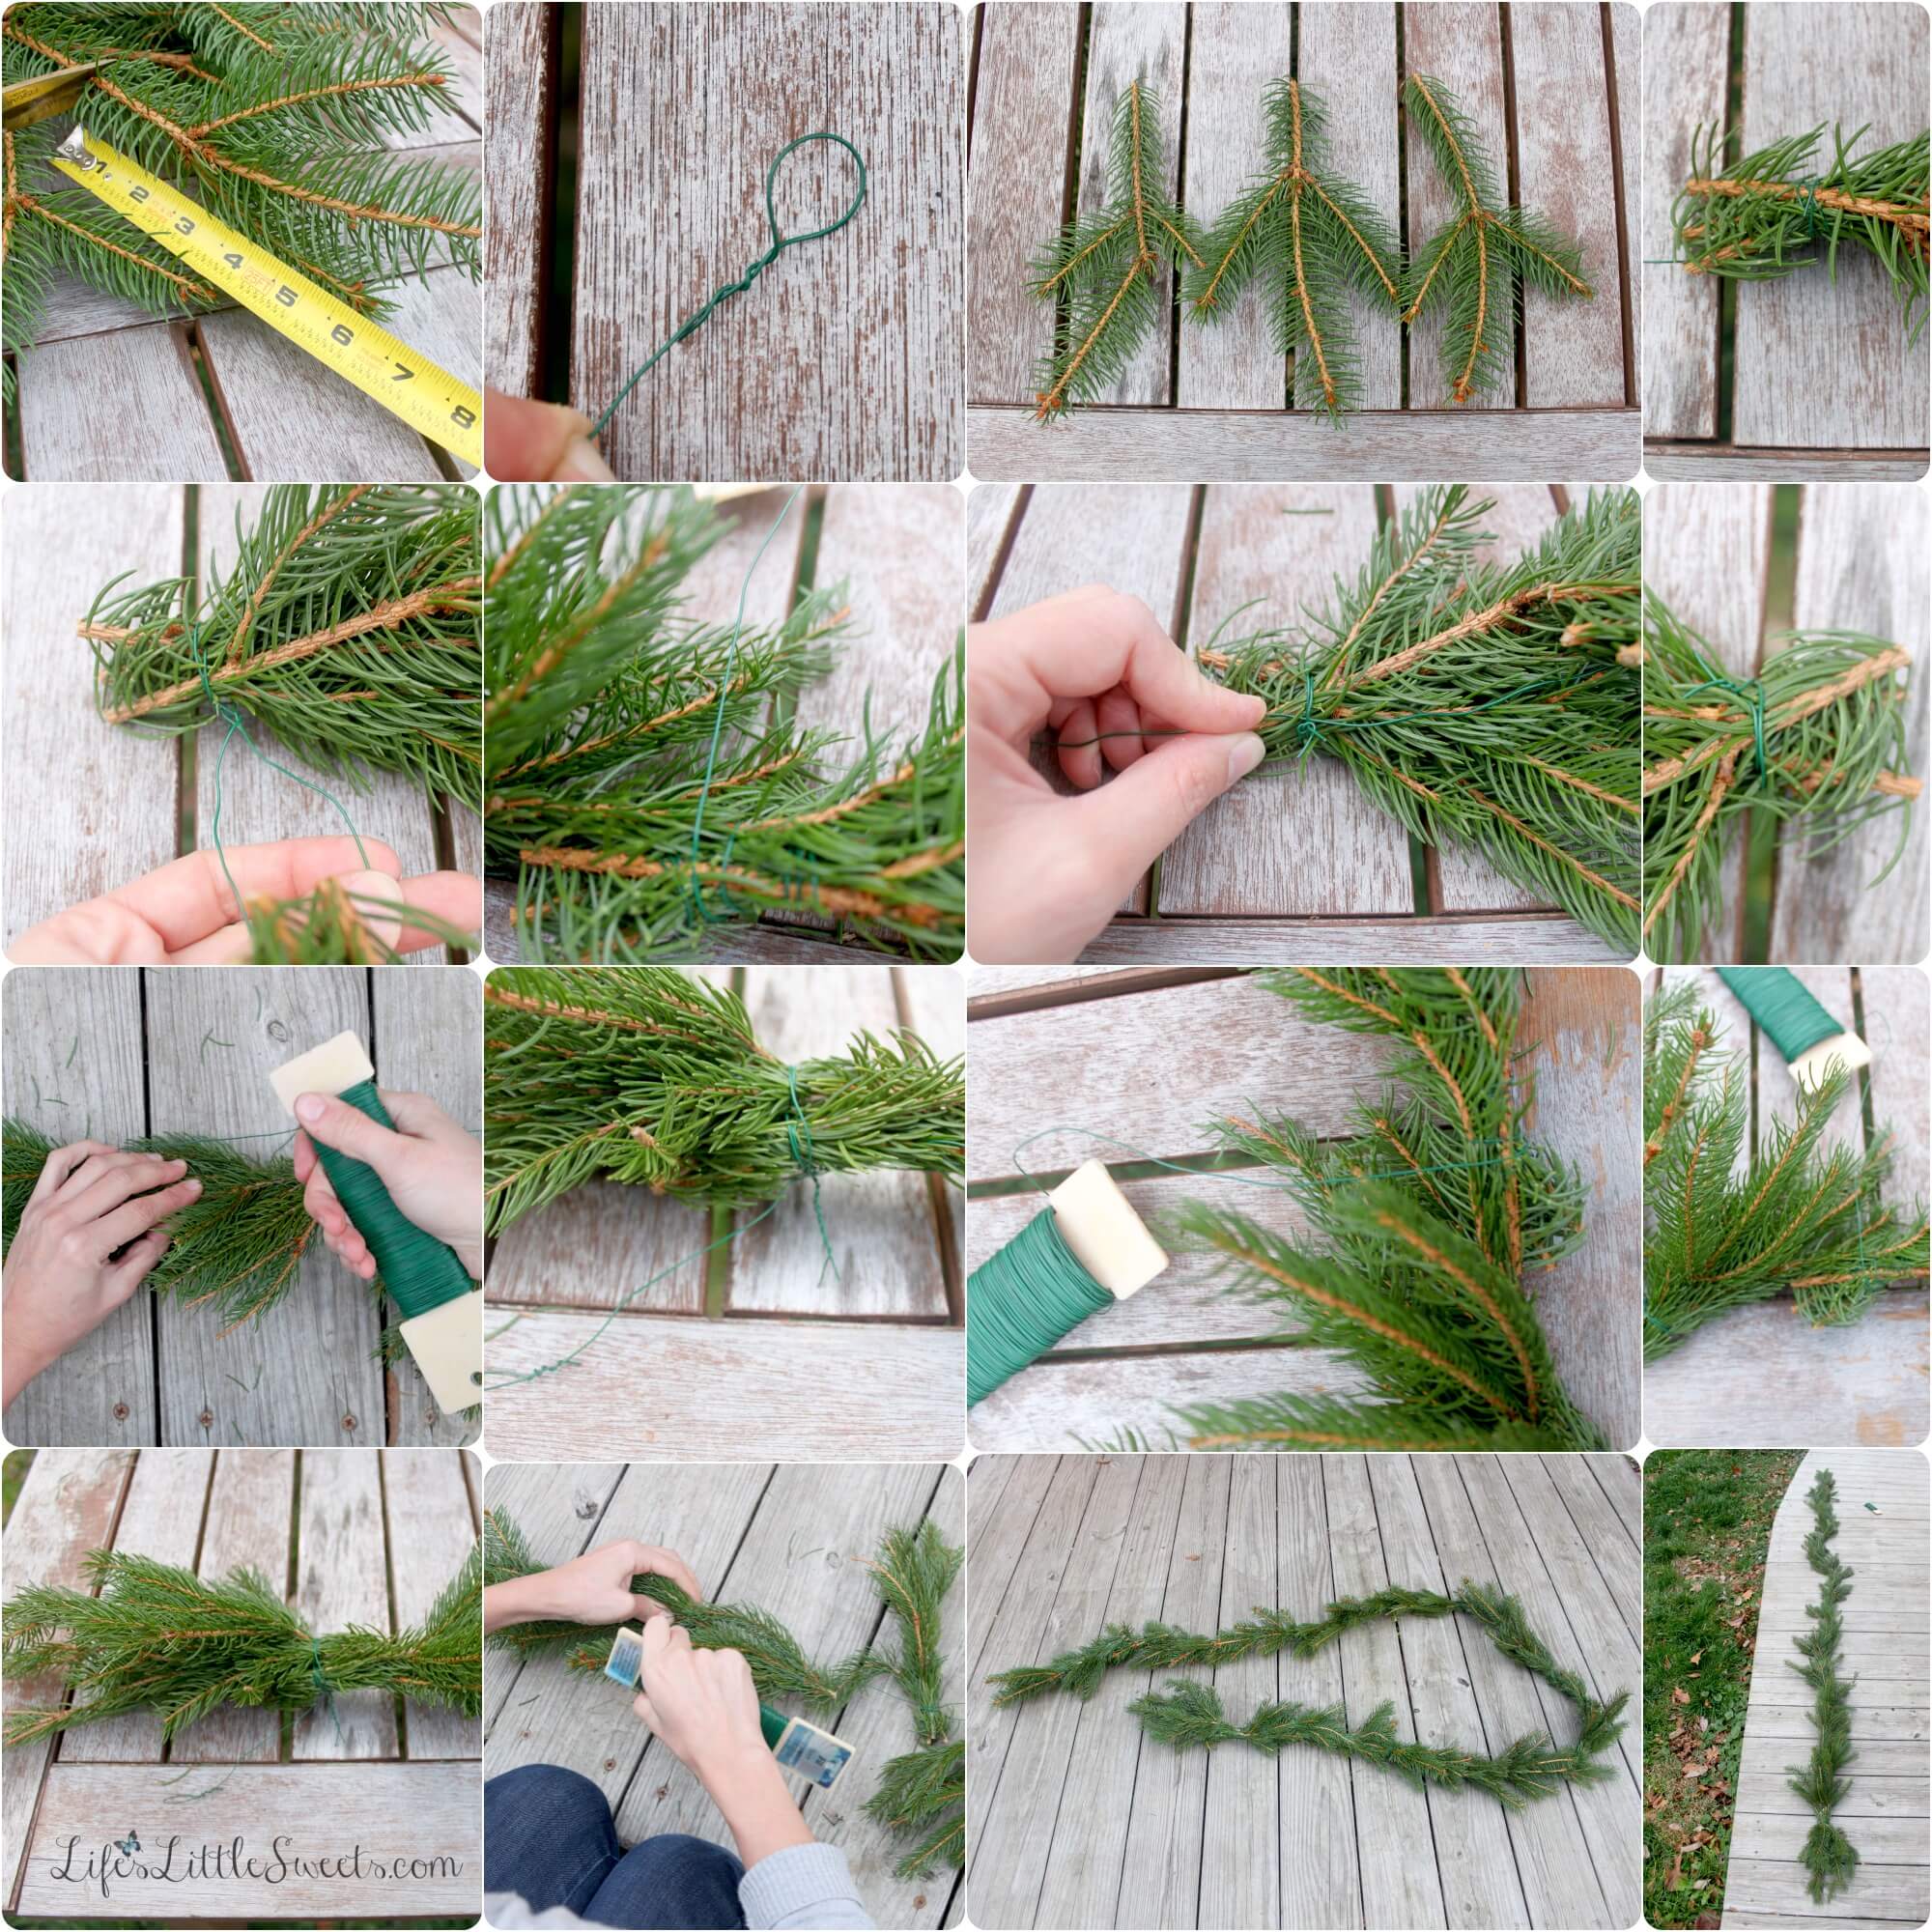
- Trim branches from an evergreen tree on your property (or that you have permission to use) that needs pruning. Collect all the branches and bring them to your work table. Using smaller trimming shears to trim little branches 6-10 inches in length.
- Bundle 3 branches at a time using the green floral wire (see photos to demonstrate).
- Measure out the length of the garland that you want with the wire. For example, I wanted to make a 10' garland, so I cut 10', plus a little extra just in case, then made a twist at each of the ends so that it wouldn't be pointy.
- Time to Assemble the Garland! Taking each bunch secure them to the long strand of wire by twisting the wire holding the bunches around the long length of wire. Make a twist at each bunch along the length of the long wire so that each bunch is fixed along the wire (so they don't all slide to one end.
- When you are finished attaching all your bunches to the long length of wire, take some more green floral wire and twist around the bunches, end to end, binding the bunches to the long length of wire. This will strengthen the garland and bring it all together.
- For the Greeting Card table, I just put down the burlap and arranged the cards with the lights - easy and simple!
- I have a coupon for you! Save $1.00 off of a two Hallmark Greeting Card purchase at Walmart, minimum of $1.00 purchase required. Take advantage of the savings and #SendHallmark this holiday season! I personally love using coupons whenever I can, every little bit saved helps - this coupon has since expired
- Sharing is caring, if you like this post, please share using the links at the bottom of this post or the share buttons to the left of the screen.
- Special Thanks to my hubby Eric for "pruning" the trees in our yard for this post and to my Mother-in-Law, Linda Lara for providing the pretty plaid ribbon!
How do you display your Christmas & Holiday cards?
Let me know in the comments below!
Latest Recipes and Posts
DIY Christmas Garland and Greeting Card Table
Creating a DIY Christmas Garland & Greeting Card Table vignette in your home is easier than you think! There is nothing like the smell of fresh pine, the glow of a string of lights, precious family ornaments hanging over arranged Christmas & Holiday Cards from your loved ones – all in one place. Feather your nest with this special DIY Christmas Garland and Greeting Card Table vignette in your home this holiday season!
Materials
Instructions
- Trim branches from an evergreen tree on your property (or that you have permission to use) that needs pruning. Collect all the branches and bring them to your work table. Using smaller trimming shears to trim little branches 6-10 inches in length.
- Bundle 3 branches at a time using the green floral wire (see photos to demonstrate).
Measure out the length of the garland that you want with the wire. For example, I wanted to make a 10′ garland, so I cut 10′, plus a little extra just in case, then made a twist at each of the ends so that it wouldn’t be pointy. - Time to Assemble the Garland! Taking each bunch secure them to the long strand of wire by twisting the wire holding the bunches around the long length of wire. Make a twist at each bunch along the length of the long wire so that each bunch is fixed along the wire, so they don’t all slide to one end. When you are finished attaching all your bunches to the long length of wire, take some more green floral wire and twist around the bunches, end to end, binding the bunches to the long length of wire. This will strengthen the garland and bring it all together.
- For the Greeting Card table, I just put down the burlap and arranged the cards with the lights – easy and simple!
Notes
Brass hooks: I used 2 of these as a nifty way of hanging the garland from the ribbon, hanging from the beams in my living room ceiling. Side tip: I use cup hooks a lot for hanging things in my home and always keep several sizes & finishes handy for projects.
Burlap fabric: Or use a tablecloth/fabric of your choosing, I used 18 in W burlap fabric that I found at Walmart in the Sewing/Craft section.
Ribbon: I did 2 bows on either side of my approx. 10 ft. garland which also attached to the ceiling with cup hooks to hold it all up.
Lights: Or you can use lights of your choice; I used 2, 23 ft. long/7m stands of indoor/outdoor lights.
Recommended Products
As an Amazon Associate and member of other affiliate programs, I earn from qualifying purchases. #CommissionsEarned #ad
-
Holiday Time 100 Clear Mini Lights - Green Wire - Indoor/Outdoor (2 Pack)
-
URATOT 2 Rolls Plaid Burlap Ribbon Wired Christmas Ribbon Wrapping Ribbon for Christmas Crafts Decoration, Floral Bows Craft
-
Afula Burlap BUR40-5YDS Burlap Natural, X 5 Yards Long, 40" Wide
-
Hallmark All Occasion Handmade Boxed Set of Assorted Greeting Cards with Card Organizer (Pack of 24)—Birthday, Baby, Wedding, Sympathy, Thinking of You, Thank You, Blank
-
Hallmark Keepsake Christmas Ornament 2020 Year-Dated, Daughters Are Sweet Snow Girl Ice Cream Cone
-
Winder Truck Welcome Sign for Front Door Decor, Red Truck Decor with Seasonal & Interchangeable Wooden Wall & Door Decor Sign for Holiday, Halloween, Christmas, National Day, Valentine, Easter & Cake
-
Glarks 120-Pieces 6 Size Brass Plated Screw-in Cup Hooks Lag Thread Handy Hanging Hooks Assortment Set
-
KOTTO 4 Packs Pruner Shears Garden Cutter Clippers, Stainless Steel Sharp Pruner Secateurs, Professional Bypass Pruning Hand Tools Scissors Kit with Storage Bag
-
Ironclad General Utility Work Gloves GUG, All-Purpose, Performance Fit, Durable, Machine Washable, (1 Pair), Medium - GUG-03-M
-
Livder 3 Pack 114 Yards 22 Gauge Green Flexible Paddle Wire for Crafts, Christmas Wreaths Tree, Garland and Floral Flower Arrangements
- Dandelion Jelly - April 22, 2024
- Nordy Bars - April 14, 2024
- Hot Cross Buns - April 6, 2024












Linda says
Fantastic! Wonderful ideas! Superb!
Sara says
Thank you Linda!
Samantha says
Beautiful! I love the way your tablescape and garland turned out - a beautiful way to showcase ornaments AND greeting cards! I am beyond impressed with the fact that you used real evergreen...stunning! #client