Estimated reading time: 4 minutes
This Food Processor Pizza Dough comes together in a snap in your kitchen food processor. This is an easy, basic yeast pizza dough that makes enough for 3 (12-inch) pizzas – a great recipe for meal prep!
Table of contents
Food Processor Pizza Dough
Hi Everyone, are you looking for a super easy pizza dough recipe that doesn’t involve getting your hands into a sticky mess?
Try this Food Processor Pizza Dough!
It’s great if you want to prep pizza dough to use for the week for meals for yourself and/or your family.
Somehow making pizza dough in the food processor made it seem easier to make pizza dough and it makes me more likely to want to make a pizza dough recipe from scratch.
We also have a regular pizza dough recipe on the blog which I have linked to right below:
I would love to know what kind(s) of pizzas you would make using this pizza dough OR would you use the pizza dough to make something else, like rolls, bread, or pretzels?
Kitchen Tools
- measuring spoons & cups
- mixing bowl(s)
- 2-cup wet measure
- kitchen towel or reusable beeswax wrap
- rolling pin
- dough scraper
- pastry mat or work surface
- food processor
Web Story
Latest Posts
- Freezer Meal Prep
- Ted Lasso Biscuit Recipe
- Stuffed Dates Recipes
- Burnt Basque Cheesecake
- What Flowers Are Edible?
If you like this Food Processor Pizza Dough recipe, please give it a rating in the recipe card below and let us know in the comments below.
Thank you for reading and following along!
Food Processor Pizza Dough
This Food Processor Pizza Dough comes together in a snap in your kitchen food processor. This is an easy, basic pizza dough that makes enough for 3 (12-inch) pizzas - a great recipe for meal prep!
Ingredients
- 2 teaspoons active dry yeast
- 1 teaspoon granulated sugar
- 1 1/4 cups warm water (105-115 degrees F or 40-46 degrees C)
- 3 1/3 cups all-purpose flour
- 1 1/2 teaspoons Kosher salt
- 3 teaspoons extra virgin olive oil
Instructions
- Prepare the yeast: In a 2-cup wet measure, add water, and yeast. olive oil and sugar. Stir with a fork or spoon. Let it sit for 3-5 minutes or until it's foamy.
- Make the Pizza Dough: In your food processor, with the regular blade attachment, add all-purpose flour, and Kosher salt. Cover the food processor with the lid, leaving open the spout to pour in the prepared yeast-water mixture. Turn the food processor on and slowly pour in the prepared yeast-water mixture. Process the dough until it forms a bowl and cleans the sides as it turns around, then process the dough for an additional 30 seconds to "knead" the dough.
- First Dough Rise: Oil the inside of a large mixing bowl with olive oil, add the dough ball, and cover. Allow the dough to rise in a warm spot for 45 minutes or until doubles in size. While the dough is rising, you can prep any pizza toppings.
- Prep Dough for Cooking: After 45 minutes, punch the dough down and turn it out onto a floured surface (like a pastry mat). Separate them into 3 even dough balls, using a dough scraper (or other sizes that you prefer), and roll or stretch them out to form pizzas.
- To Cook the Pizza Dough: Preheat oven to 450 degrees F. Line a baking sheet with a silicone baking mat or parchment paper. Add desired pizza toppings to the dough while the oven is preheating. Cook for 15-20 minutes. When the pizza is done, transfer it to a cutting board, slice, and serve. Enjoy!
Notes
- Yield: Makes 3 (12 inches) pizza crusts or you can make smaller individual pizzas by dividing it further.
- Recipe Attribution: My Mother-in-Law, gave me this recipe and I made some tweaks to the process.
Recommended Products
As an Amazon Associate and member of other affiliate programs, I earn from qualifying purchases. #CommissionsEarned #ad
-
Bee's Wrap Reusable Beeswax Food Wrap, Extra Large XXL Roll - Eco Friendly, Plastic Free, All Natural Storage Wrap - 14" x 52"
-
HUNNYBEEE Beeswax Reusable Food Wraps - (7 packs) Beeswax Wrap Sustainable Products, Organic Wax Wrap, Eco-friendly Bees Wrap, Organization Storage Bags, Cheese Bee Wrappers Cling, Wax Paper for Food
-
OXO Good Grips Multi-purpose Stainless Steel Scraper & Chopper
-
If You Care FSC Certified Parchment Baking Paper, 70 sq ft (Pack of 2)
-
Victorinox Fibrox Pro Chef's Knife, 8-Inch Chef's FFP
-
AmazonBasics Silicone Baking Mat Sheet, Set of 2
-
Silpat AE420295-07 Premium Non-Stick Silicone Baking Mat, Half Sheet Size, 11-5/8-Inch x 16-1/2-Inch (2 pack)
-
Non-slip Silicone Pastry Mat Extra Large with Measurements 28''By 20'' for Silicone Baking Mat, Counter Mat, Dough Rolling Mat,Oven Liner,Fondant/Pie Crust Mat By Folksy Super Kitchen (2028, red)
-
Gorilla Grip Original Reversible Cutting Board (3-Piece) BPA Free, Dishwasher Safe, Juice Grooves, Larger Thicker Boards, Easy Grip Handle, Non Porous, Extra Large, Kitchen (Set of Three: Black)
-
5x Pizza Pie Server Cake Holder Transfer Triangular Spade Spatula for Cake Baking Wood Wooden Handle Shovel Stainless Steel
-
OXO Good Grips 4-Inch Pizza Wheel and Cutter
-
Pyrex Smart Essentials 8-Piece Mixing Bowl Set
-
Stainless Steel Mixing Bowls by Finedine (Set of 6) Polished Mirror Finish Nesting Bowl, ¾ - 1.5-3 - 4-5 - 8 Quart - Cooking Supplies
-
Homestia Gold Measuring Cups and Spoons Set Stainless Steel 8 PIECE for Dry and Liquid Ingredients Engraved Measurement Heavy Duty Baking & Cooking Utensils
-
Pyrex Prepware 2-Cup Measuring Cup, Red Graphics, Clear
Nutrition Information:
Yield: 6 Serving Size: 1Amount Per Serving: Calories: 279Total Fat: 3gSaturated Fat: 0gTrans Fat: 0gUnsaturated Fat: 2gCholesterol: 0mgSodium: 319mgCarbohydrates: 54gFiber: 2gSugar: 1gProtein: 8g
Please note that the Calculated Nutrition is an estimate at best.
- This post was originally published on 4/30/2020 and updated and republished on 10/18/2021, 11/8/2022
- Freezer Meal Prep - September 25, 2023
- Ted Lasso Biscuit Recipe - September 25, 2023
- Stuffed Dates Recipes - September 25, 2023
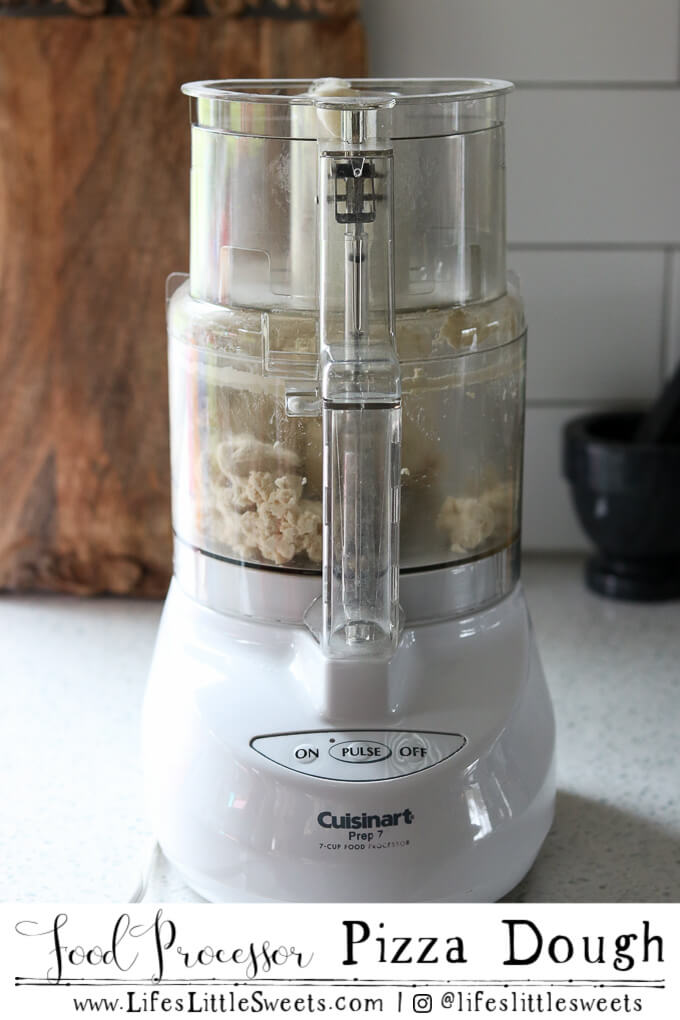
The food processor pizza dough recipe was quite good, but the website is awful! Made it very difficult to follow recipe. A bit jumbled compared to others I have used.
I am so glad that you like the recipe! I just made a change to the website a day ago with the service I use for suggested recipes to make it cleaner. In the new year, I will be making a major design change to the website to further make it cleaner, much faster, and easier to use. I am working on several user experience-related projects right now and hopefully, that helps for the future!
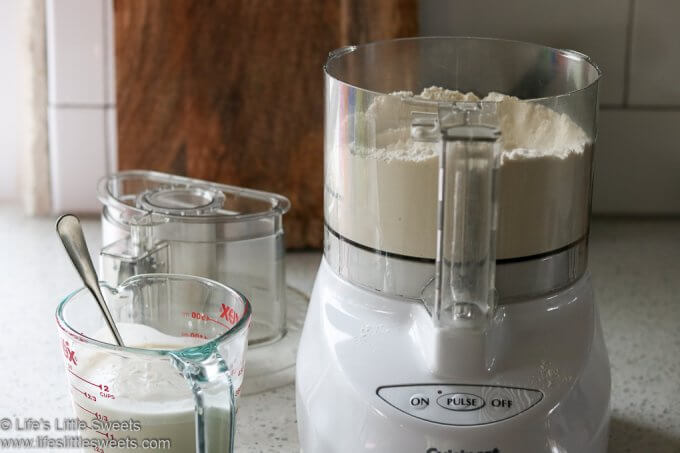
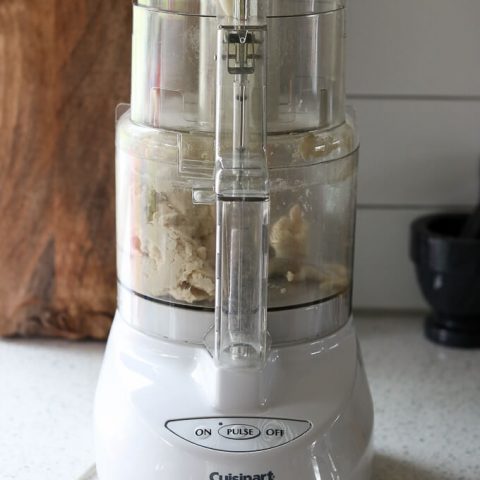
The recipe calls for using the regular blade, not the dough blade. What’s the difference?
Hello Barbara, You can definitely use the dough blade if you have one. Not all food processors come with dough blades. The recipe works with either. Thank you for your question!
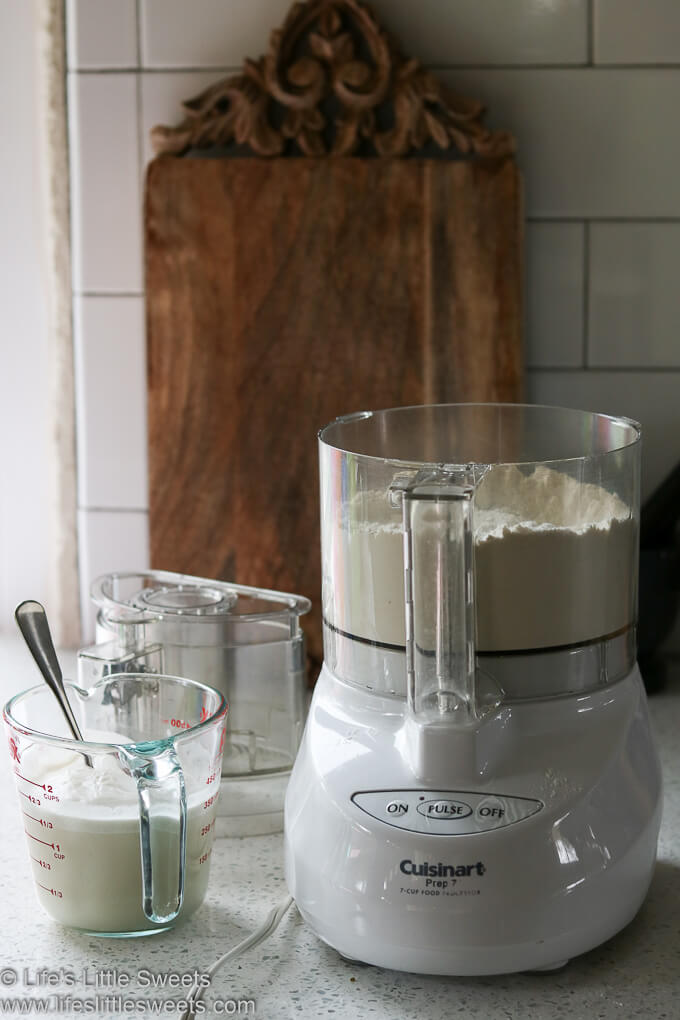
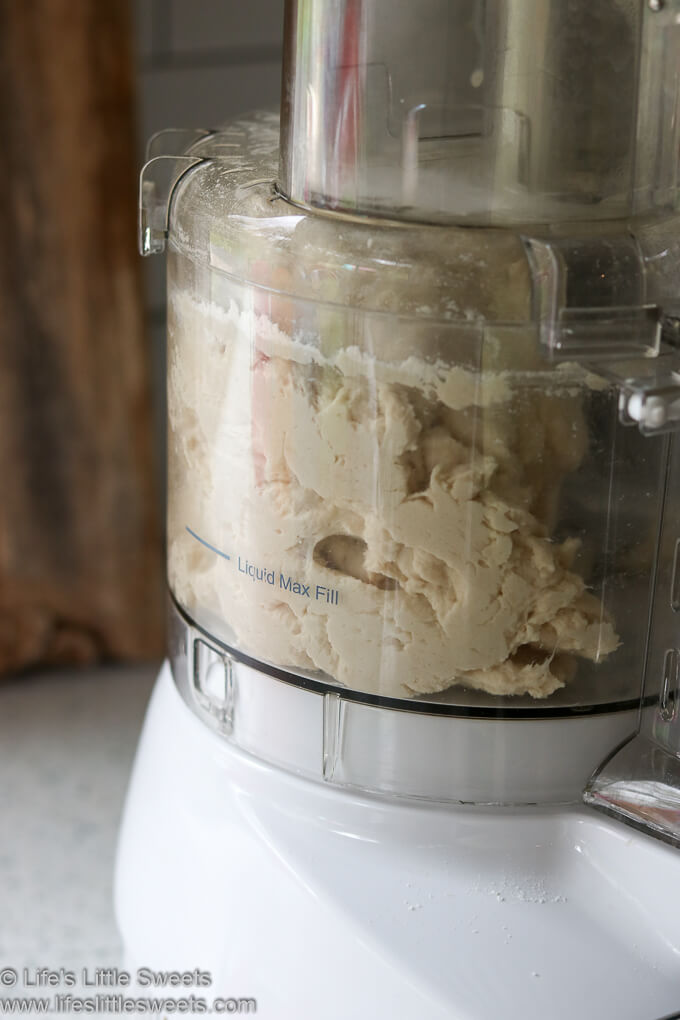
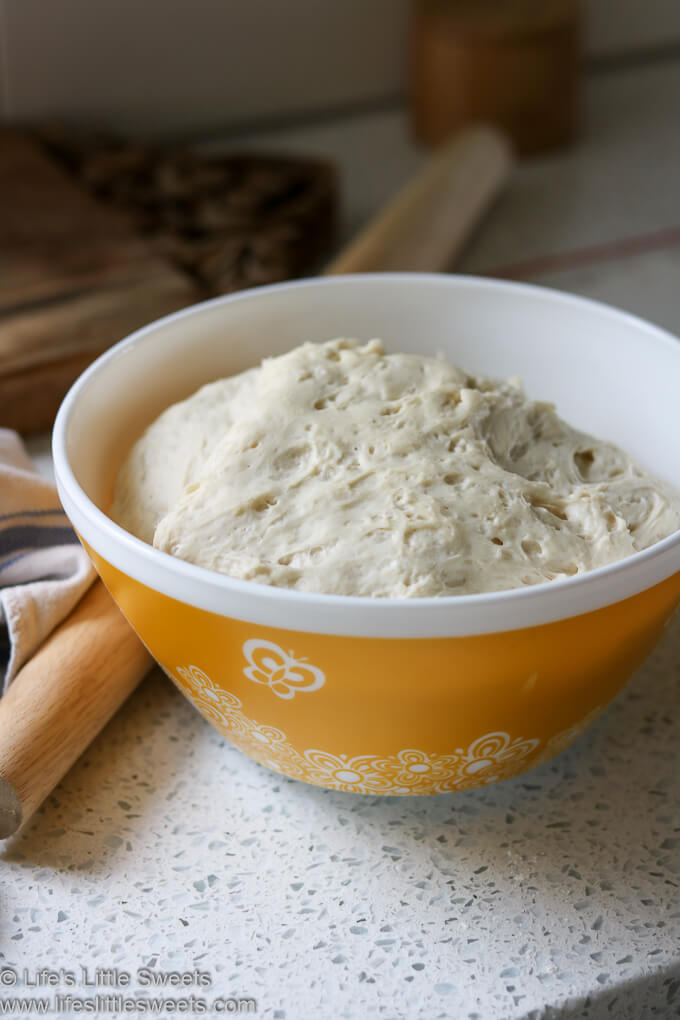
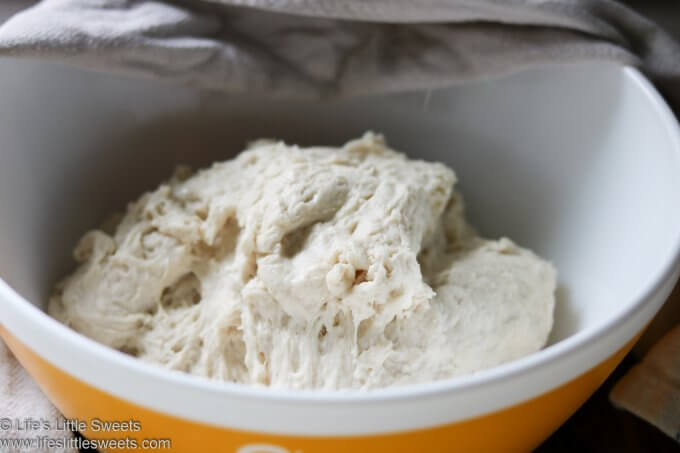
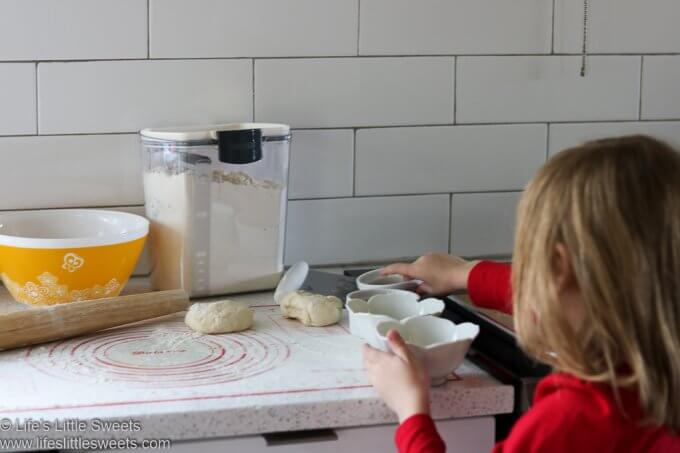
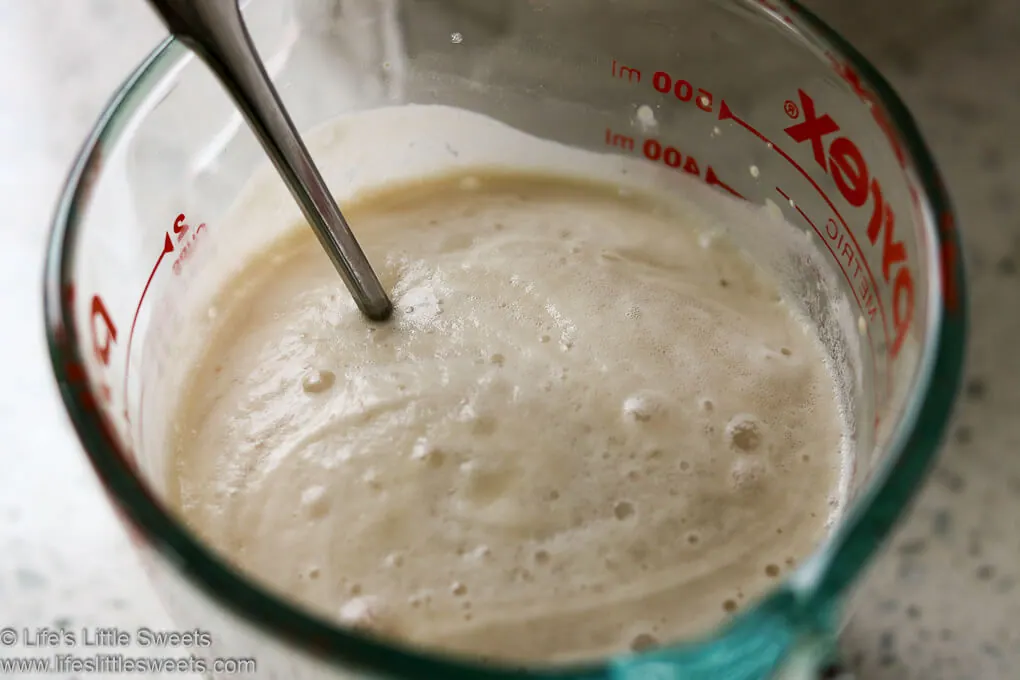
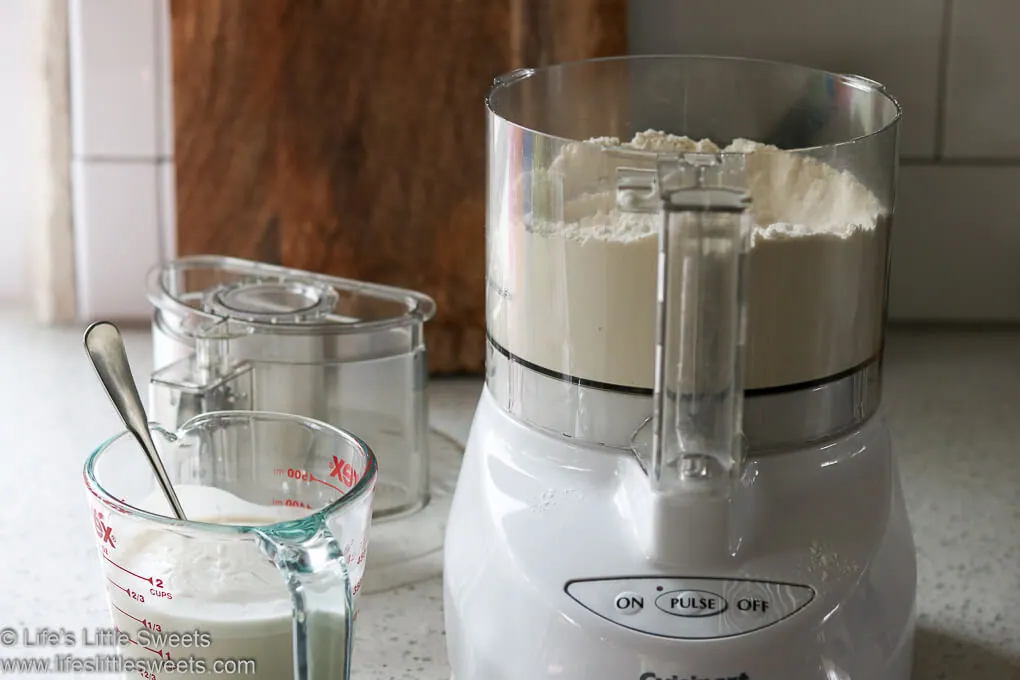
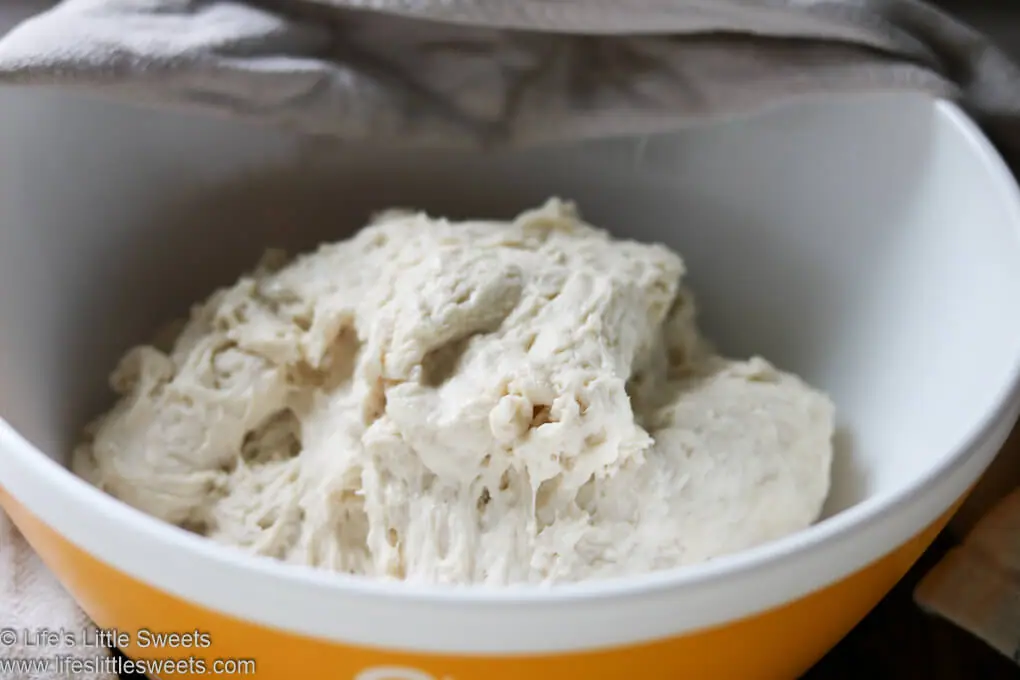
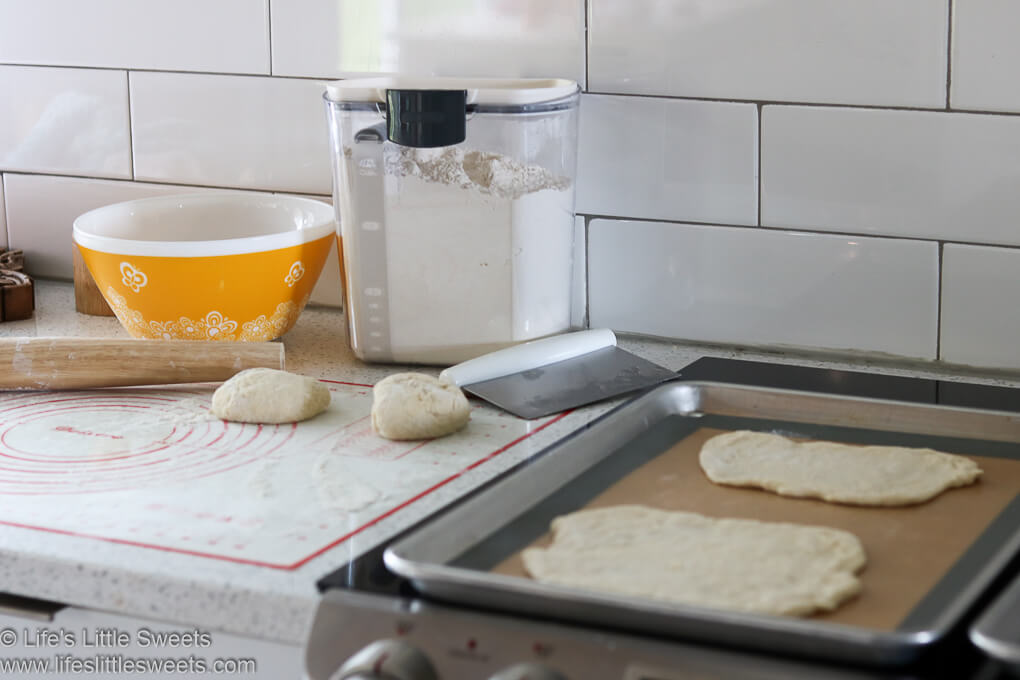
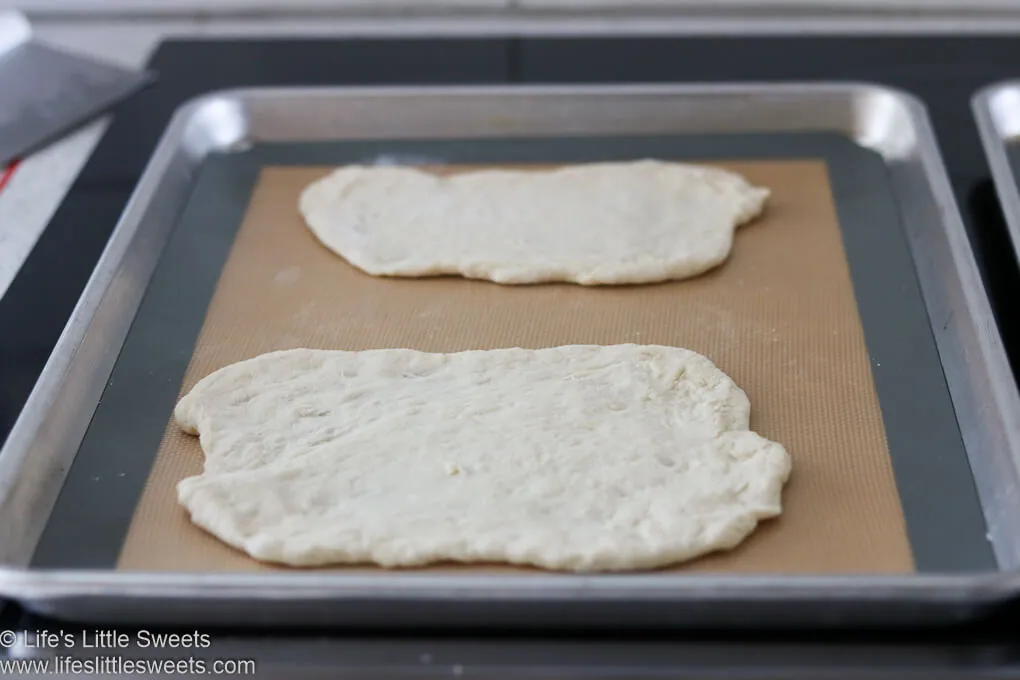
Hello! Thank you for posting! I followed the recipe but found I needed a lot more flour, as the dough was very sticky. I might have had to add another cup or so. The result was a bit messy, with the dough a bit unpliable and not easily manageable. I wasn’t sure what you meant by “First Dough Rise” under Instructions. Is there a second rise at a later stage I might have missed? Thanks.
Dear SandraGee, Thank you so much for trying out my recipe and taking the time to leave a comment! I truly appreciate your feedback and I’m sorry to hear that you experienced some challenges with the dough.
Regarding the stickiness of the dough, it’s possible that the flour measurement may vary depending on factors such as humidity or the type of flour used. I apologize if the amount specified in the recipe wasn’t sufficient for you. Adding an extra cup or so of flour to achieve the desired consistency is absolutely fine. Different brands of flour can have different moisture levels, which can affect the stickiness of the dough.
I understand that the dough being a bit messy and not easily manageable could be frustrating. To make the dough more pliable, you can gradually add more flour while kneading until it becomes smoother and easier to work with. It’s important to strike a balance between adding enough flour to reduce stickiness and ensuring that the dough remains soft and elastic.
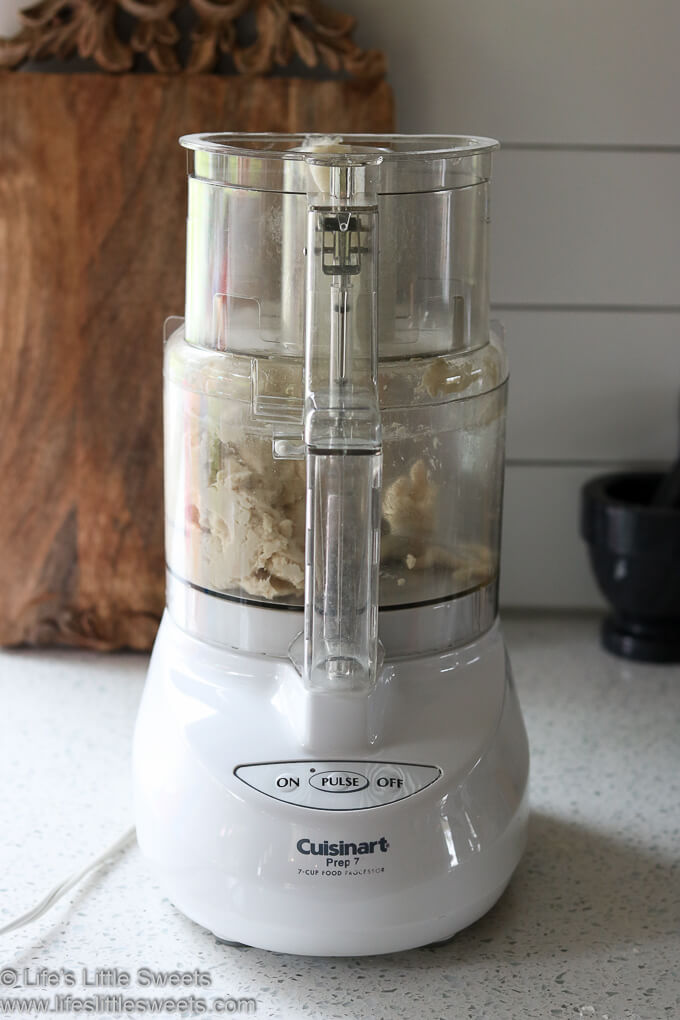
Regarding the “First Dough Rise” instruction, it refers to allowing the dough to rest and rise after the initial mixing and kneading process. This helps the dough develop its flavor and texture. If you followed this step and didn’t encounter any issues, then you didn’t miss anything. There is no second rise mentioned in the recipe, so you haven’t overlooked that.
Once again, I apologize for any confusion caused by the instructions and any inconvenience you experienced. I appreciate your valuable input, as it helps me improve the recipe and provide better guidance to my readers.
If you have any further questions or need assistance with any other recipes, please don’t hesitate to reach out. I’m here to help!
Happy cooking! Warm regards, Sara